hAP ax lite LTE6
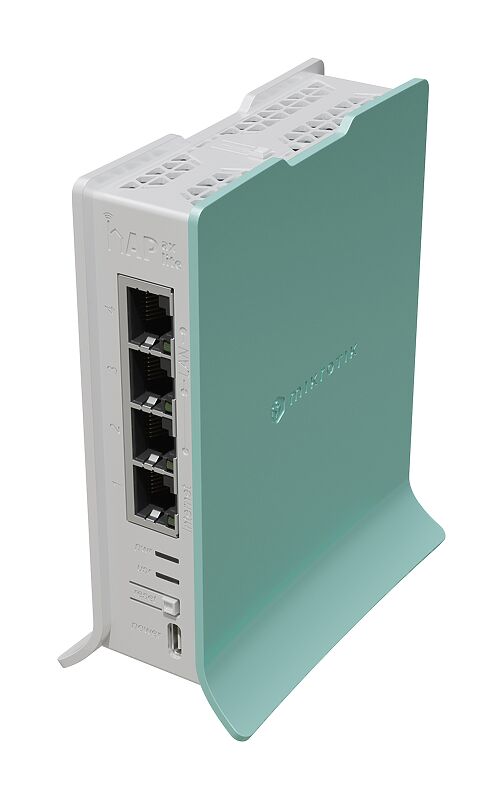
- hAP ax lite LTE6
- L41G-2axD&FG621-EA
Safety Warnings
Before you work on any MikroTik equipment, be aware of the hazards involved with electrical circuitry, and be familiar with standard practices for preventing accidents. The installer should be familiar with network structures, terms, and concepts. See the hAP ax lite LTE6 product page for full specifications and brochures. Use only the power supply and accessories approved by the manufacturer, which can be found in the original packaging of this product. This equipment is to be installed by trained and qualified personnel, as per these installation instructions. The installer is responsible for making sure, that the Installation of the equipment is compliant with local and national electrical codes. Do not attempt to disassemble, repair, or modify the device. This product is intended to be installed indoors. Keep this product away from water, fire, humidity, or hot environments. We cannot guarantee that no accidents or damage will occur due to the improper use of the device. Please use this product with care and operate at your own risk! In the case of device failure, please disconnect it from power. The fastest way to do so is by unplugging the power adapter from the power outlet. The adapter shall be installed near the equipment and shall be easily accessible.
Exposure to Radio Frequency Radiation: This MikroTik equipment complies with the European Union radiation exposure limits set forth for an uncontrolled environment. This MikroTik device should be installed and operated no closer than 20 centimeters from your body, occupational user, or the general public.
Quickstart
Please follow these quick steps to set up your device:
- Connect your computer to one of the Ethernet ports;
- Configure your computer to obtain its IP address automatically through DHCP;
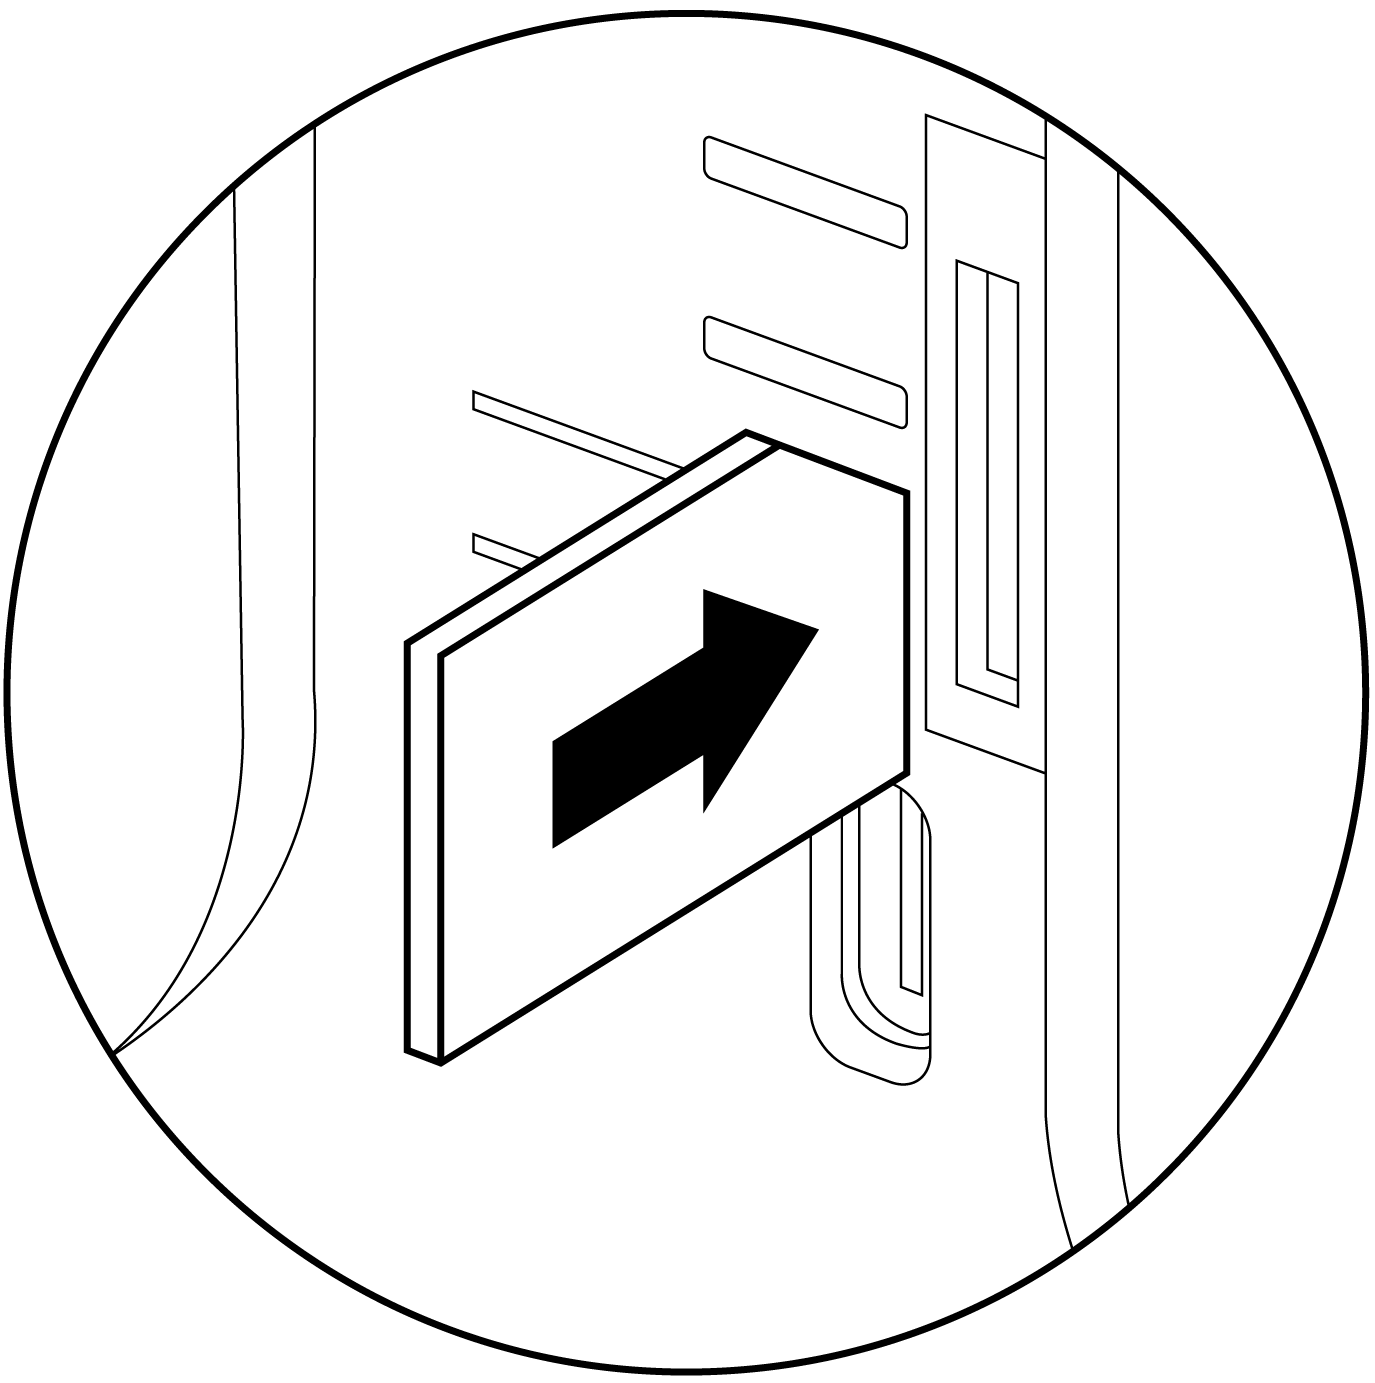
- Insert a micro SIM card into the slot.
- The IMEI number can be found on the case and packaging labels;
- Connect the power adapter to the DC jack;
- To initiate the configuration, access https://192.168.88.1 in your web browser;
- The username is "admin" and there is no password (or, for some models, check user and wireless passwords on the sticker);
- Update the device by clicking the "Check for updates" on the right side and updating your RouterOS software to the latest version. Must have a valid SIM card inserted;
- For a manual update of the device, visit https://mikrotik.com/download;
- For a manual update of the device, visit the products page at https://mikrotik.com/products to find your product. The required packages are accessible under the "Support&Downloads" menu;
- Upload downloaded packages to the (WebFig) (Files) menu and reboot the device. By upgrading your RouterOS software to the latest version, you can ensure optimal performance, stability, and security updates;
- In the (QuickSet) menu, set up the following: Choose your country, to apply country regulation settings;
- Set up your wireless network password in the left field;
- Set up your router password in the bottom field.
MikroTik mobile app
Use the MikroTik smartphone app to configure your router in the field, or to apply the most basic initial settings for your MikroTik home access point.

- Scan the QR code and choose your preferred OS.
- Install and open the application.
- By default, the IP address and user name will be already entered.
- Click Connect to establish a connection to your device through a wireless network.
- Choose Quick Setup and the application will guide you through all basic configuration settings in a couple of easy steps.
- An advanced menu is available to fully configure all necessary settings.
Powering
The device accepts power in the following ways:
- USB type C accepts 5 V DC⎓. The power consumption under maximum load can reach 12 W.
Configuration
Once logged in, we recommend clicking the "Check for updates" button in the QuickSet menu, as updating your RouterOS software to the latest version ensures the best performance and stability. For wireless models, please make sure you have selected the country where the device will be used, to conform with local regulations. RouterOS includes many configuration options in addition to what is described in this document. We suggest starting here to get yourself accustomed to the possibilities: https://mt.lv/help In case an IP connection is not available, the Winbox tool (https://mt.lv/winbox) can be used to connect to the MAC address of the device from the LAN side (all access is blocked from the Internet port by default). For recovery purposes, it is possible to boot the device for reinstallation, see section Troubleshooting articles