CHR: AWS Installation
Amazon Web Services (AWS) does not offer MikroTik CHR directly in the Marketplace. To deploy CHR on AWS, you import the raw disk image as an Amazon Machine Image (AMI) and then launch an EC2 instance from it.
Prerequisites
- An AWS account with permissions to use EC2, S3, and the VM Import/Export service.
- The AWS CLI installed and configured on your local machine.
- An S3 bucket to upload the CHR disk image.
The IAM user or role must have the vmimport service role configured. See the AWS VM Import/Export documentation for required permissions and trust policies.
Step 1: Download the CHR raw disk image
- Navigate to the MikroTik download page.
- Locate the latest Stable CHR raw disk image (
.imgfile) for your target architecture. - Download and extract the archive.
Step 2: Upload the image to S3
Upload the raw .img file to your S3 bucket:
aws s3 cp chr-x.x.x.img s3://YOUR-BUCKET-NAME/chr-x.x.x.img
Replace YOUR-BUCKET-NAME with your actual S3 bucket name, and x.x.x with the RouterOS version.
Step 3: Create the import manifest
Create a JSON file (for example, containers.json) that describes the disk image for the import process:
{
  "Description": "MikroTik RouterOS CHR",
  "Format": "raw",
  "UserBucket": {
    "S3Bucket": "YOUR-BUCKET-NAME",
    "S3Key": "chr-x.x.x.img"
  }
}
Step 4: Import the snapshot
Start the snapshot import and capture the task ID:
aws ec2 import-snapshot \
  --description "MikroTik RouterOS CHR" \
  --disk-container file://containers.json
The output includes an ImportTaskId. Use it to monitor progress:
aws ec2 describe-import-snapshot-tasks \
  --import-task-ids import-snap-xxxxxxxxxxxxxxxxx
Wait until the status shows completed. The output will contain the SnapshotId.
Step 5: Register the AMI
Register the imported snapshot as an AMI:
aws ec2 register-image \
  --name "MikroTik RouterOS CHR" \
  --description "MikroTik RouterOS CHR" \
  --architecture x86_64 \
  --virtualization-type hvm \
  --ena-support \
  --root-device-name "/dev/sda1" \
  --block-device-mappings "[{\"DeviceName\": \"/dev/sda1\", \"Ebs\": { \"SnapshotId\": \"snap-xxxxxxxxxxxxxxxxx\"}}]"
Replace the SnapshotId with the value from the previous step. The output includes an ImageId — this is your new AMI.
Step 6: Launch an EC2 instance
- Open the EC2 console.
- Navigate to Images > AMIs and locate your new CHR AMI.
- Select it and choose Launch.
- Choose an instance type (for example,
t3.microfor testing). - Configure networking, security groups, and a key pair as needed.
- Launch the instance.
Ensure your security group allows SSH (port 22) and WinBox (port 8291) access from your management IP only. Secure the router immediately after first login — see Securing your router.
Step 7: Connect to CHR
-
Connect via SSH using the instance's public IP:
ssh admin@INSTANCE_PUBLIC_IP -
On first login, review the software license and set a strong password.
-
Proceed with configuration. See First time configuration for production setup guidance.
AWS does not assign a public IP by default. Ensure your instance has a public IP or Elastic IP associated, and that the security group permits inbound SSH.
Alternative: Launch CHR from AWS Marketplace
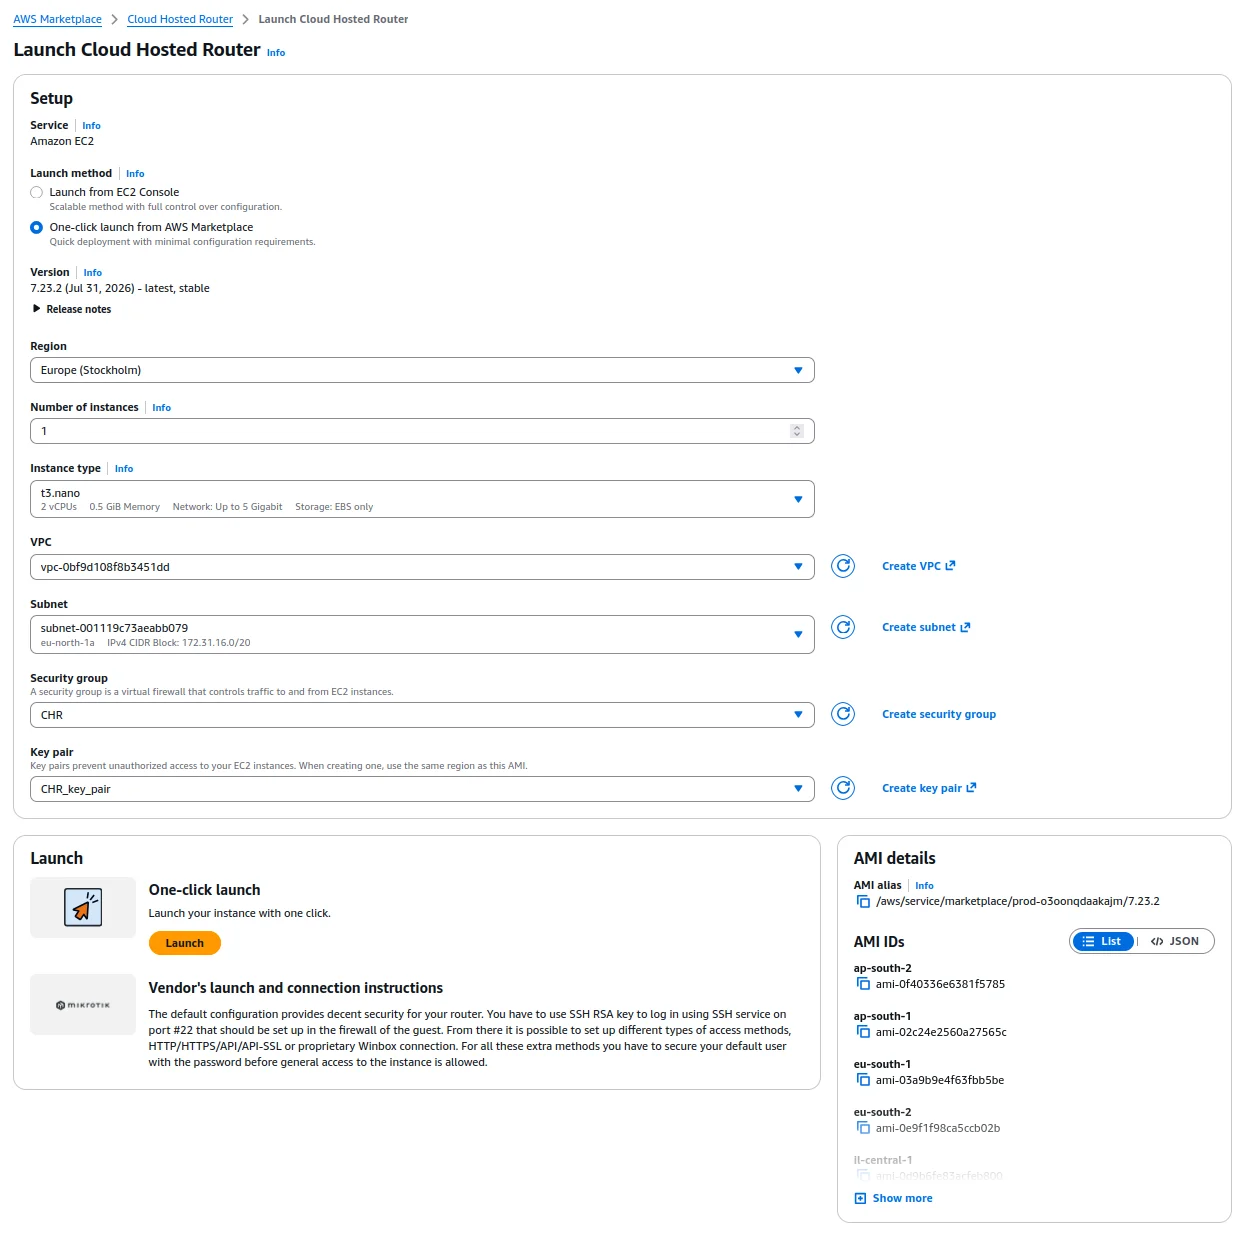
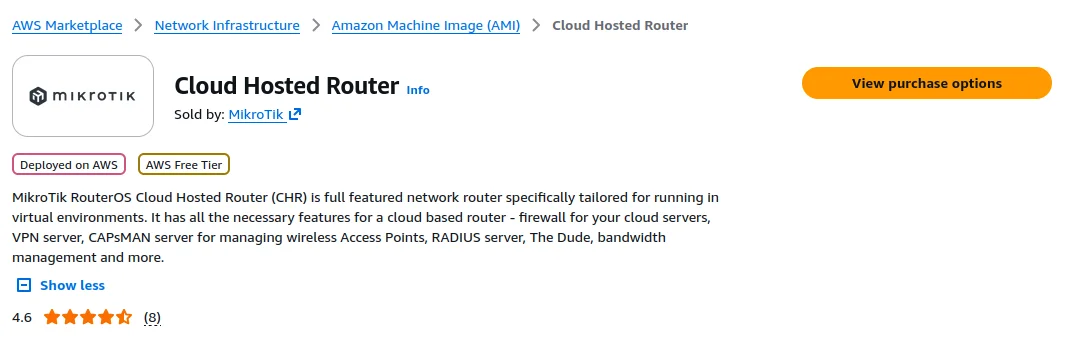
You can deploy CHR directly from the AWS Marketplace without manually importing disk images.
-
Open the MikroTik Cloud Hosted Router listing on AWS Marketplace.
-
Subscribe to Cloud Hosted Router.
-
Select Launch and choose the desired launch method.
-
Create or select a Security Group. The default configuration provides reasonable security for the router.
-
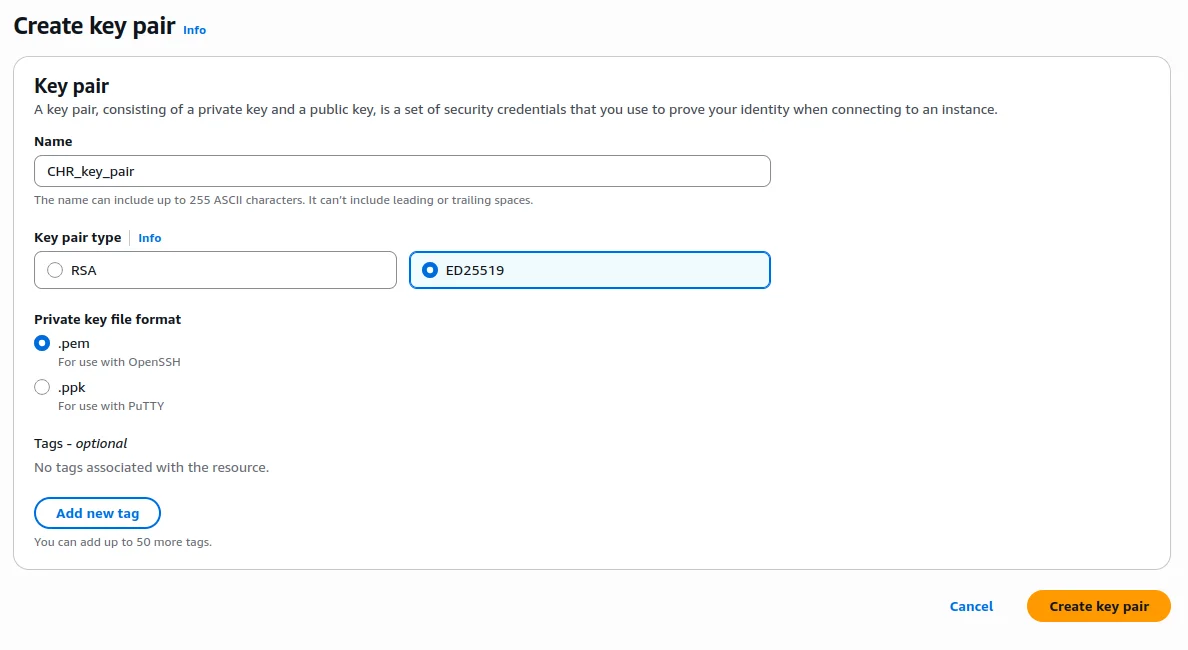
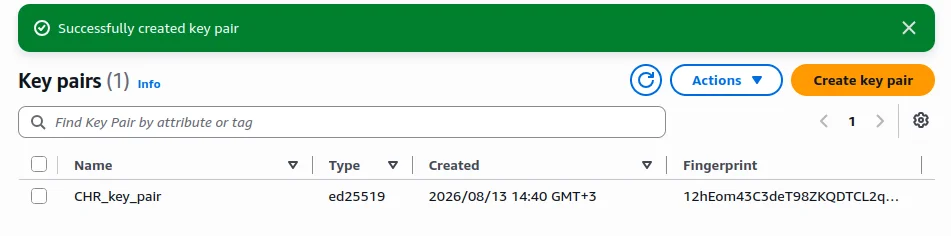
Create and download a key pair. You need this key pair to authenticate via SSH.

-
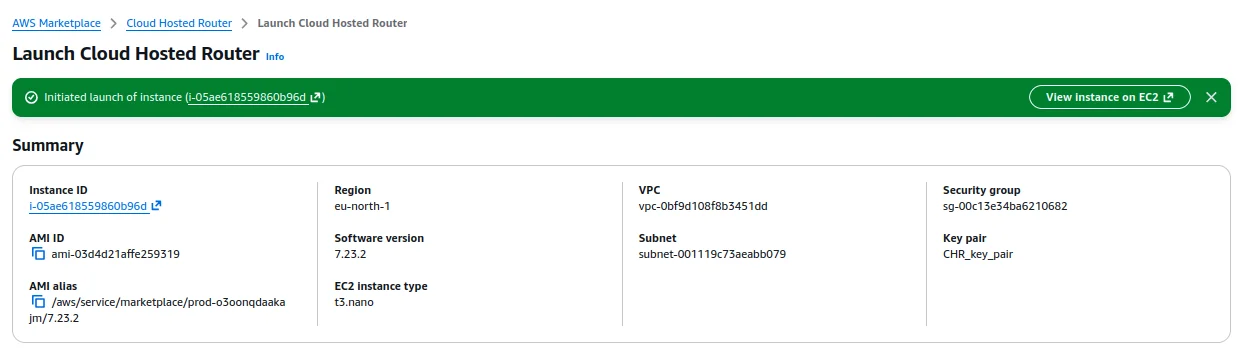
Review the instance configuration and select Launch Instance.
Connecting to the Marketplace instance
SSH access on port 22 is available immediately by using the downloaded key pair:
ssh -i /path/to/keypair.pem admin@INSTANCE_PUBLIC_IP
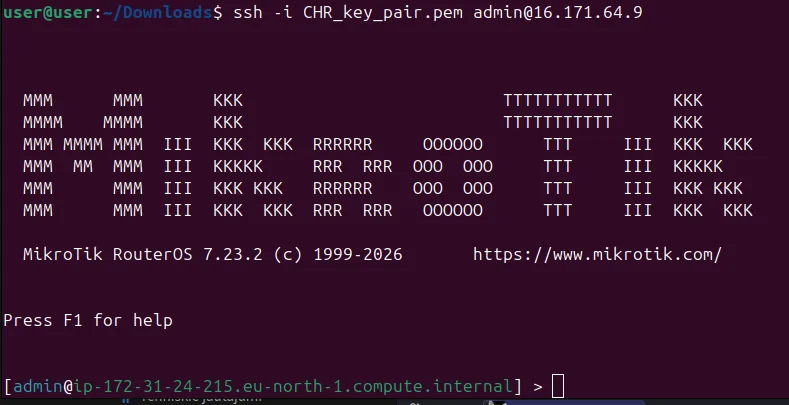
On first login, set a strong password for the default user before enabling any additional access methods. Without a password, only SSH with the key pair is allowed. From there, you can enable HTTP, HTTPS, API, API-SSL, or WinBox access.