Container - HomeAssistant
Introduction
The introduction of the container feature in RouterOS made it possible to run a wide variety of servers directly on the router. This is especially valuable for users who want to minimize the number of devices in their network. Instead of deploying a server on a separate machine, you can now host it inside the router itself.
In this guide we will demonstrate how to install and run a Home‑Assistant server on RouterOS.
Home‑Assistant is a popular platform for collect data from numerous sensors and offers extensive support for a wide range of integrations.
Summary
Before proceeding with the configuration, ensure that you have studied our container guide. Additionally, review the disclaimer and requirements section to understand all associated risks and any necessary steps you may need to take.
You can find supported architectures in the link.
At the time this guide was published, the home-assistant image was available for ARM64 and AMD64 (CHR and x86) devices.
Based on the information from the Home Assistant website, the recommended minimum requirements are:
- 2 GB RAM
- 32 GB Storage
Container configuration
Sub-menu: /container
note: The container package is required.
Container mode
Enable container mode:
/system/device-mode/update container=yes
You will need to confirm the device-mode with a press of the reset button, or a cold reboot, if using a container on X86.
Networking
Add veth interface:
/interface/veth/add name=veth2 address=172.19.0.2/24 gateway=172.19.0.1
Create a bridge for both containers and add veth interfaces to it:
/interface/bridge/add name=ha
/ip/address/add address=172.19.0.1/24 interface=ha
/interface/bridge/port/add bridge=ha interface=veth2
Forward TCP 8123 for home-assistant management (where 192.168.88.1 is the device's LAN IP address) if NAT is required (optional):
/ip/firewall/nat/add action=dst- chain=dstnat dst-address=192.168.88.1 dst-port=8123 protocol=tcp to-addresses=172.19.0.2 to-ports=8123
Environment variables and mounts
Per the home-assistant documentation, define mounts for the configuration files (where /usb1 is our external USB storage folder):
/container/mounts/add dst=/config list=ha_config src=/usb1/ha_config
Create an environment variable for home-assistant:
/container/envs/add key=TZ list=ha_env value=America/Los_Angeles
Getting image
To simplify the configuration, we will get the images from an external library.
Make sure that you have "Registry URL" set accordingly, limit RAM usage (if necessary), and set up a directory for the images:
/container/config/set registry-url=https://registry-1.docker.io tmpdir=/usb1/pull
Pull the home-assistant image and wait for it to be extracted:
/container/add remote-image=homeassistant/home-assistant:latest interface=veth2 root-dir=/usb1/ha mountlists=ha_config envlists=ha_env logging=yes
After running the command, RouterOS should start "extracting" the package. Check "File System" for newly created folders and monitor container status with the command /container/print.
Starting the container
After you make sure that the container has been added and the status has changed to status=stopped after using /container/print → you can initiate it:
/container/start 0
Home-Assistant setup
Open your preferred web browser and access the Home-Assistant management portal by specifying the management port ":8123":
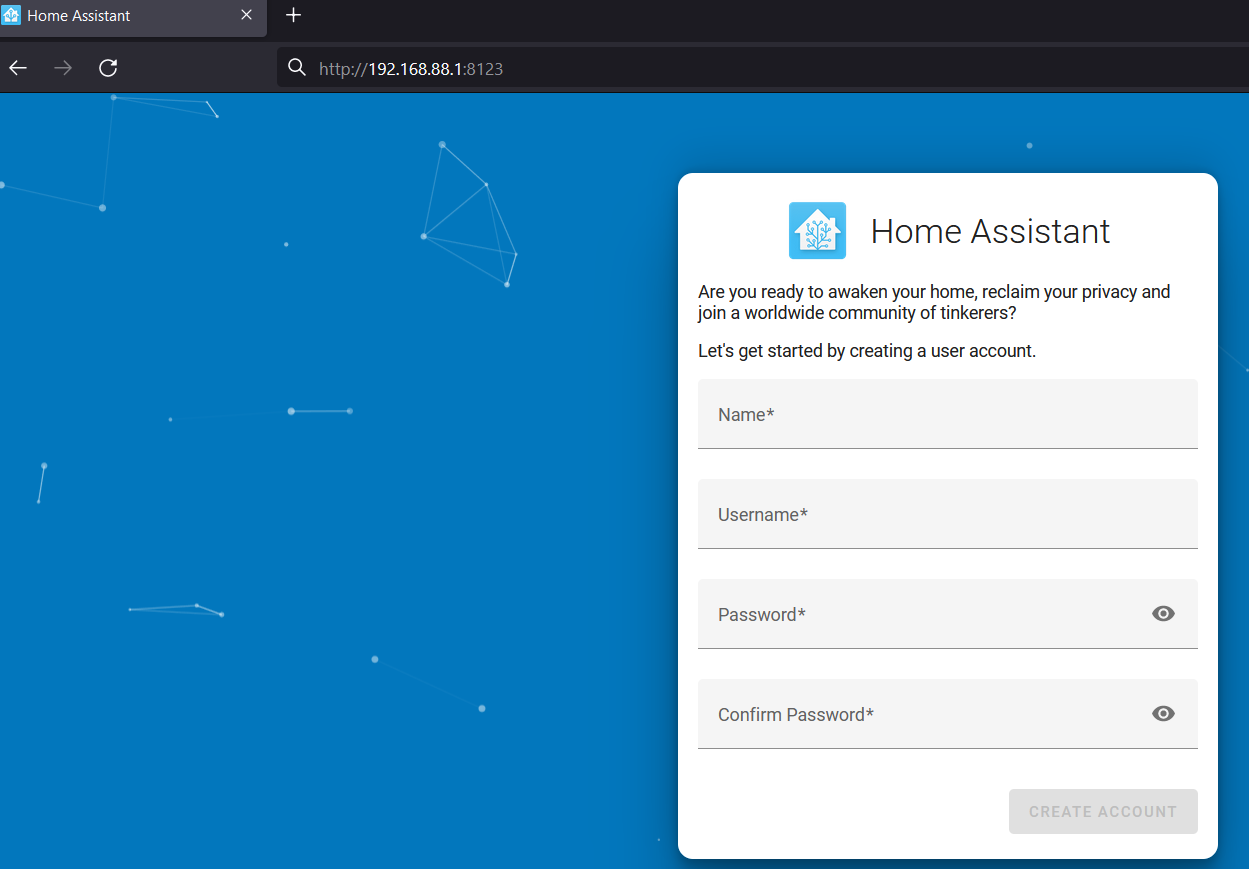
Proceed with the setup. More information is explained in the Home-Assistant onboarding guide.
Resources
Just running Home Assistant (without any load/traffic) takes up ~300-400 MB of RAM:
/system/resource/print
                   uptime: 4m27s
                  version: 7.13.3 (stable)
               build-time: 2024-01-24 13:16:46
         factory-software: 7.10
              free-memory: 143.0MiB
             total-memory: 448.0MiB