Back To Home
CLI reference:/ip/cloud/ip/cloud/back-to-home-user
Back To Home works on devices with an ARM, ARM64 or TILE CPU, in RouterOS 7.12 and later.
Back To Home turns the router into a WireGuard VPN server that you can reach from anywhere, even when the router has no public IP address or is behind NAT. You set it up with the Back To Home app (Android, iPhone), and the app can also share access with other people and computers.
When the router has a public IP address, the phone connects to it directly. Otherwise, the connection goes through a MikroTik relay server. The connection is end-to-end encrypted in both cases, and the relay cannot read the traffic (see How the router reaches the cloud). Through the relay, the speed can be lower. Your traffic leaves to the internet from your router, so websites see your home address.
Back To Home is meant for simple access to your home network, not for anonymity. For finer control over VPN access, configure WireGuard yourself.
Set up Back To Home with the app
You need a phone with the Back To Home app, connected to the router's local network, for example its Wi-Fi.
- Connect the phone to the router's Wi-Fi network.
- Open the Back To Home app.
- Select Create new.
- Enter the router's local IP address (
192.168.88.1in the default configuration) and the user name and password of the router, and select Connect. - Enter a name for the tunnel and select Create tunnel.
- Allow the phone to add the VPN configuration.
The tunnel is ready. Disconnect from the router's Wi-Fi, and select Connect in the app to open the tunnel from any other network, for example mobile data.
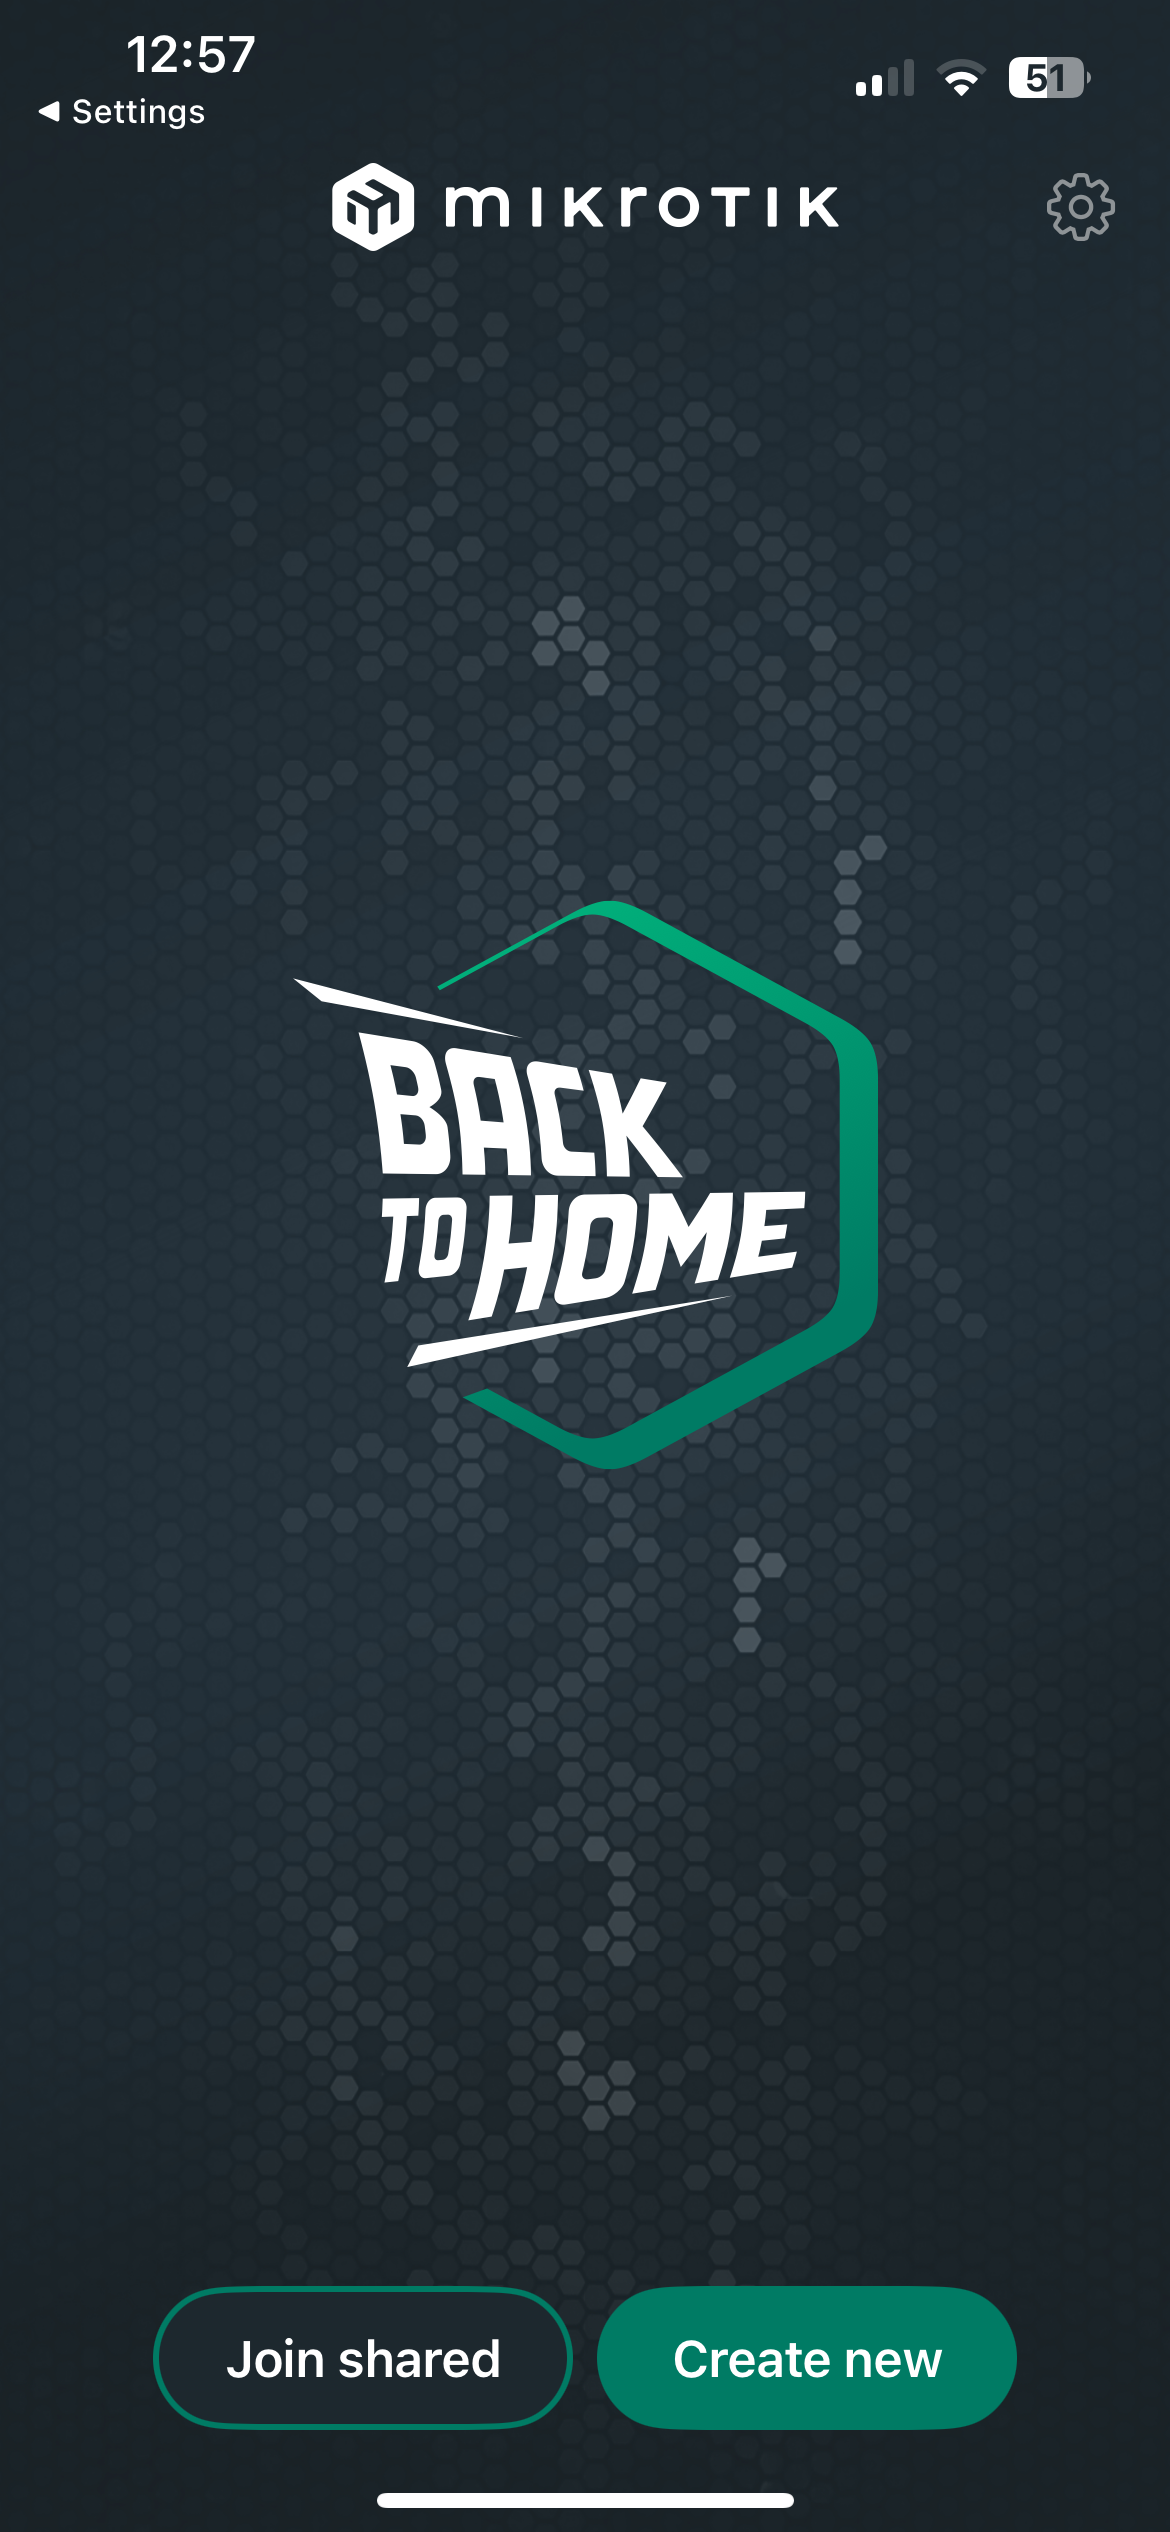 | 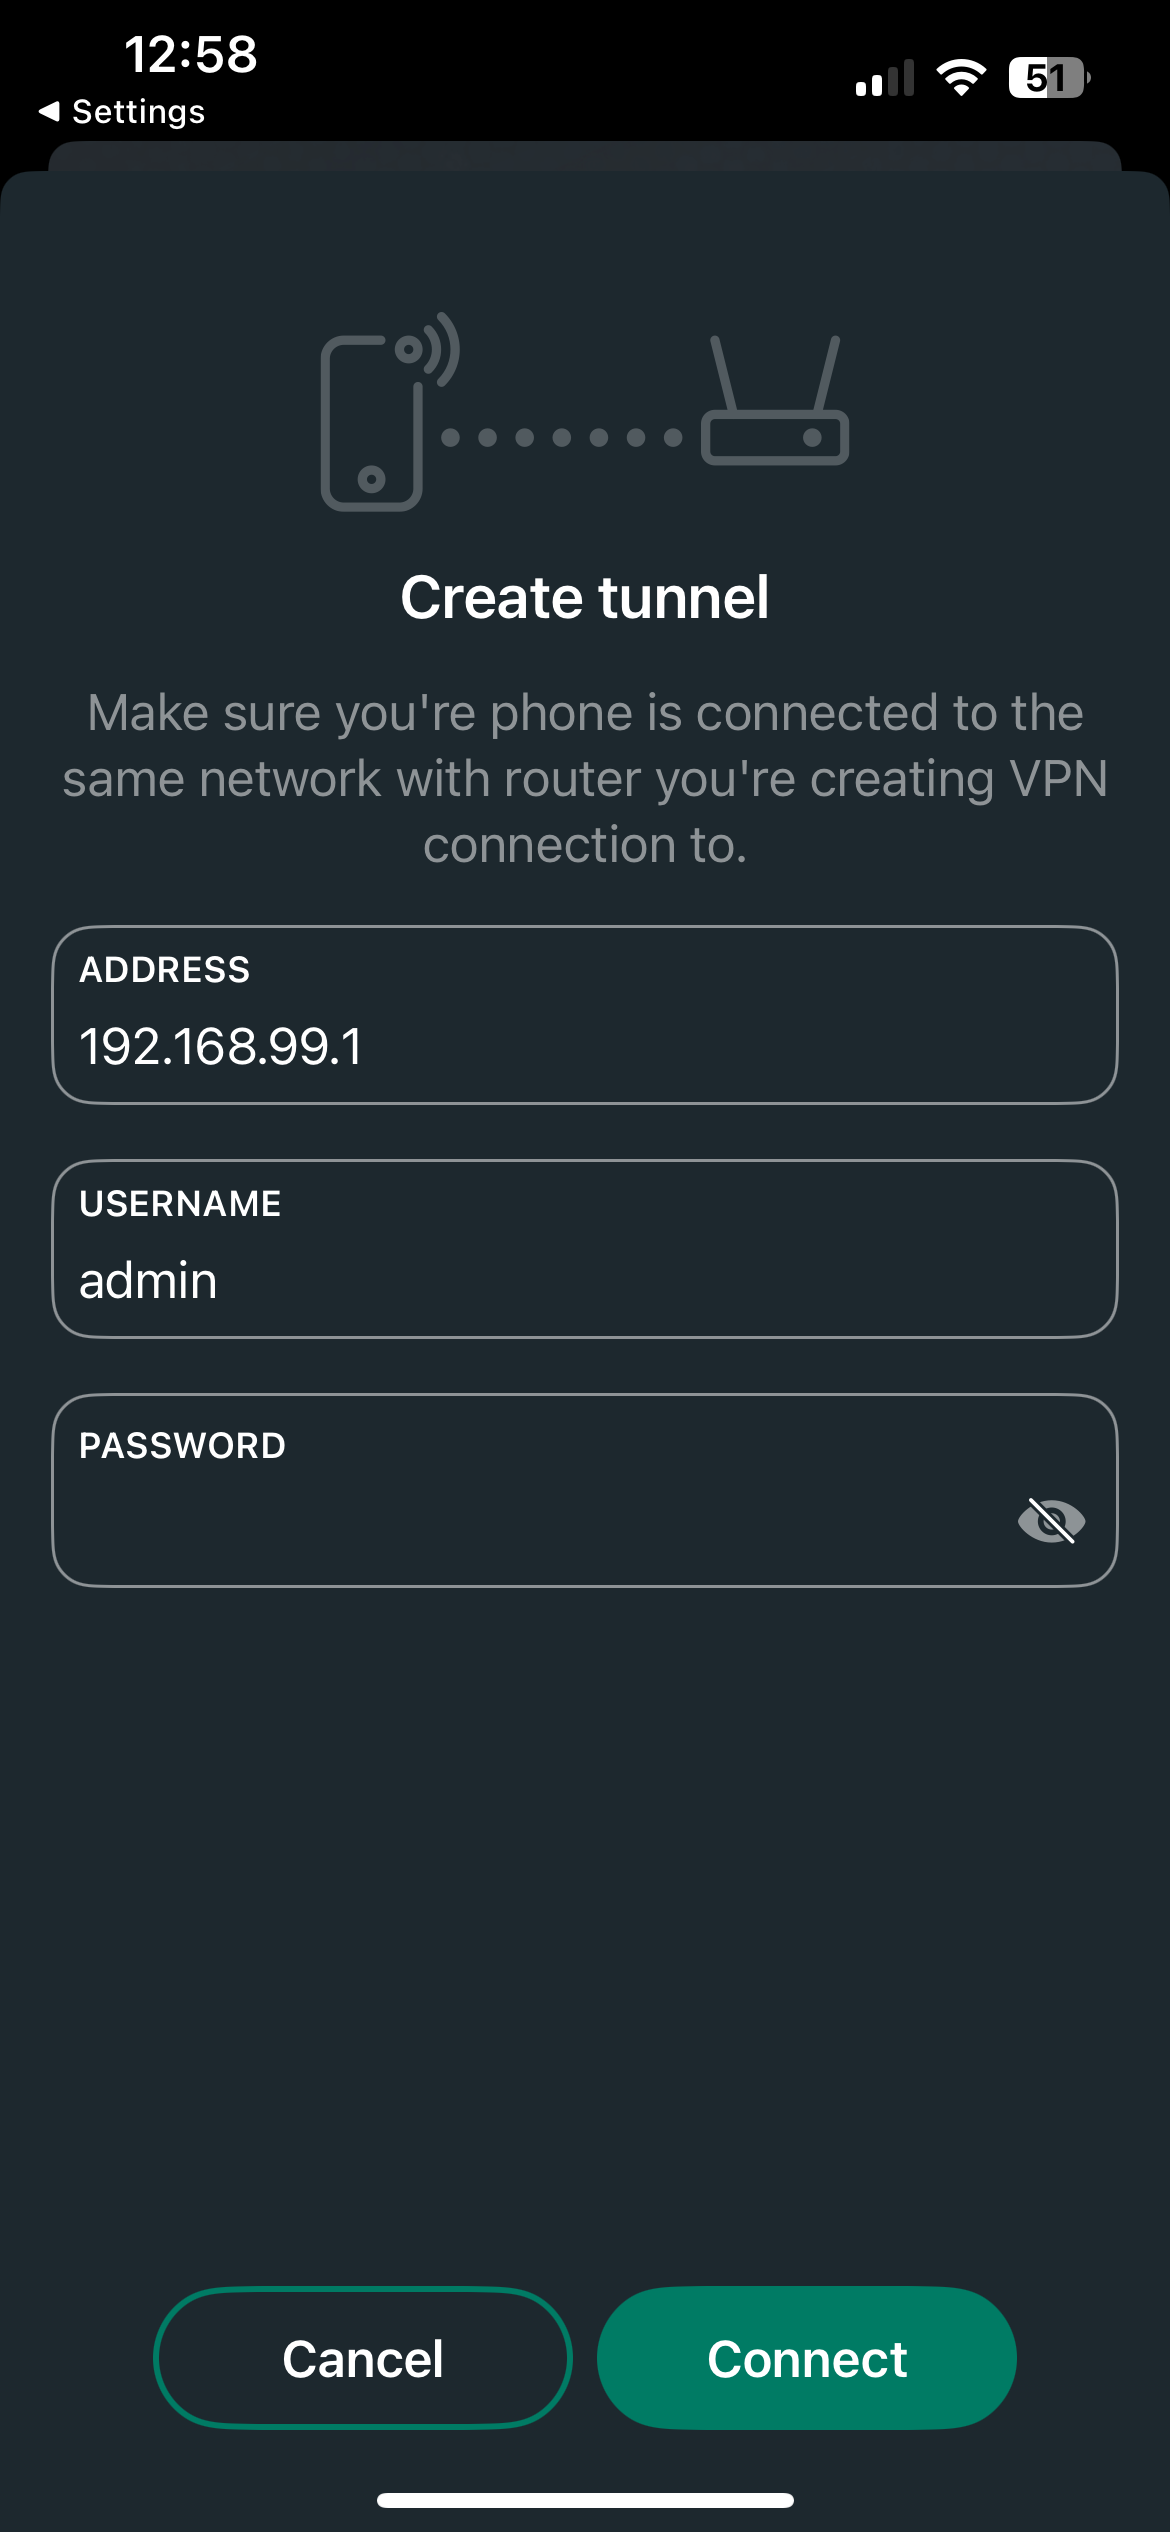 | 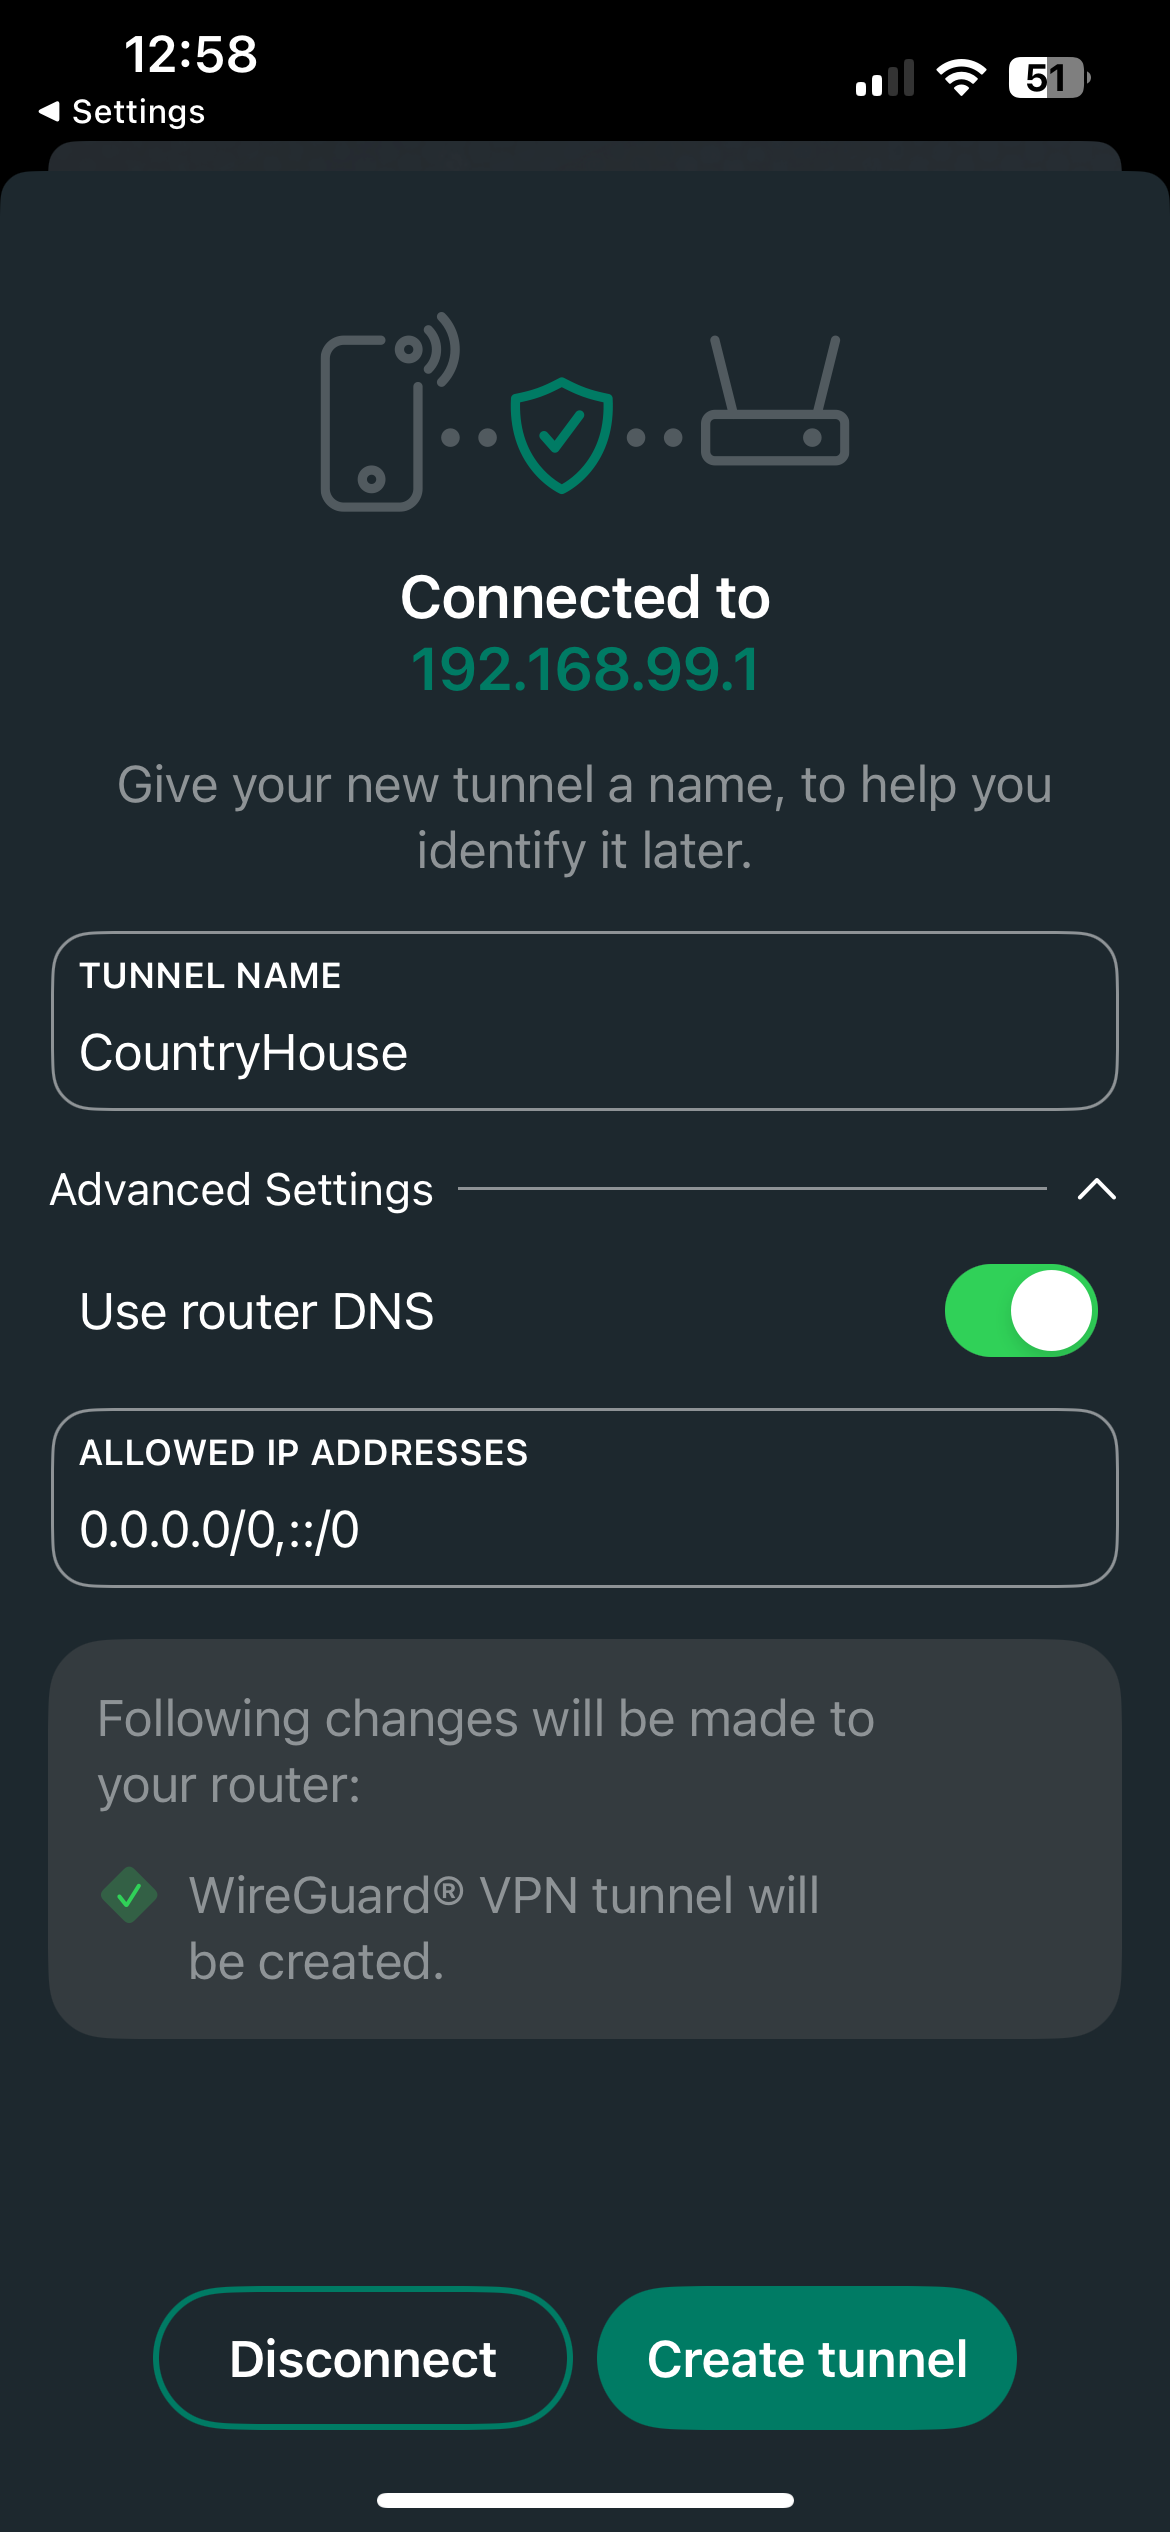 | 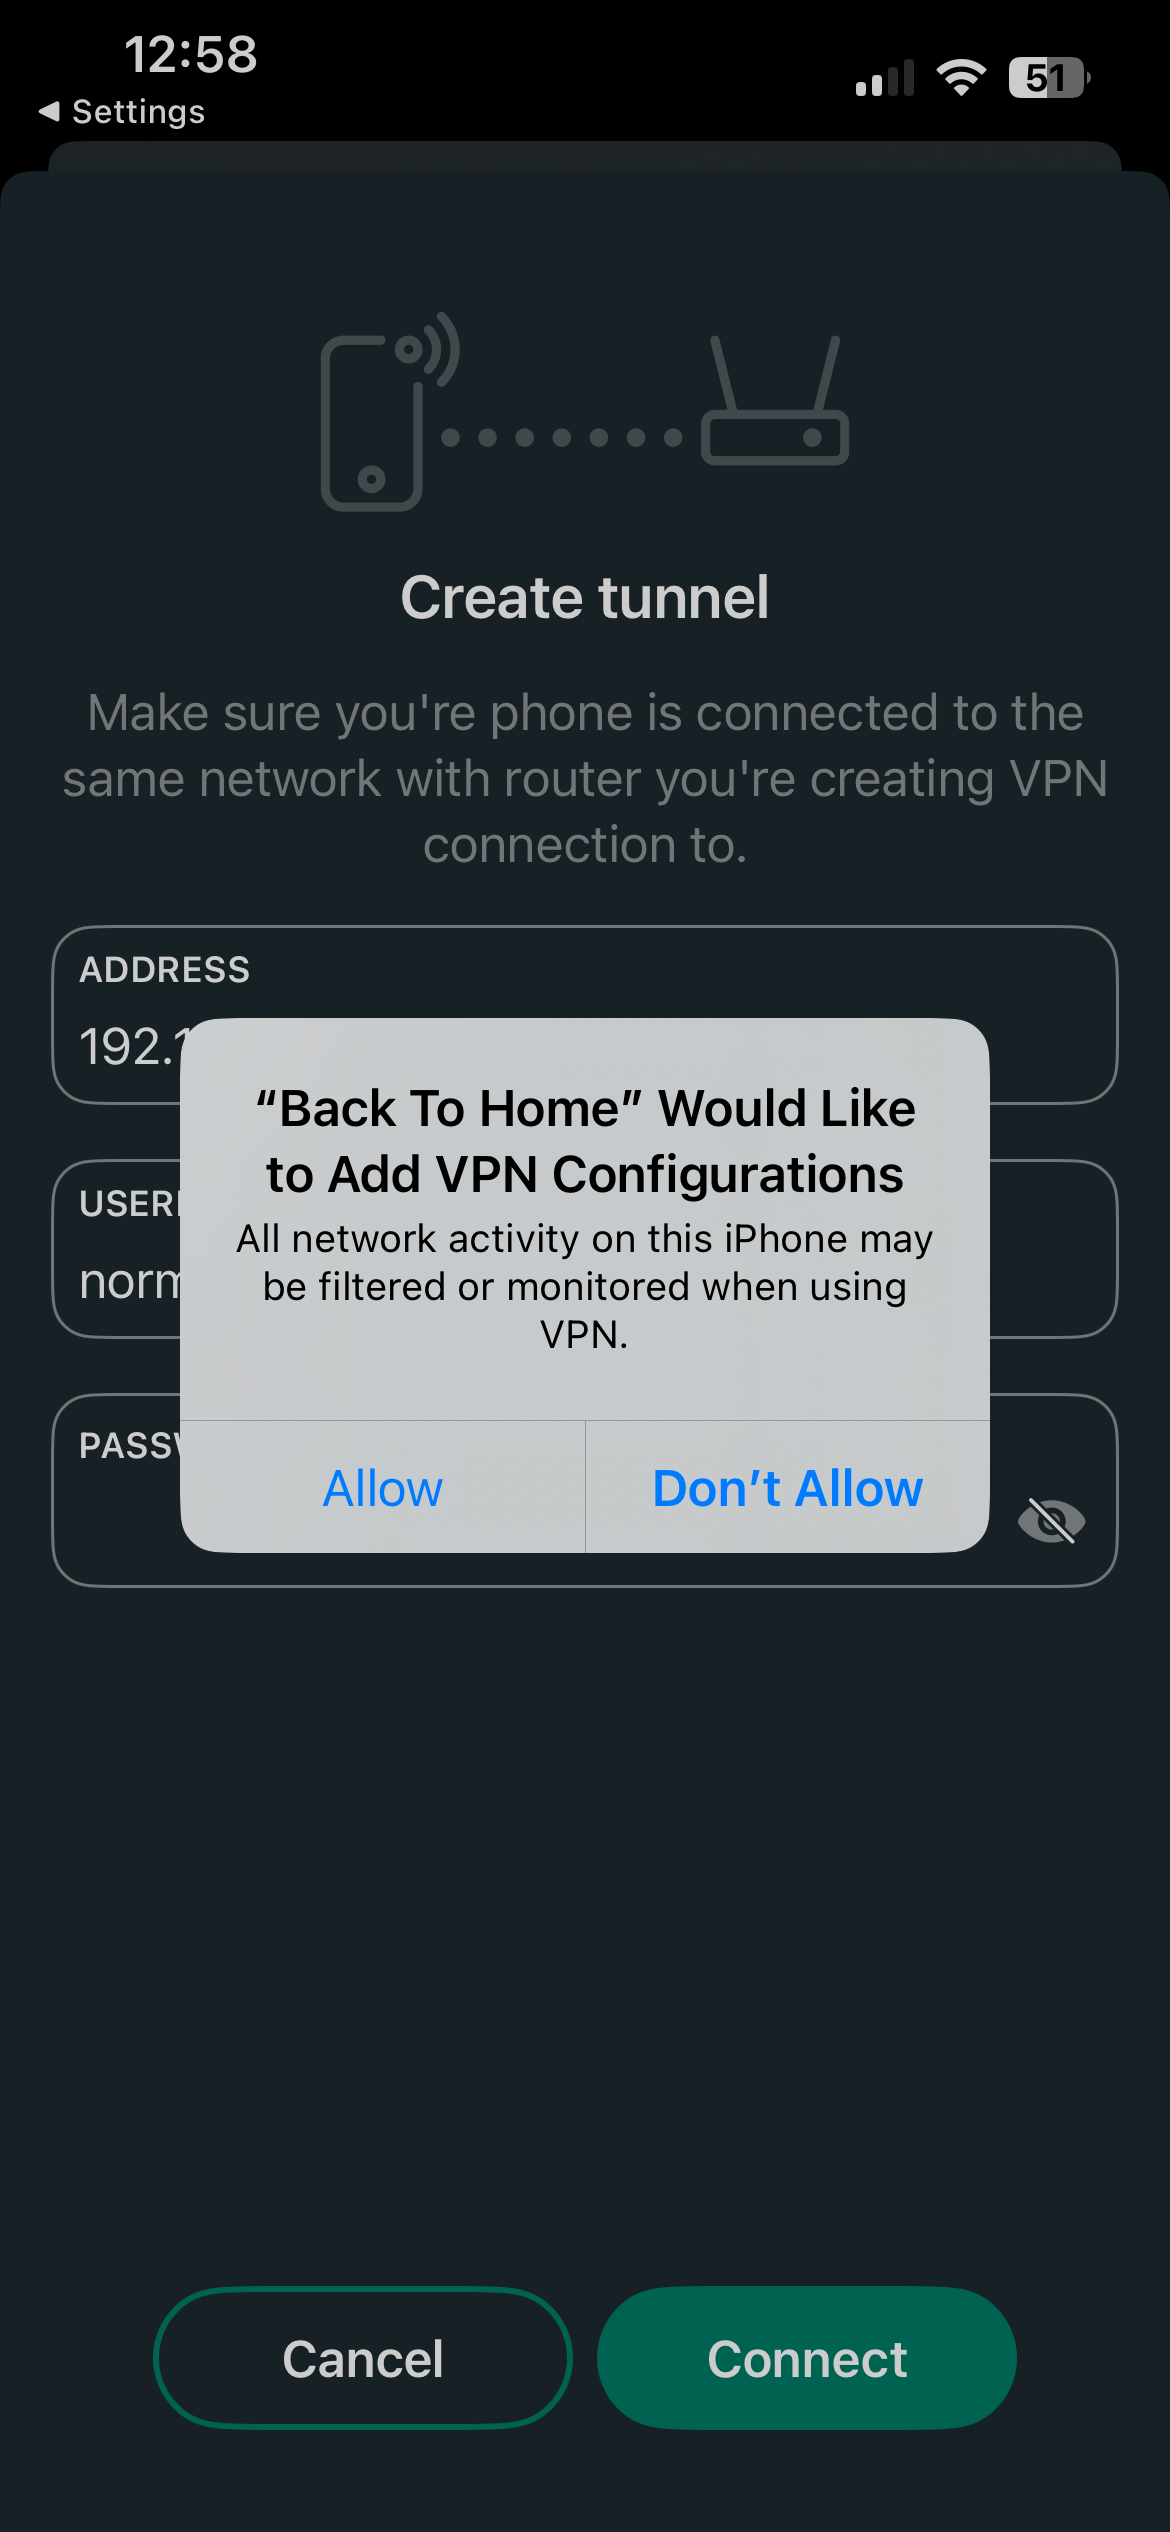 |  |
|---|---|---|---|---|
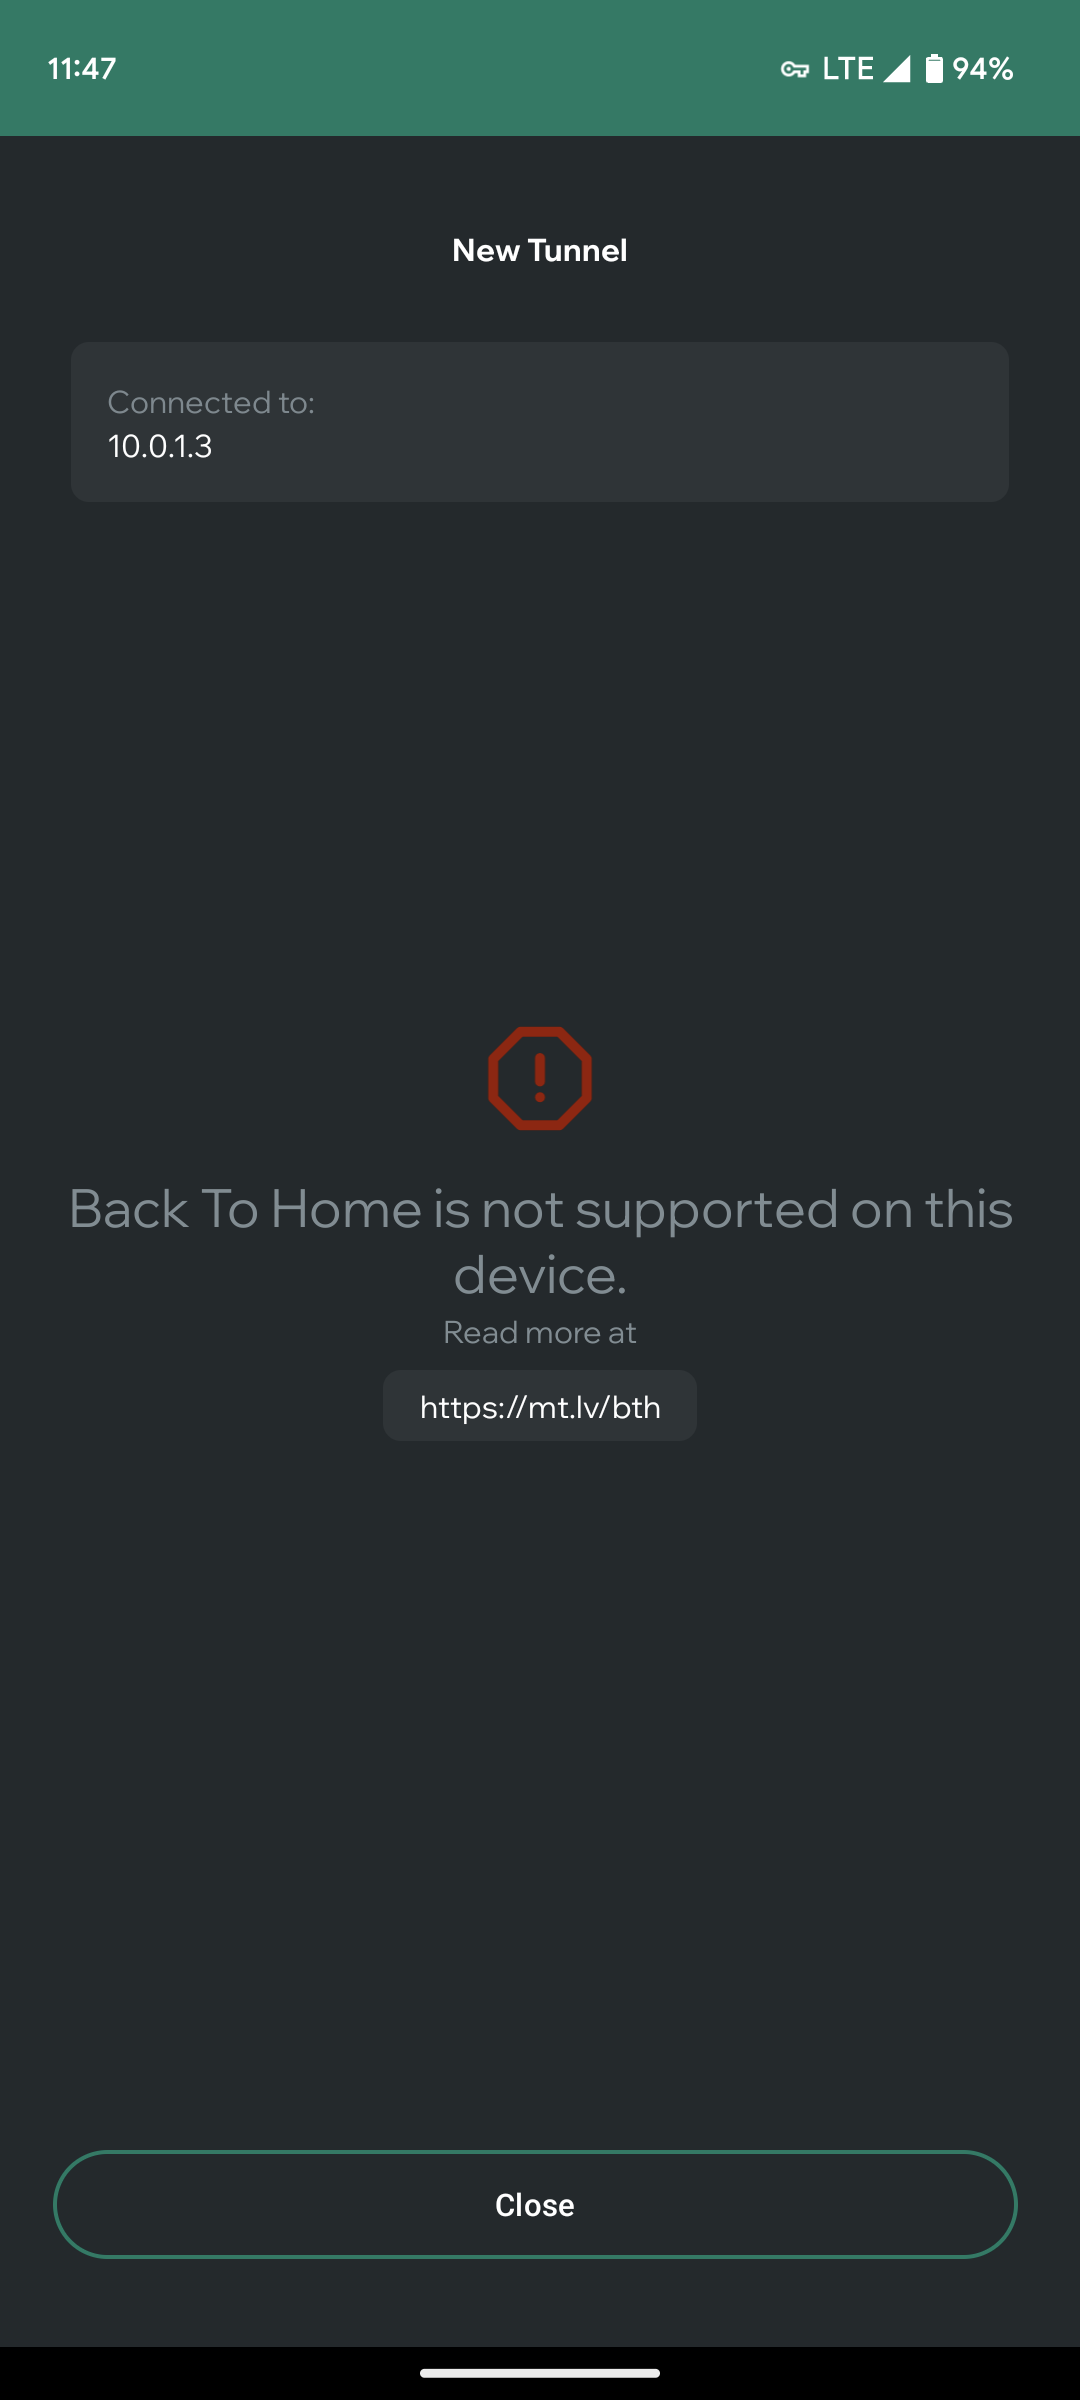
| Select Create new | Enter the router address and credentials | Name the tunnel | Allow the VPN configuration | Error on a device without Back To Home support |
Share the tunnel with other people
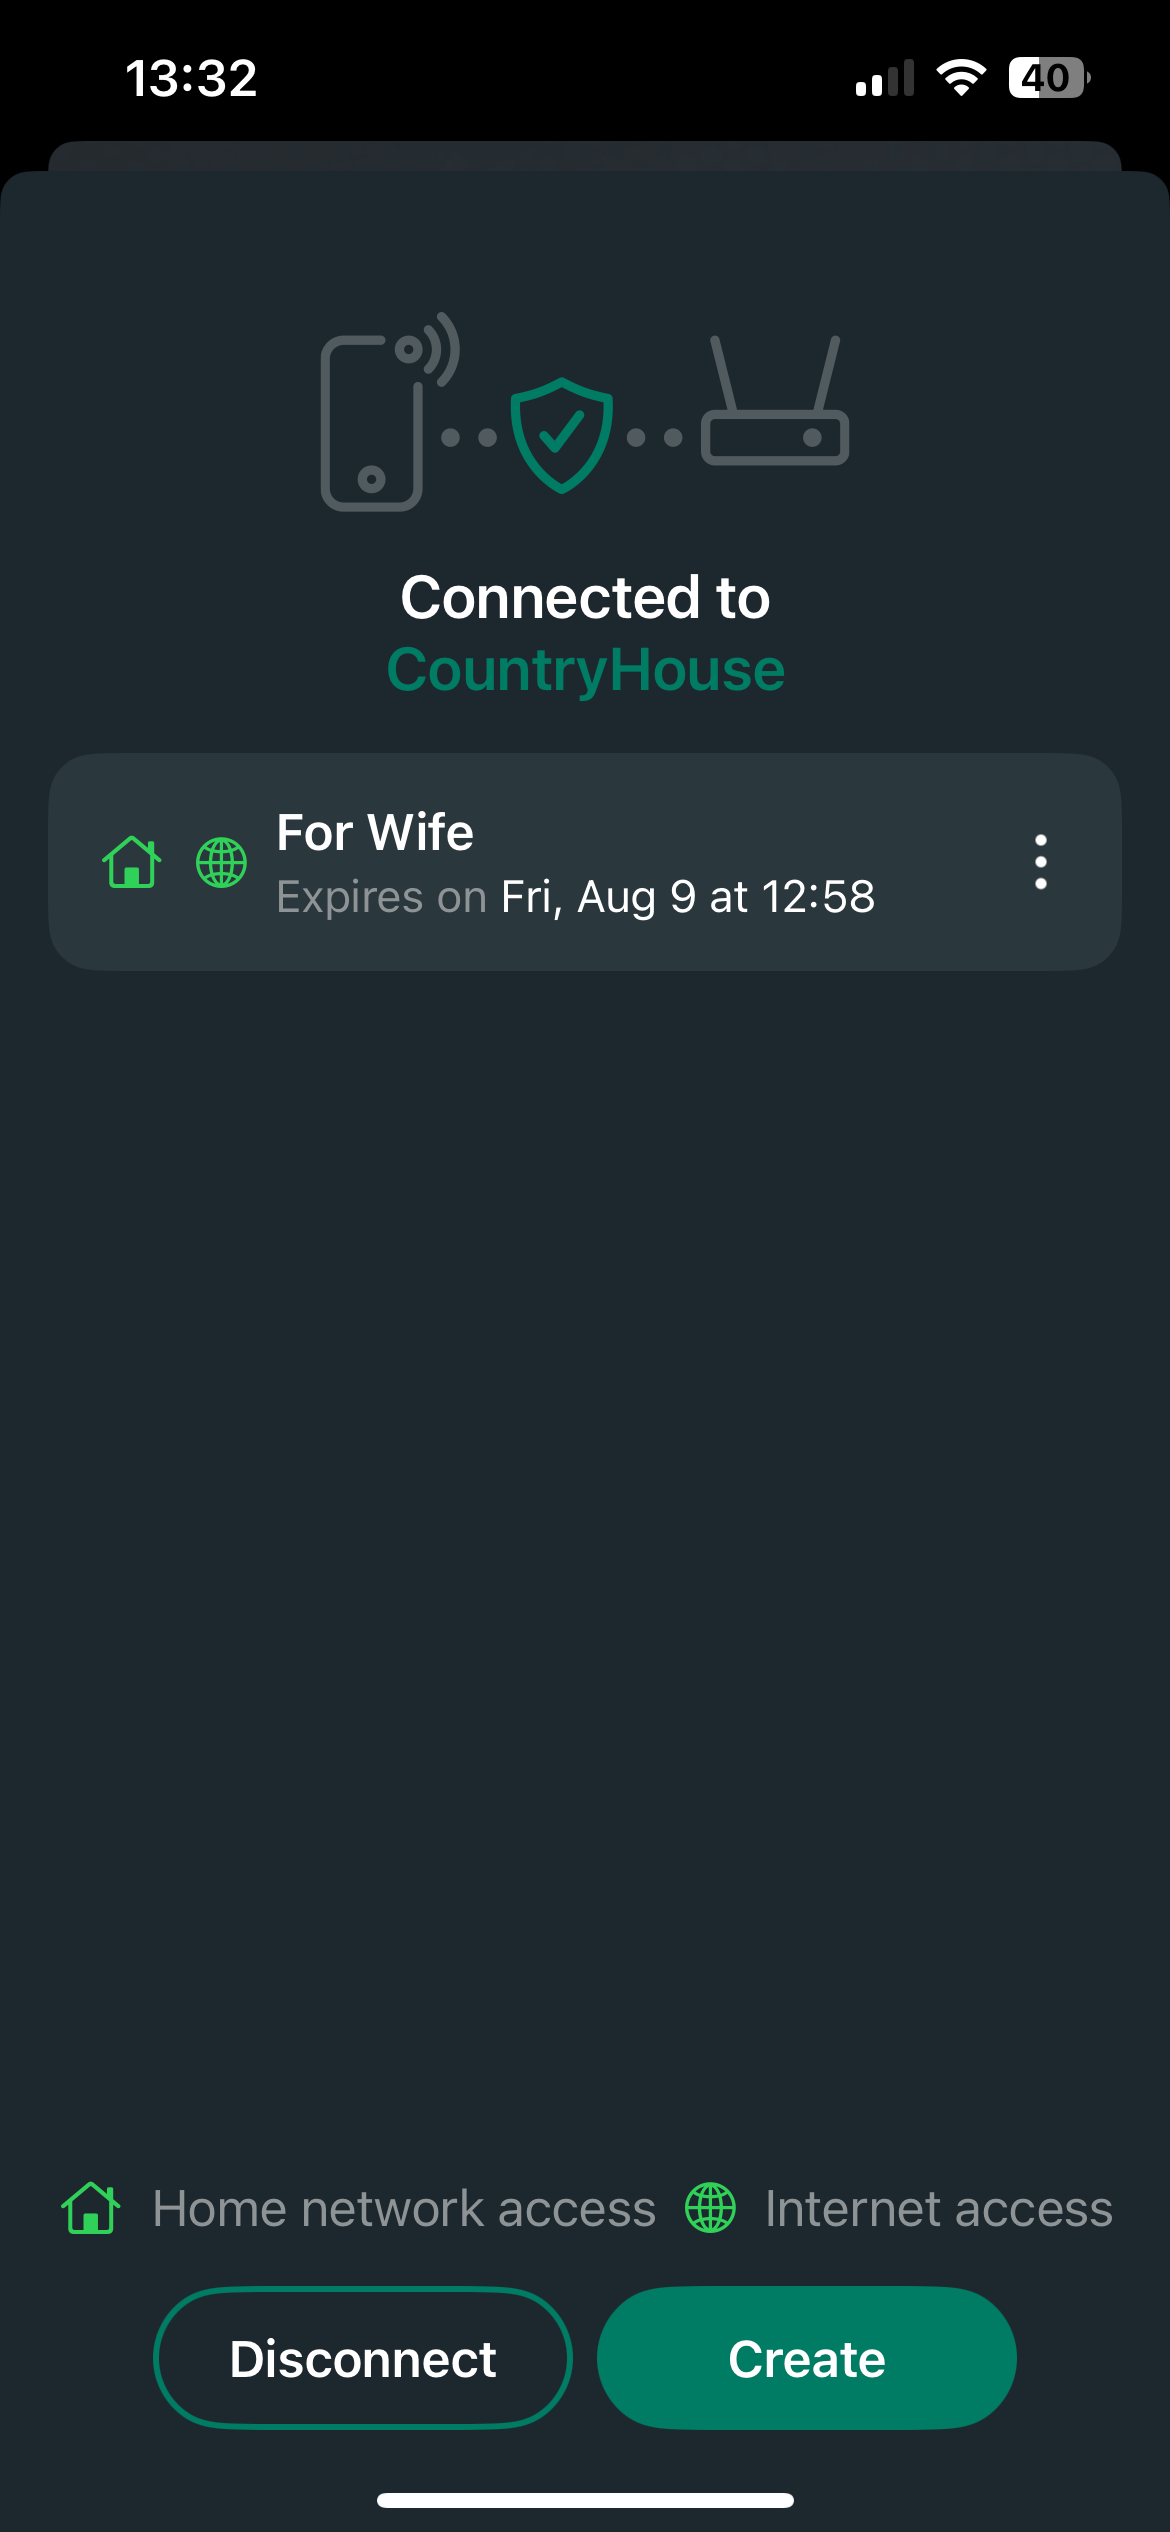
You can create guest tunnels for friends and family, with an expiration date. For each guest tunnel, you choose whether the person can reach your home network or only use the internet through your router. The person needs the Back To Home app.
- Connect to your own tunnel.
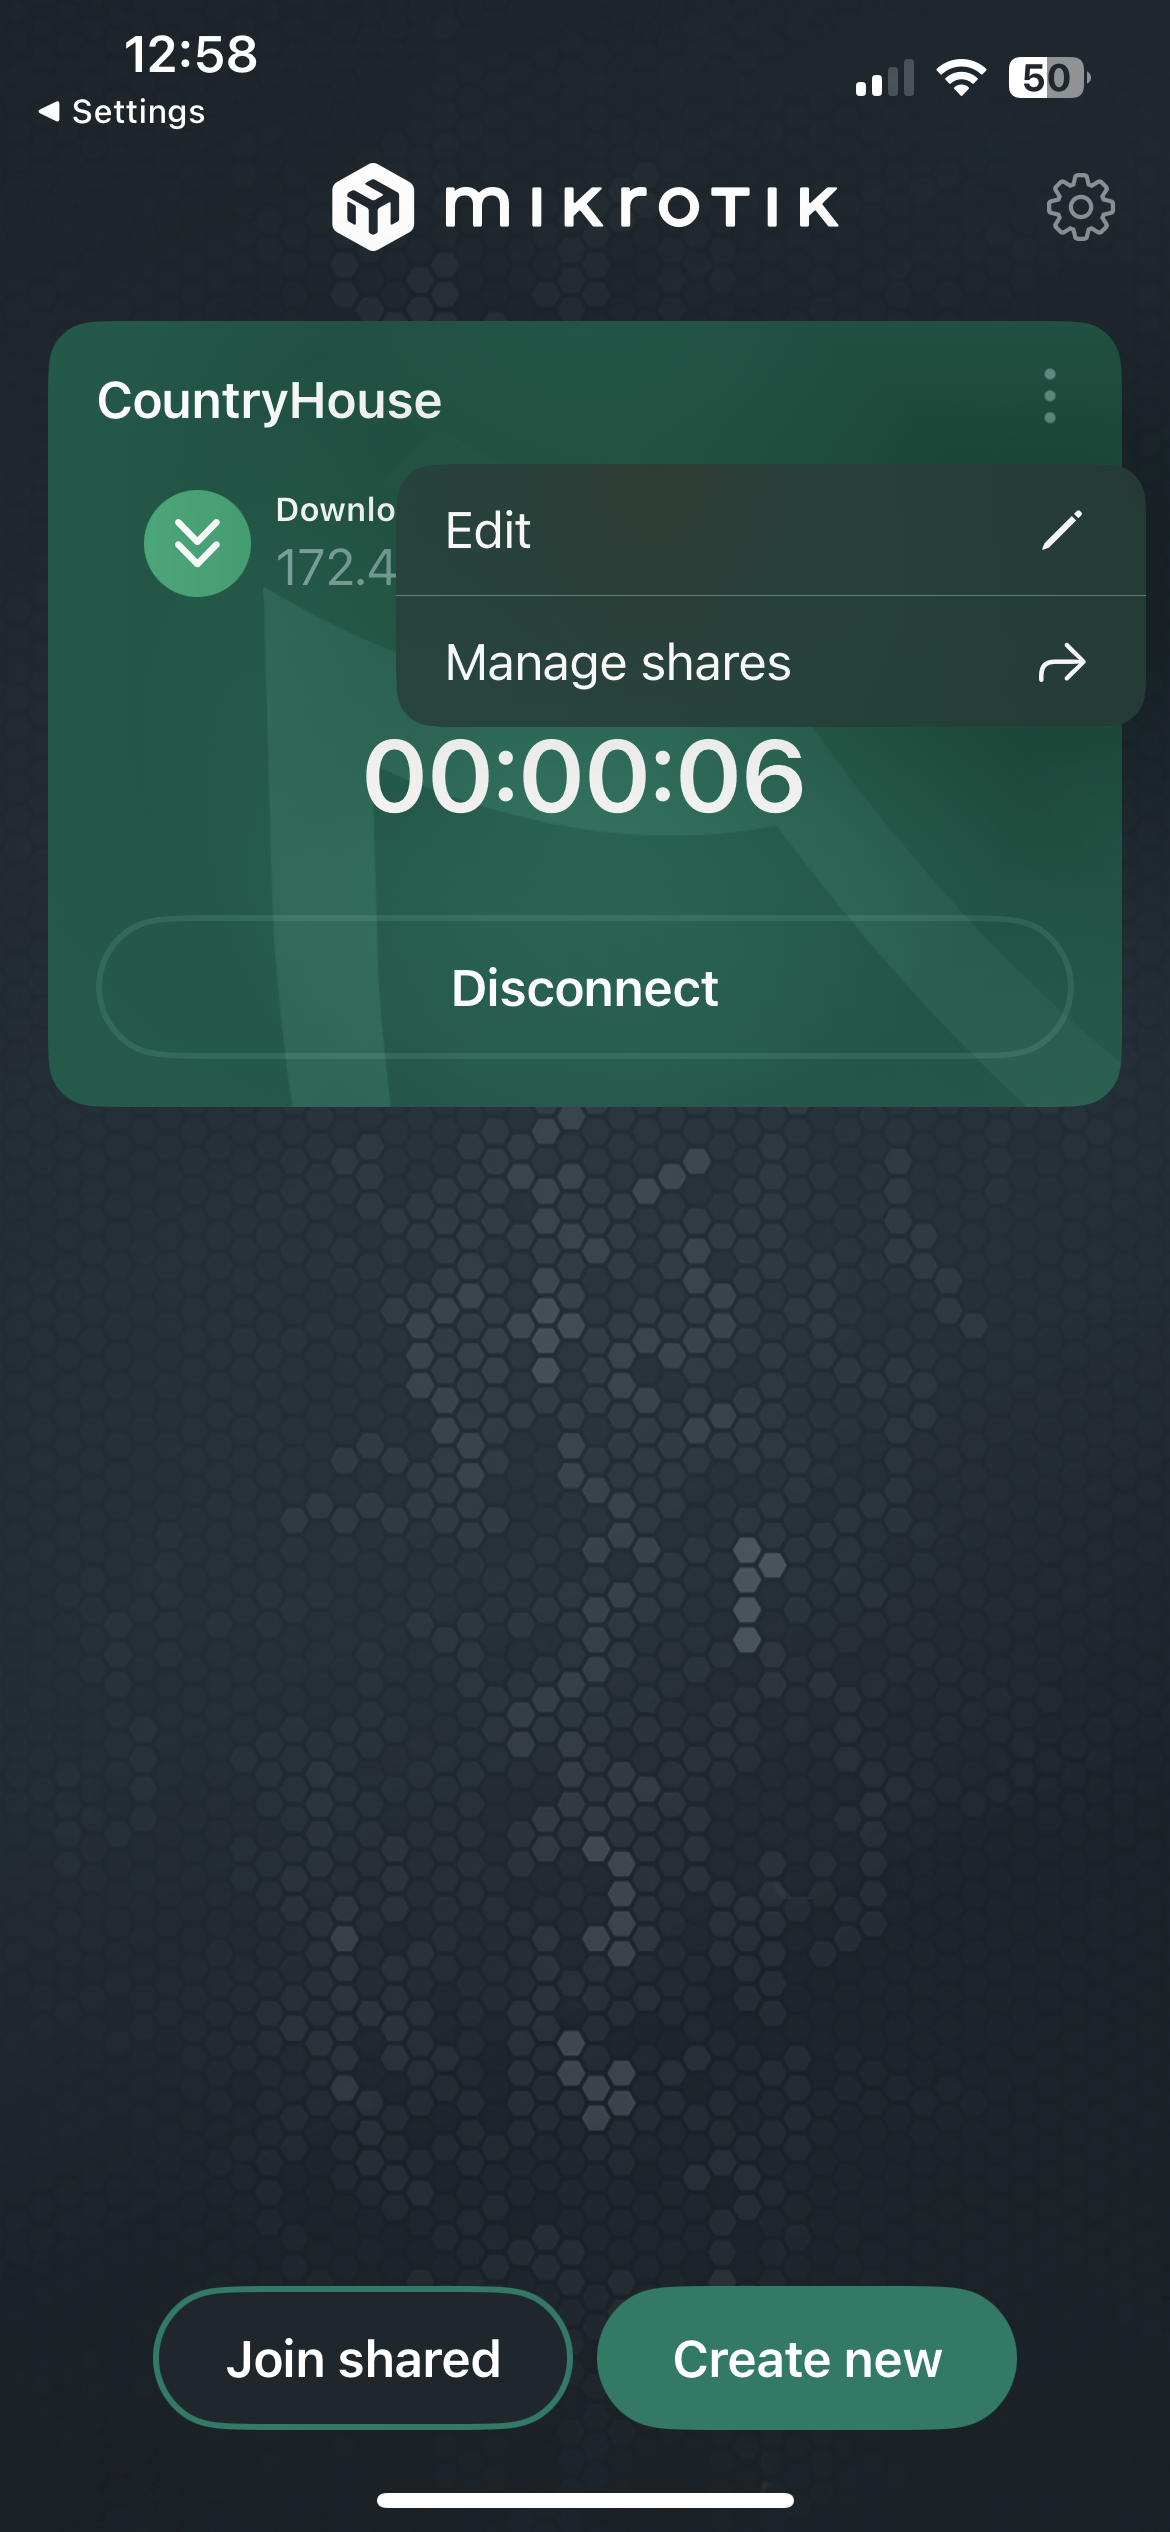
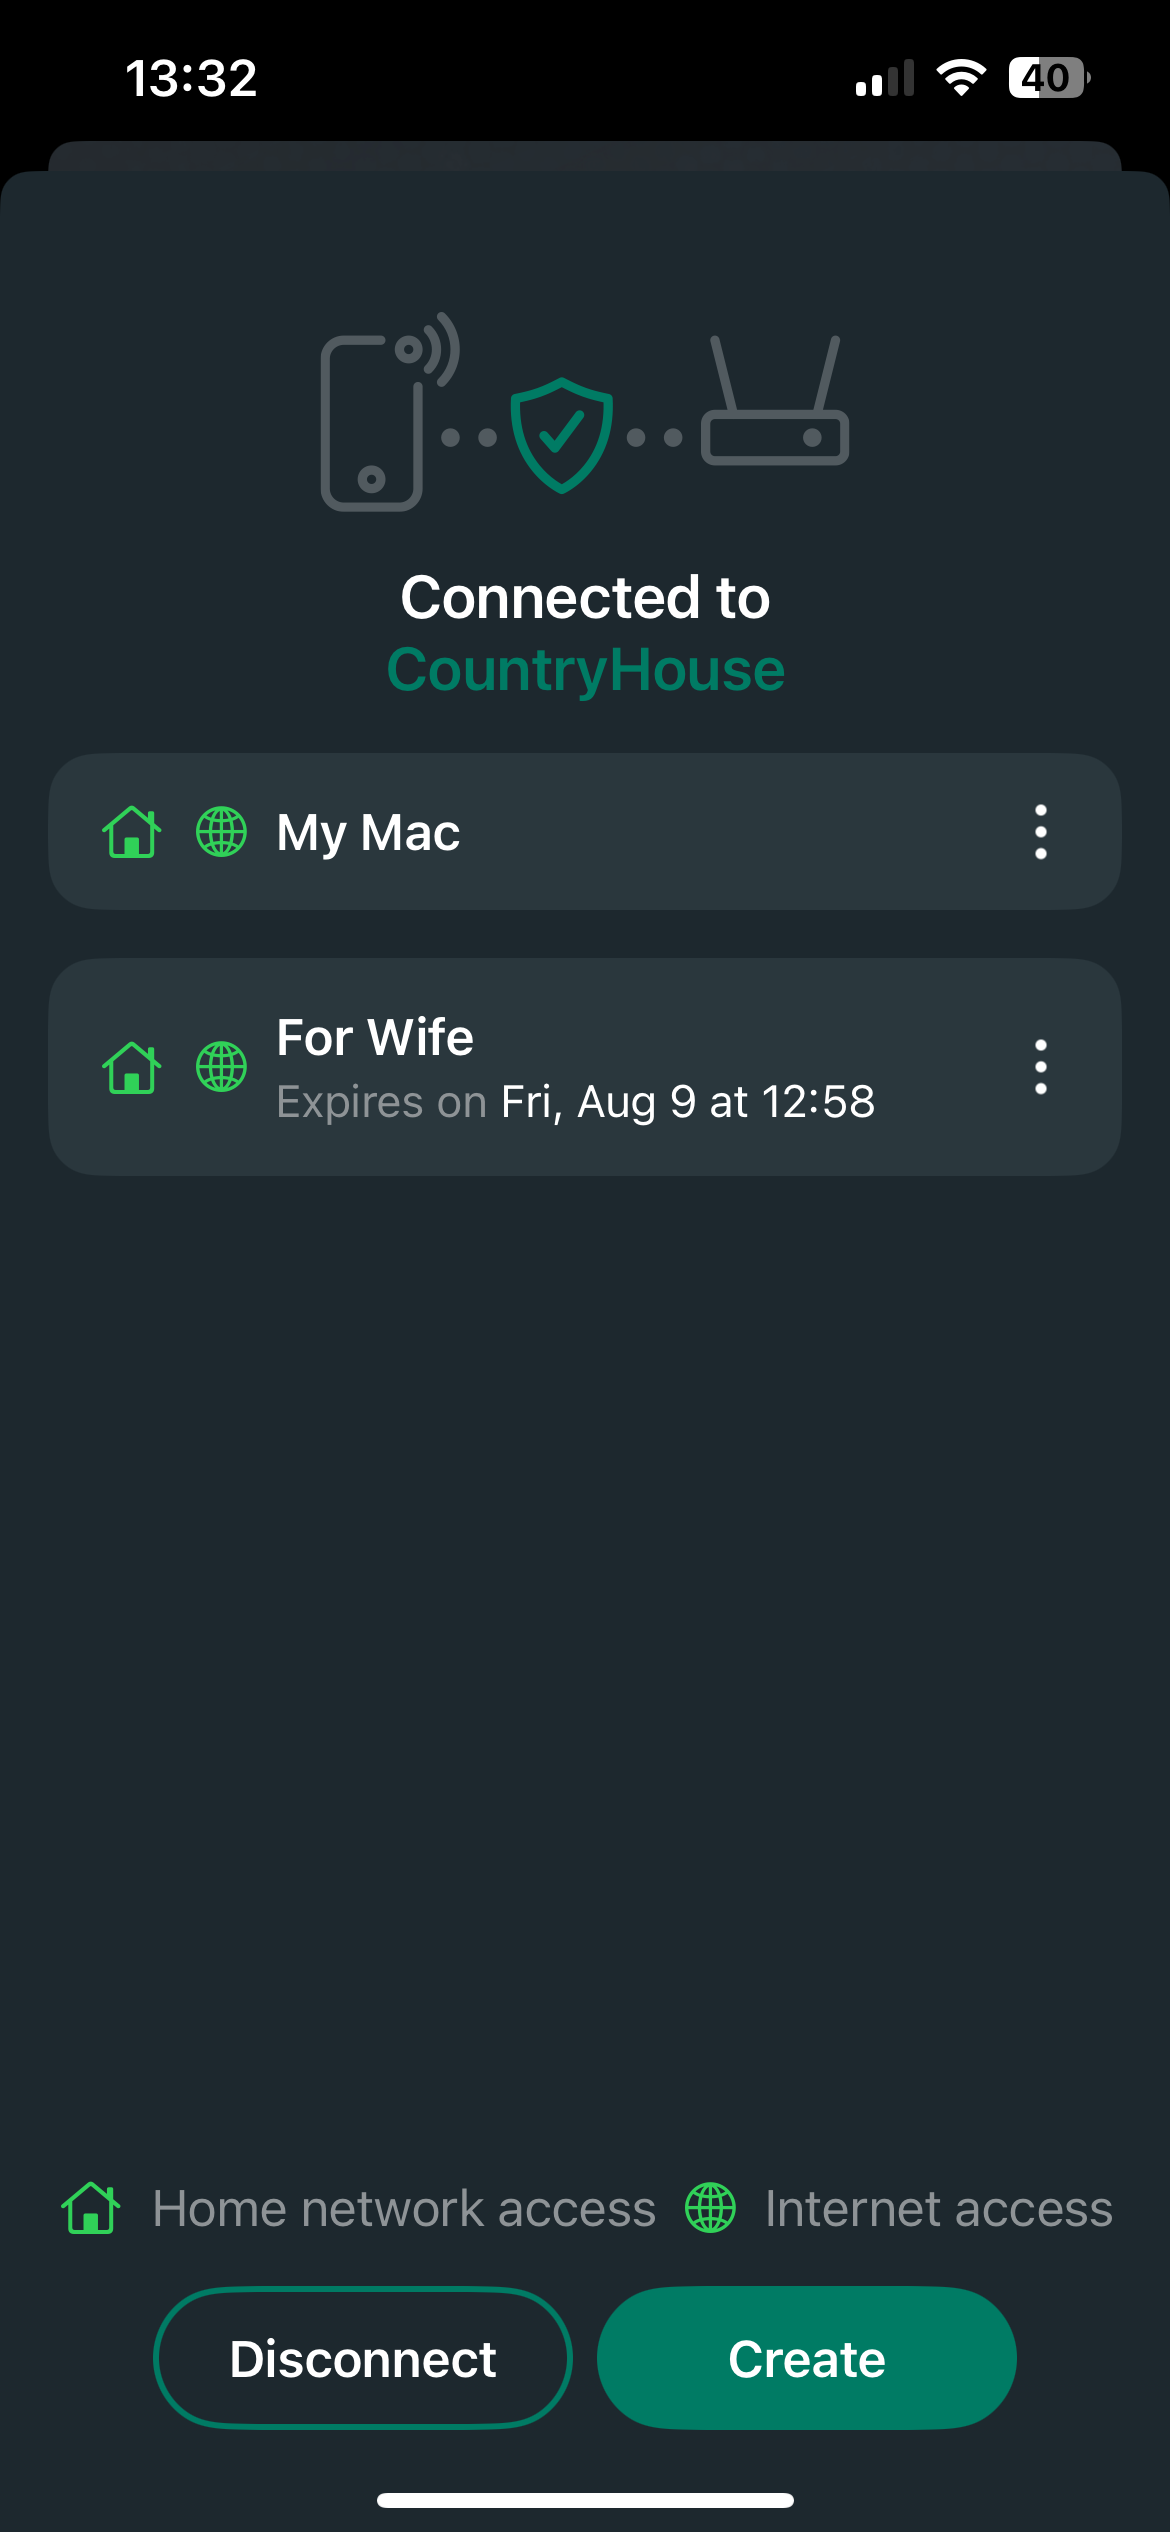
- Select ... next to the tunnel, then Manage shares.
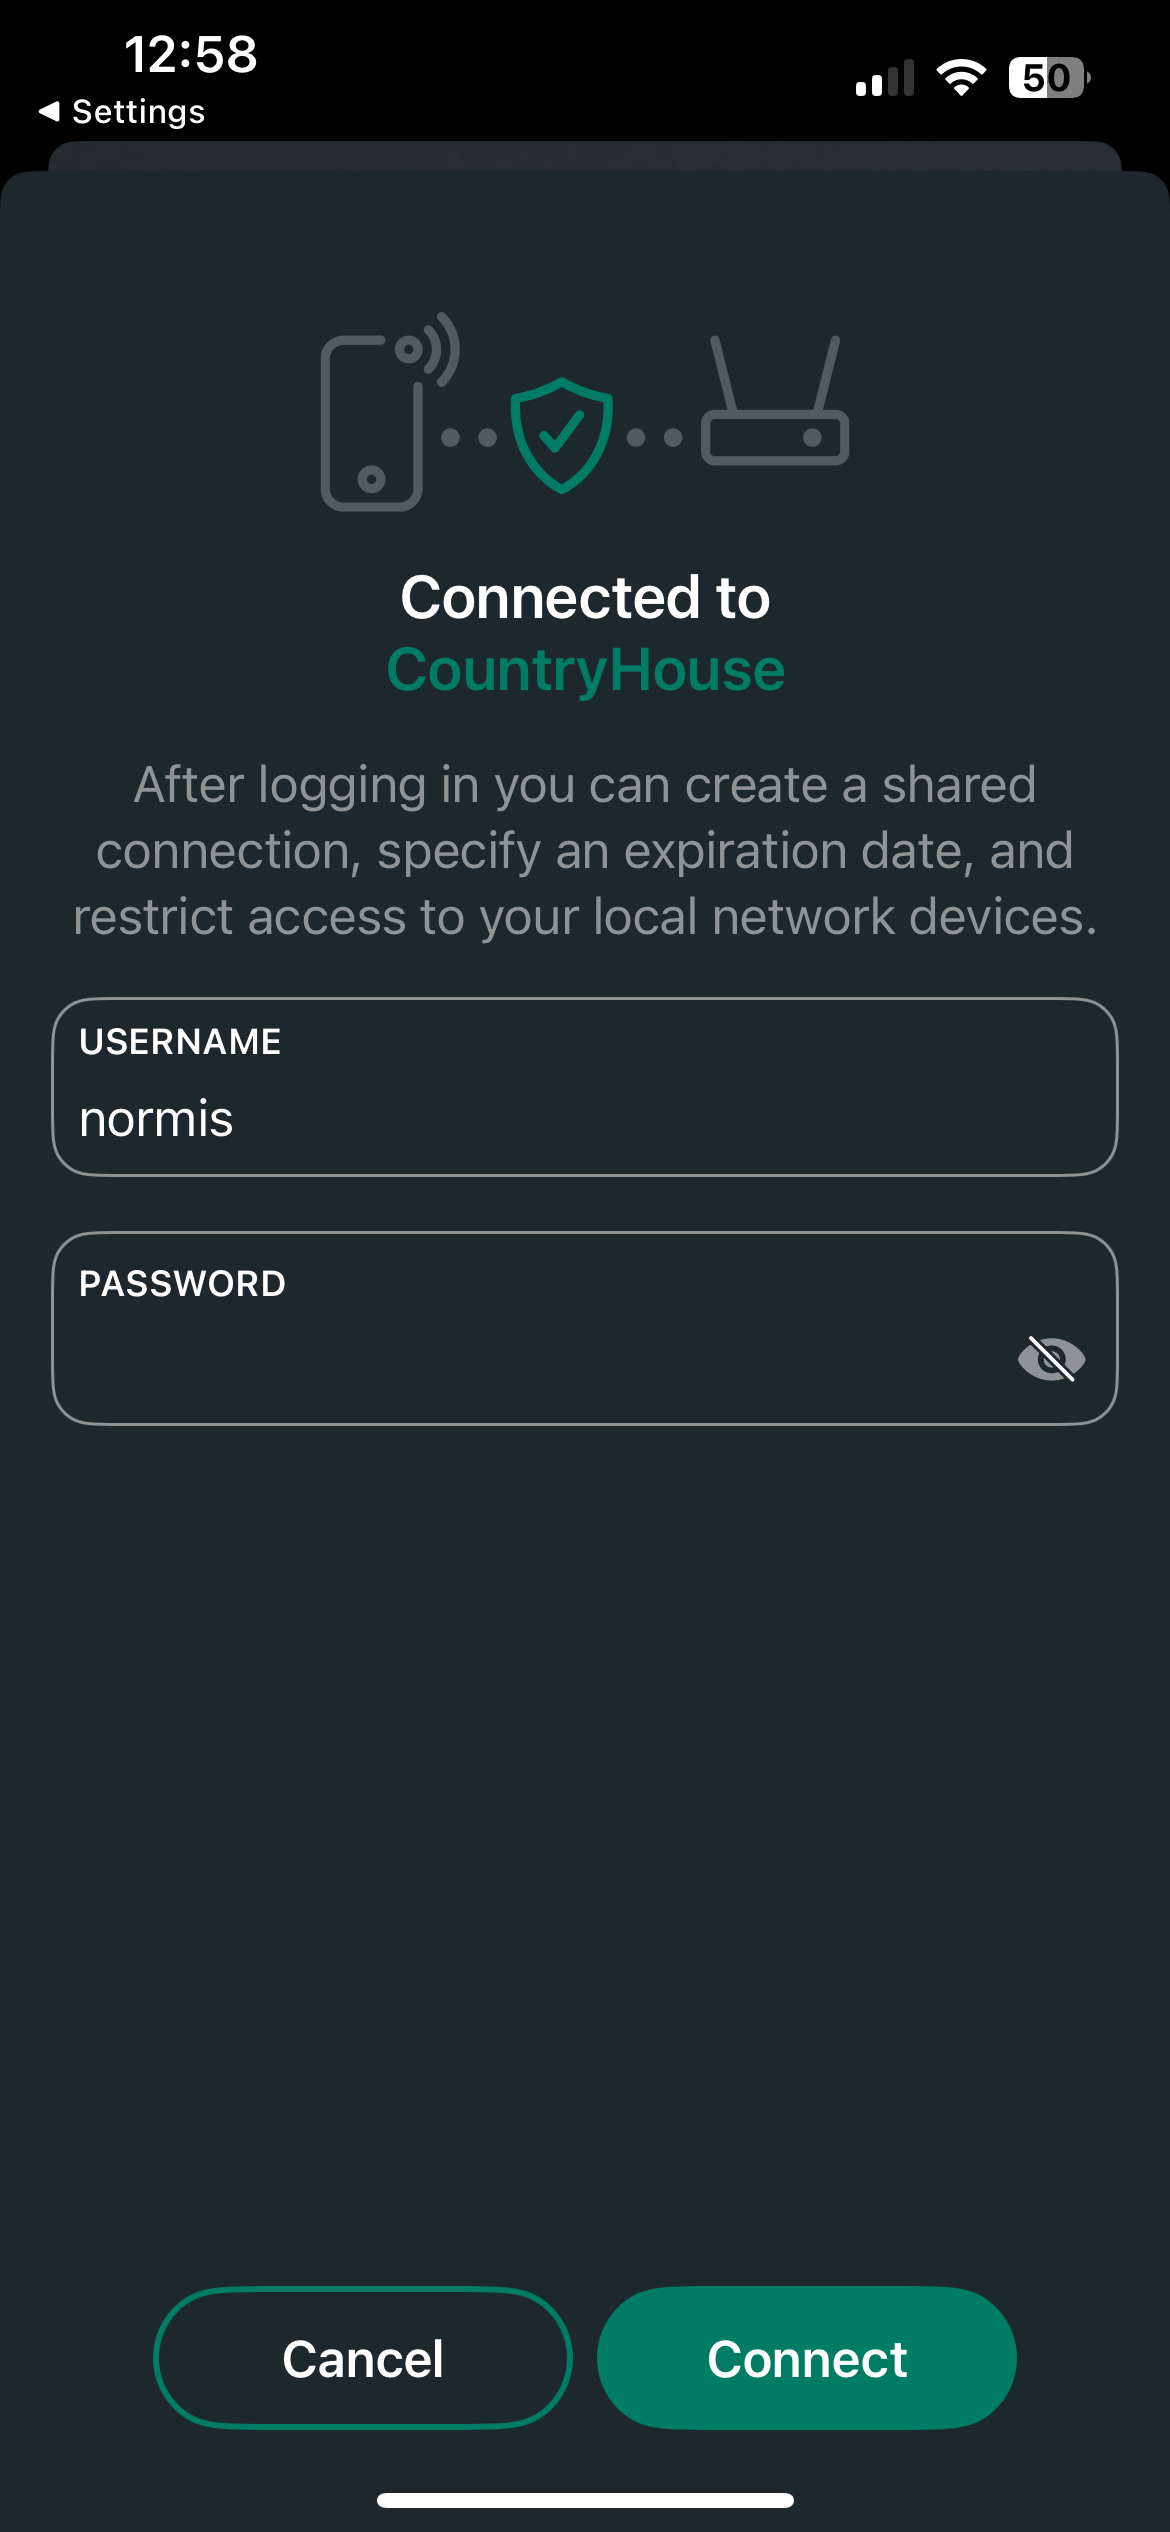
- Enter the router's user name and password. The app changes the router configuration.
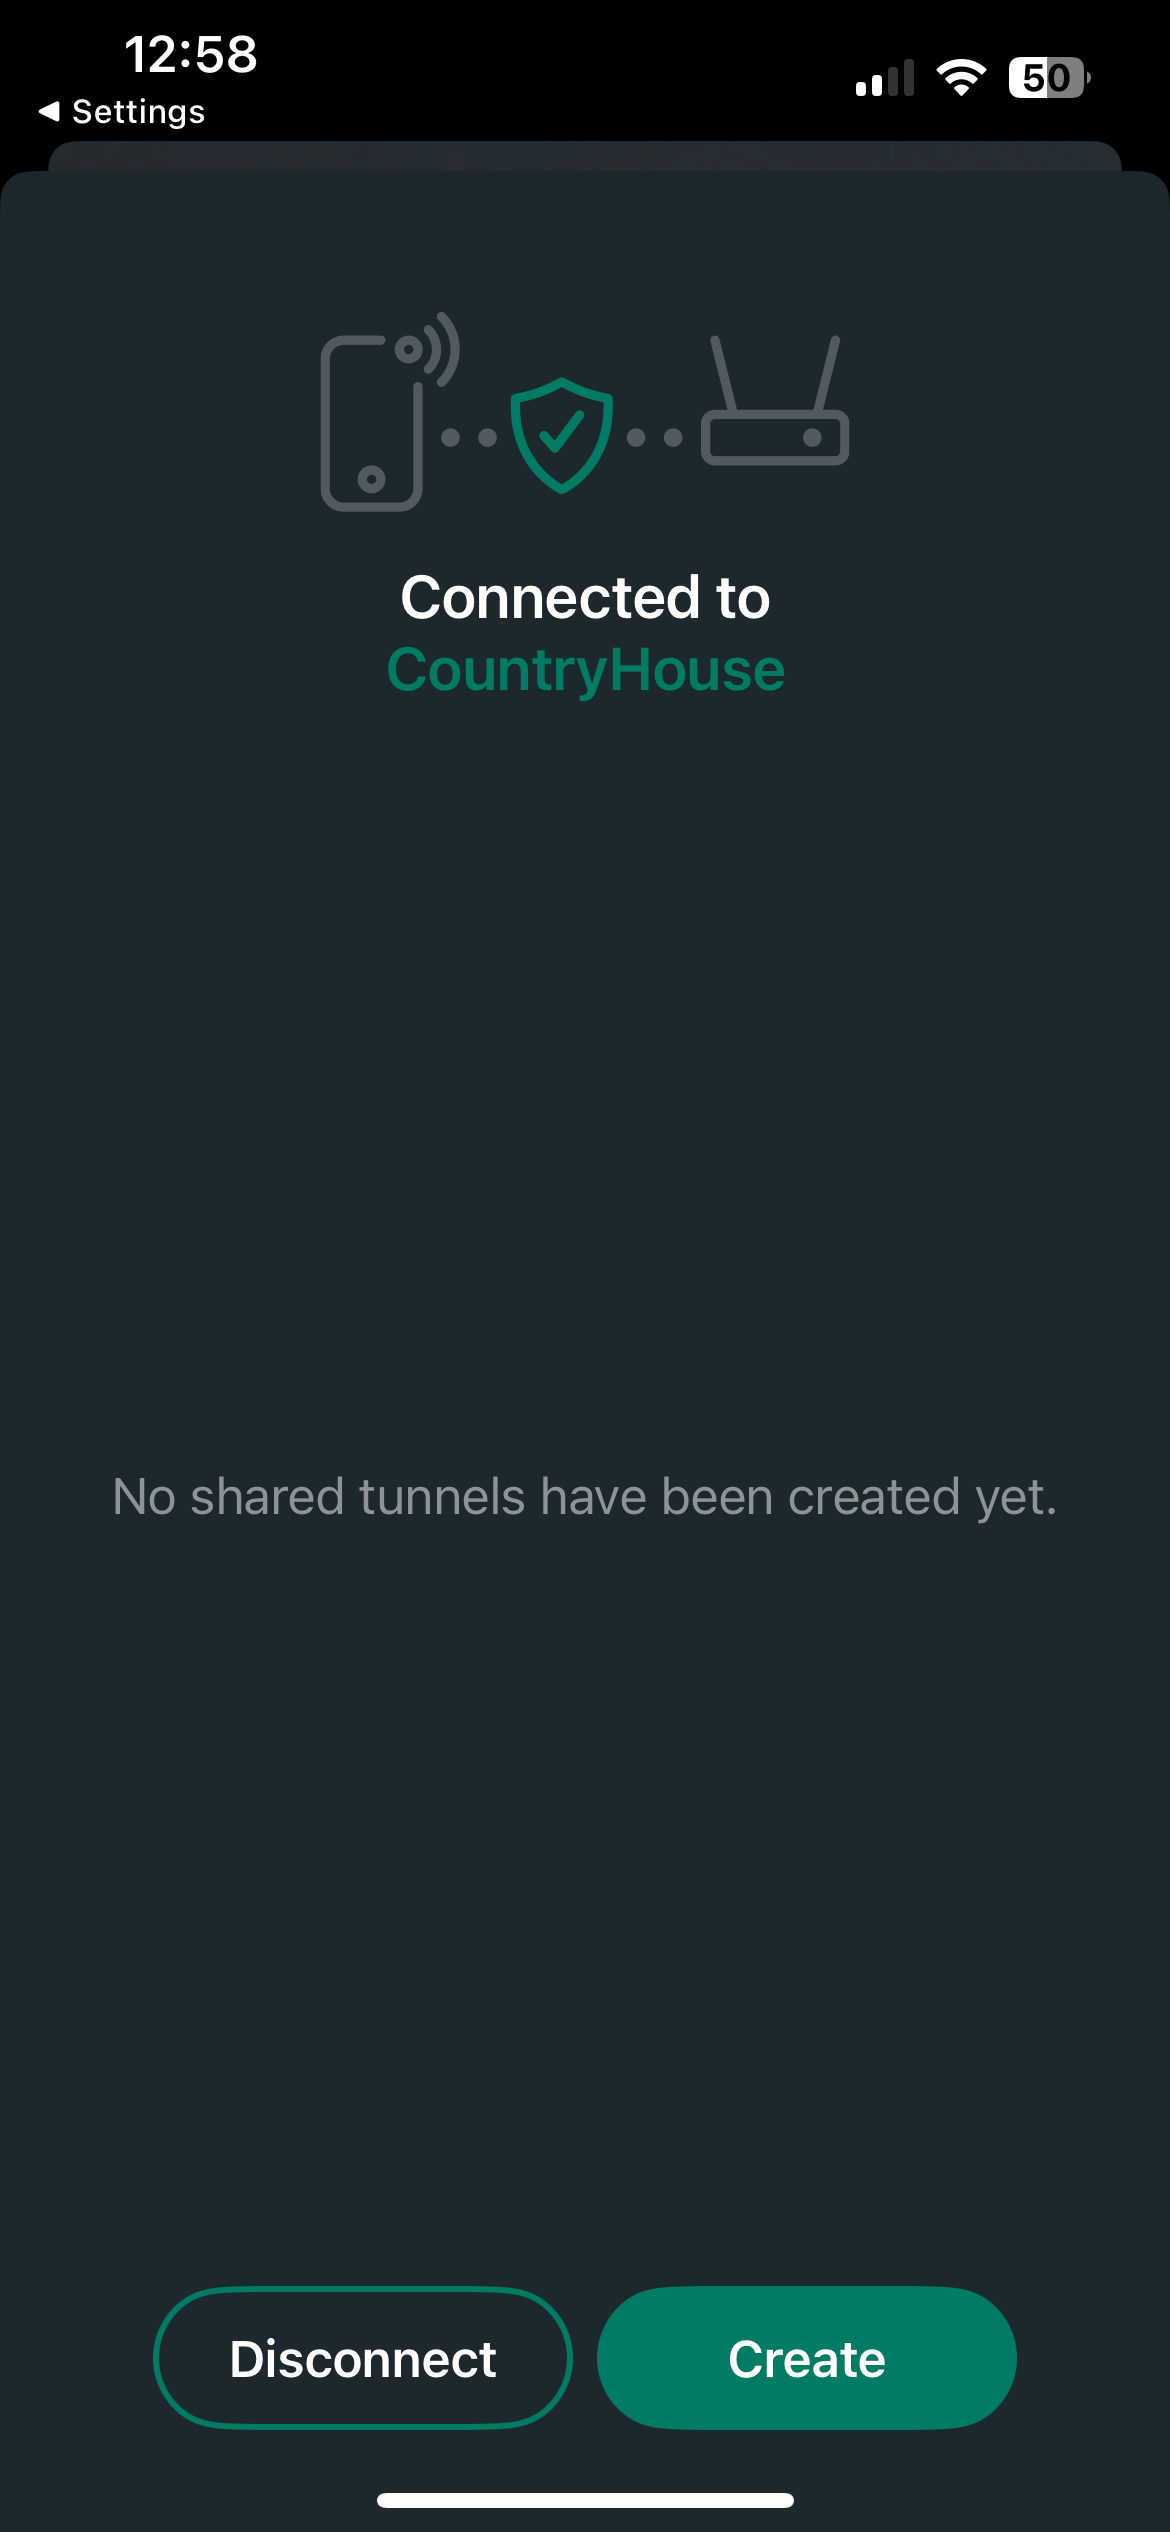
- Select Create.
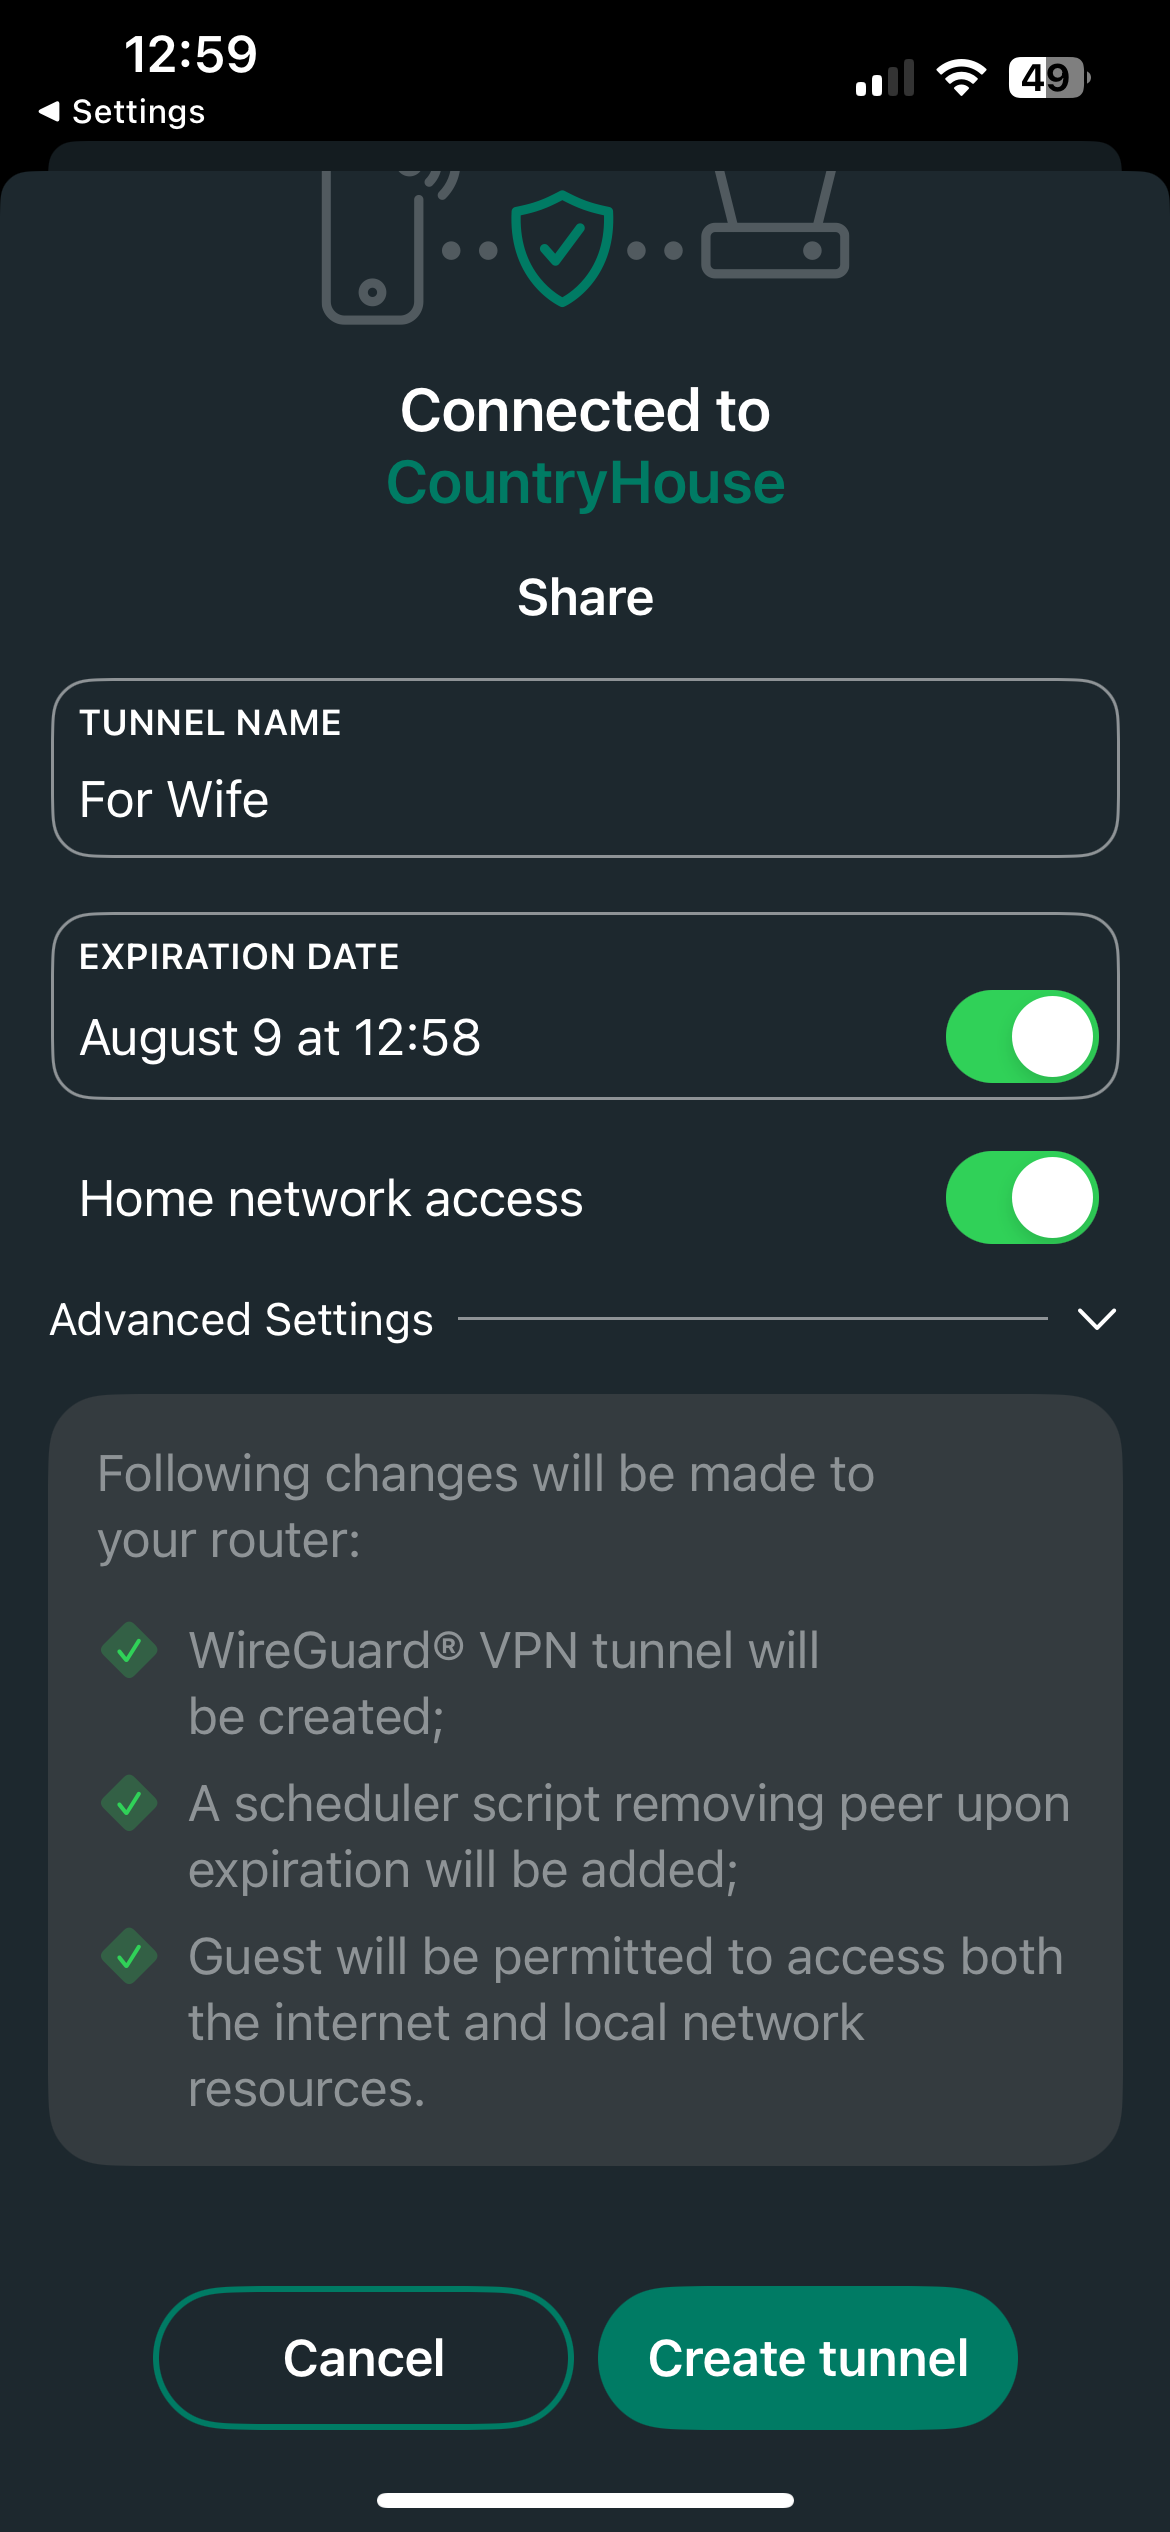
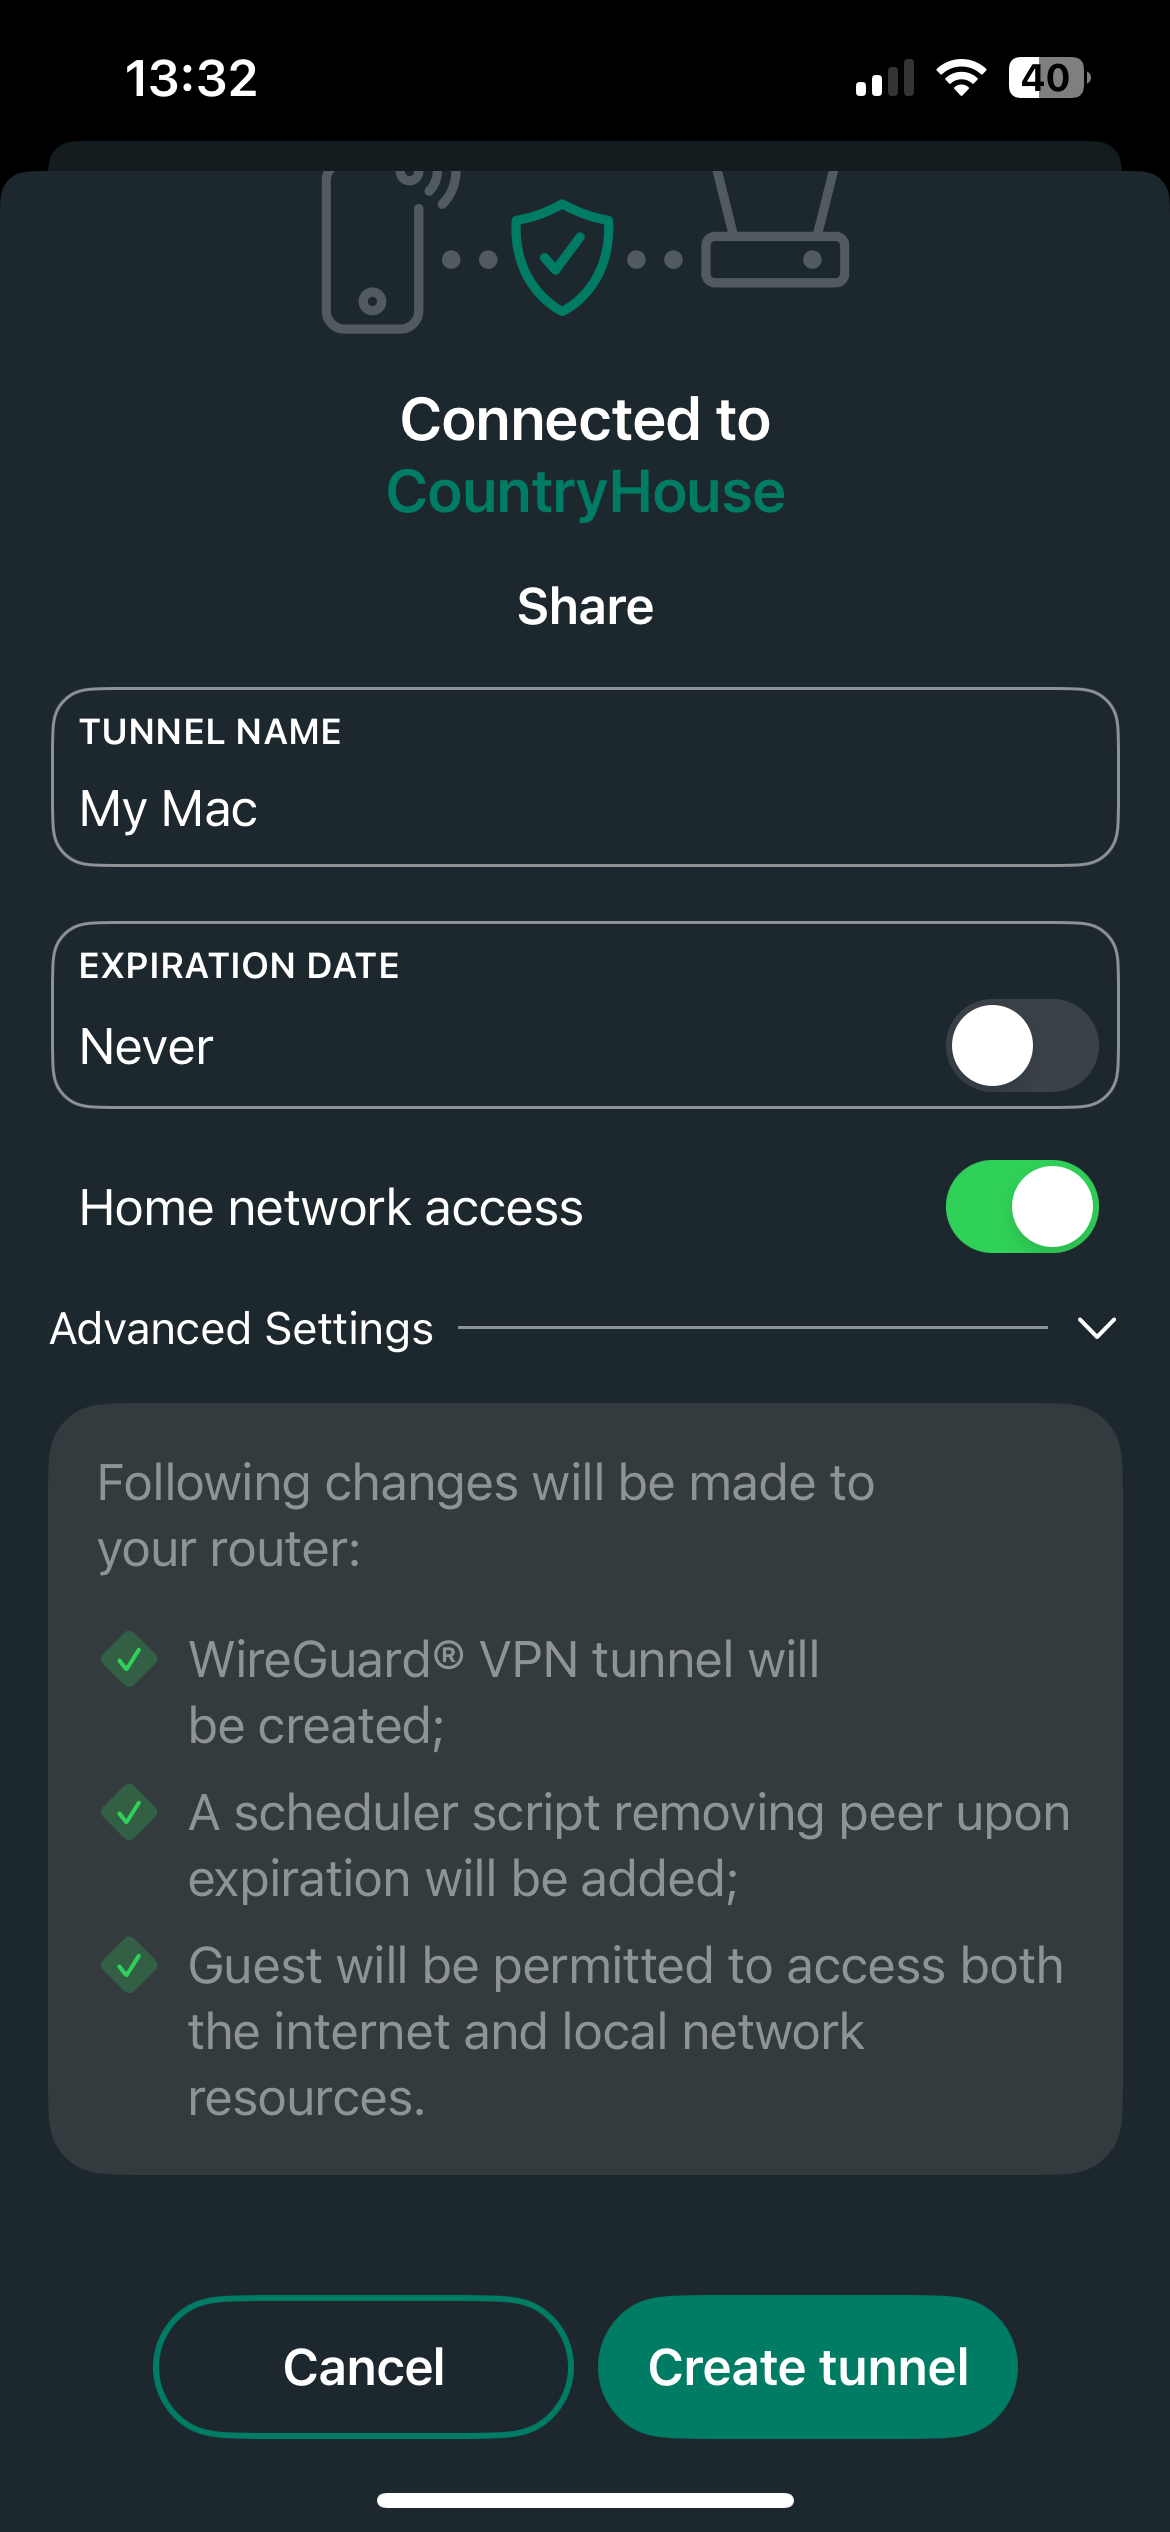
- Enter a name for the guest tunnel, for example the person's name.
- Set the expiration date.
- Turn on Home network access if the person should reach your local network. Leave it off for internet access only.
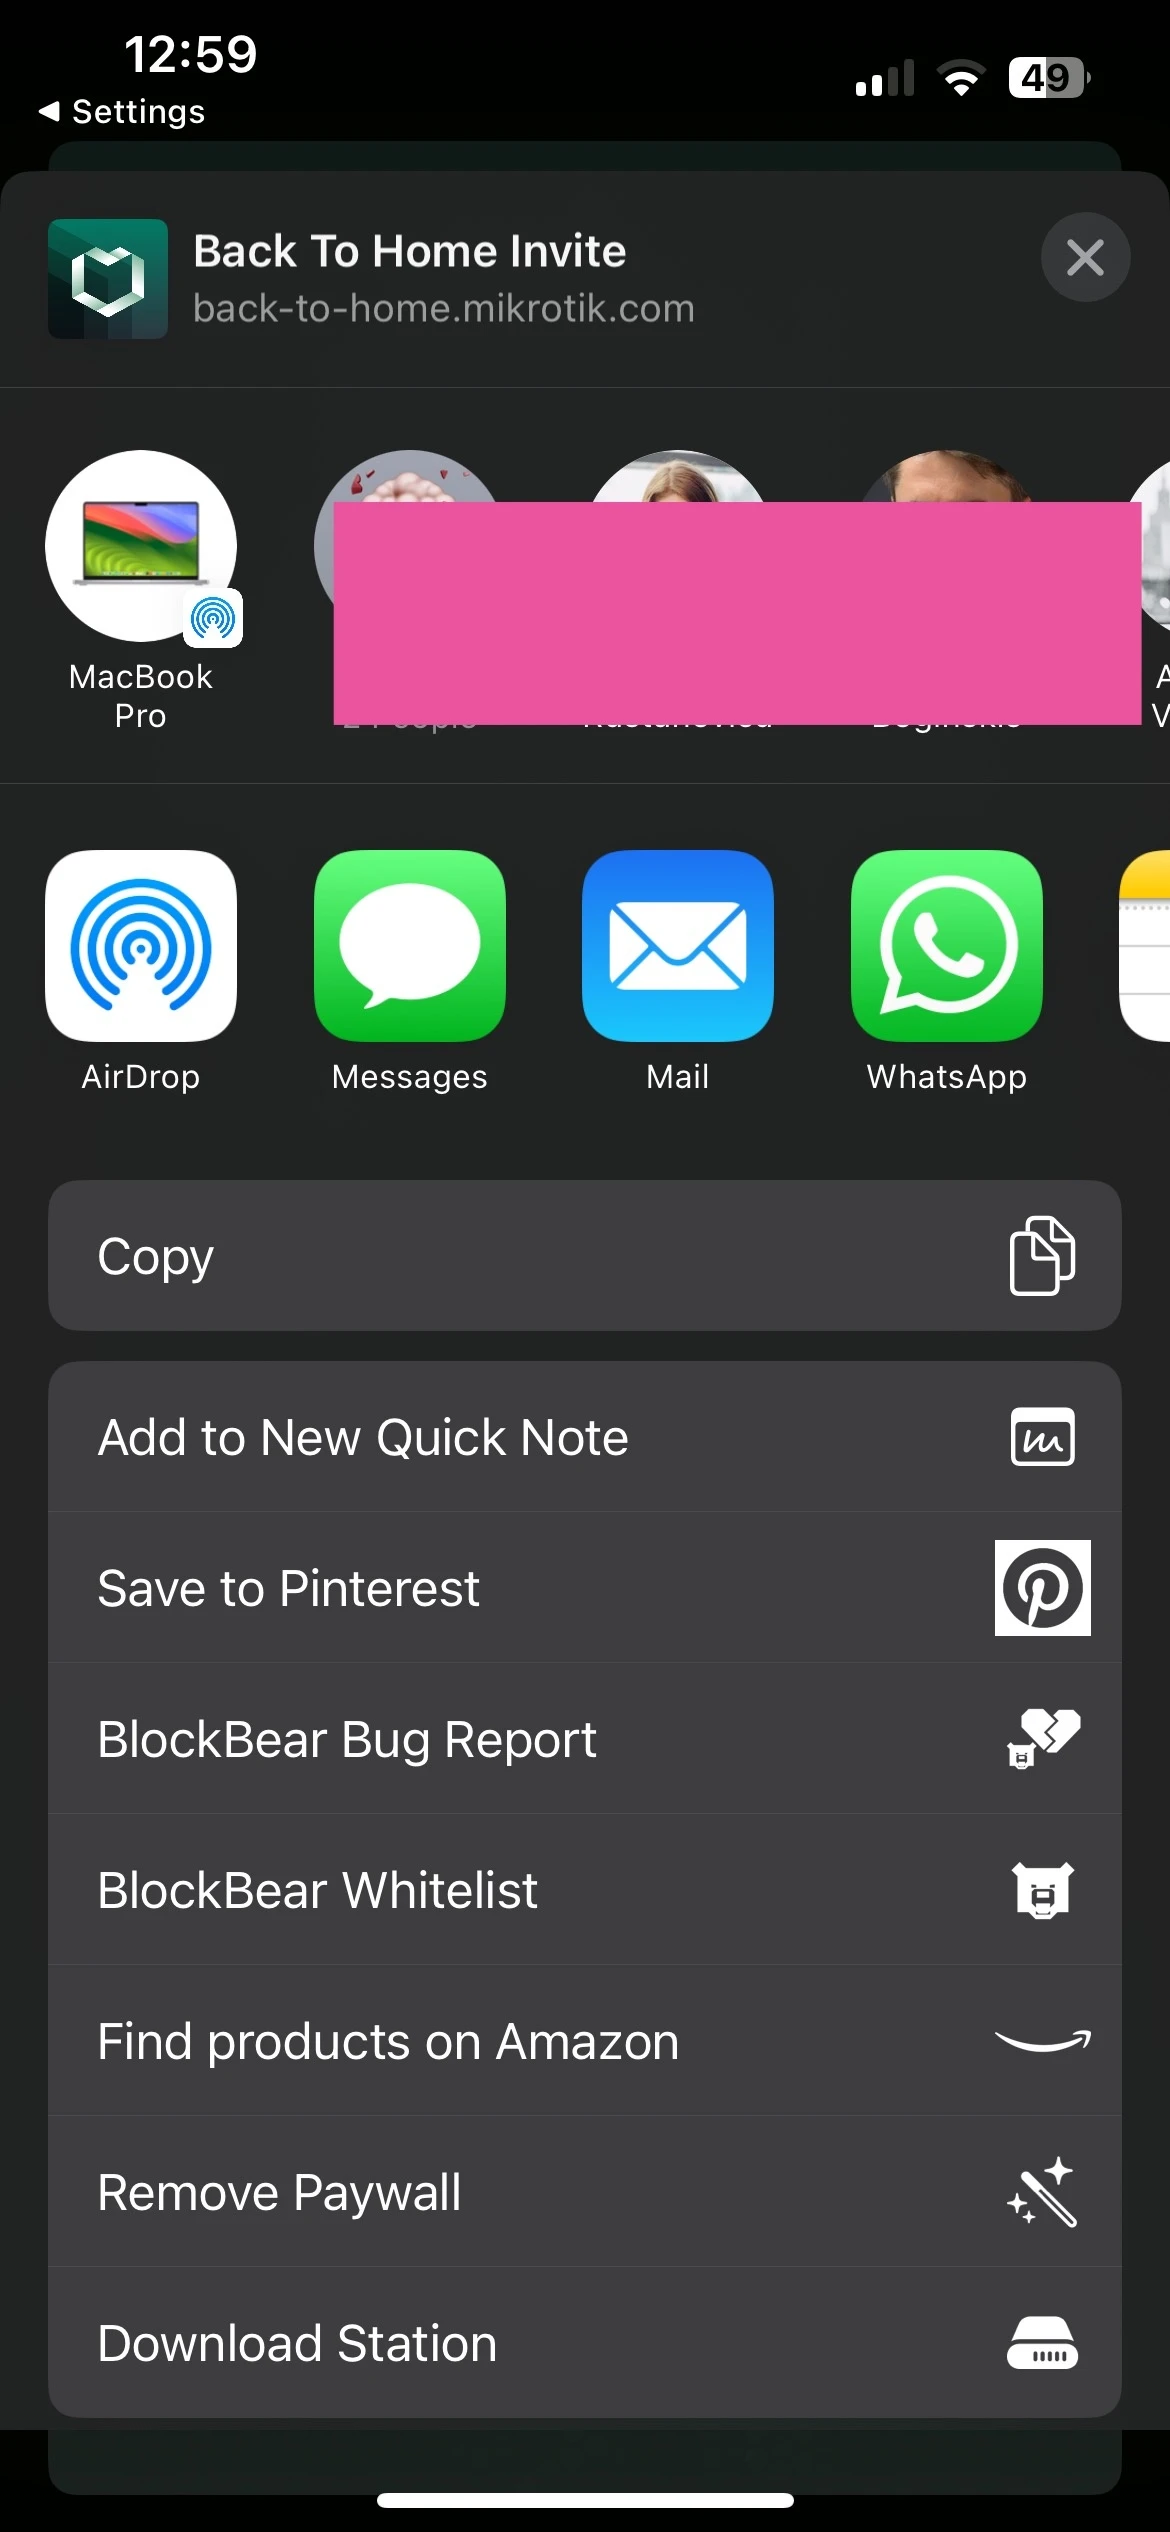
- Select Create tunnel. The phone's share sheet opens.
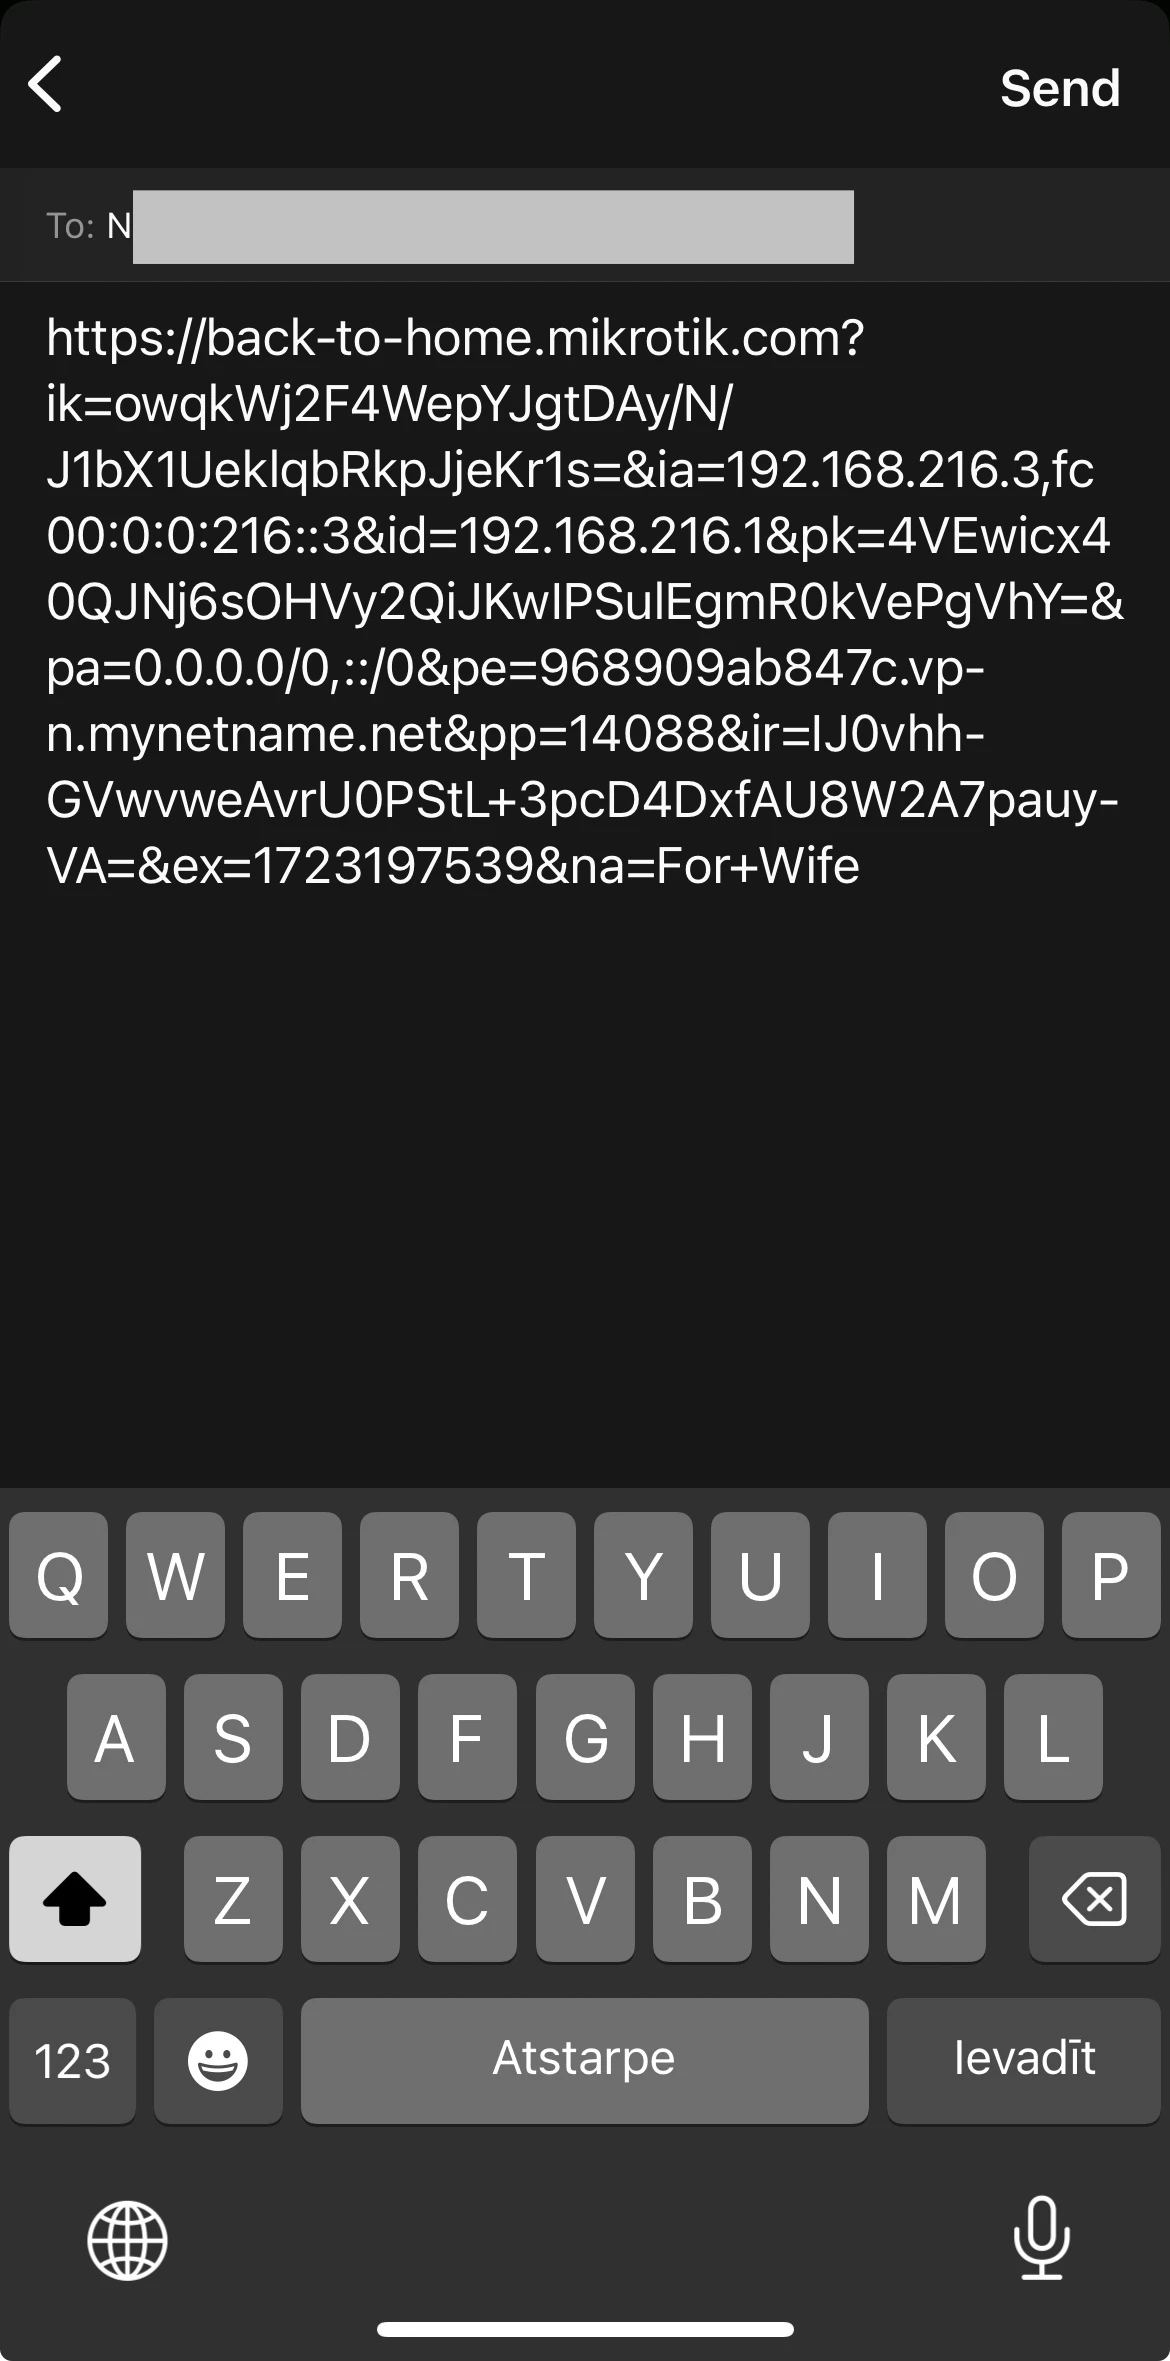
- Send the invite link, for example in a chat app.
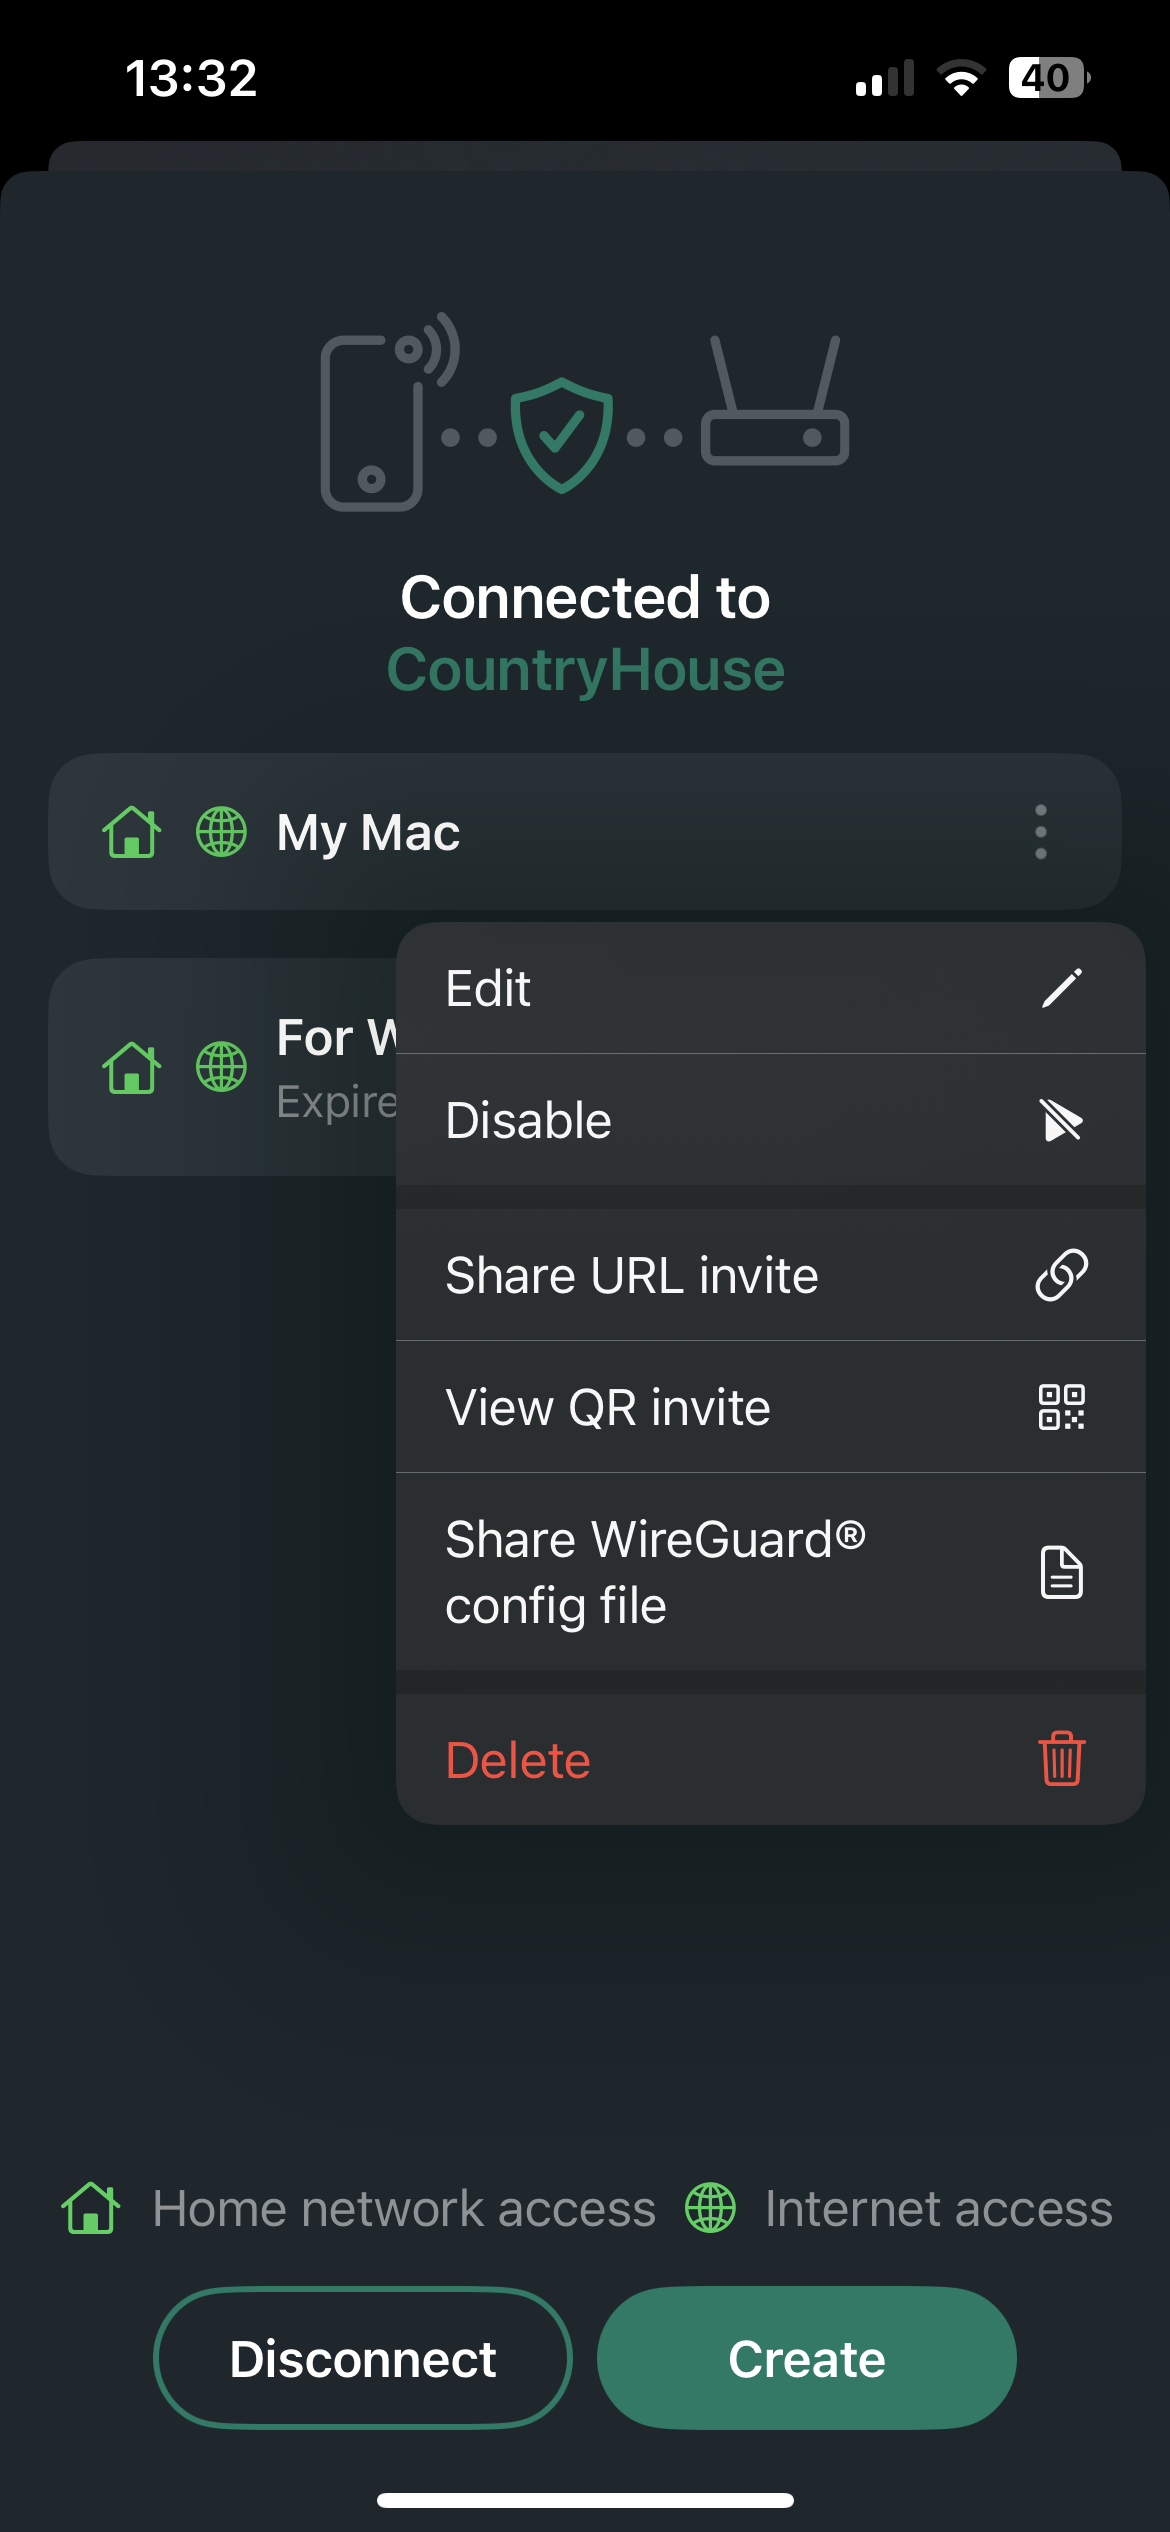
When the person opens the link, the Back To Home app opens and adds the tunnel, or asks them to install the app first. To invite someone in person, select ... next to the share and View QR invite.
 |  |  |  |  |  |
|---|---|---|---|---|---|
| Select Manage shares | Enter the router credentials | Select Create | Name the share and set its access | The share sheet opens | Send the invite link |
Connect a computer with the WireGuard app
The Back To Home app is only for phones. On a computer, use the WireGuard app with a share you create for yourself:
- Create a share for the computer as described in the previous section.
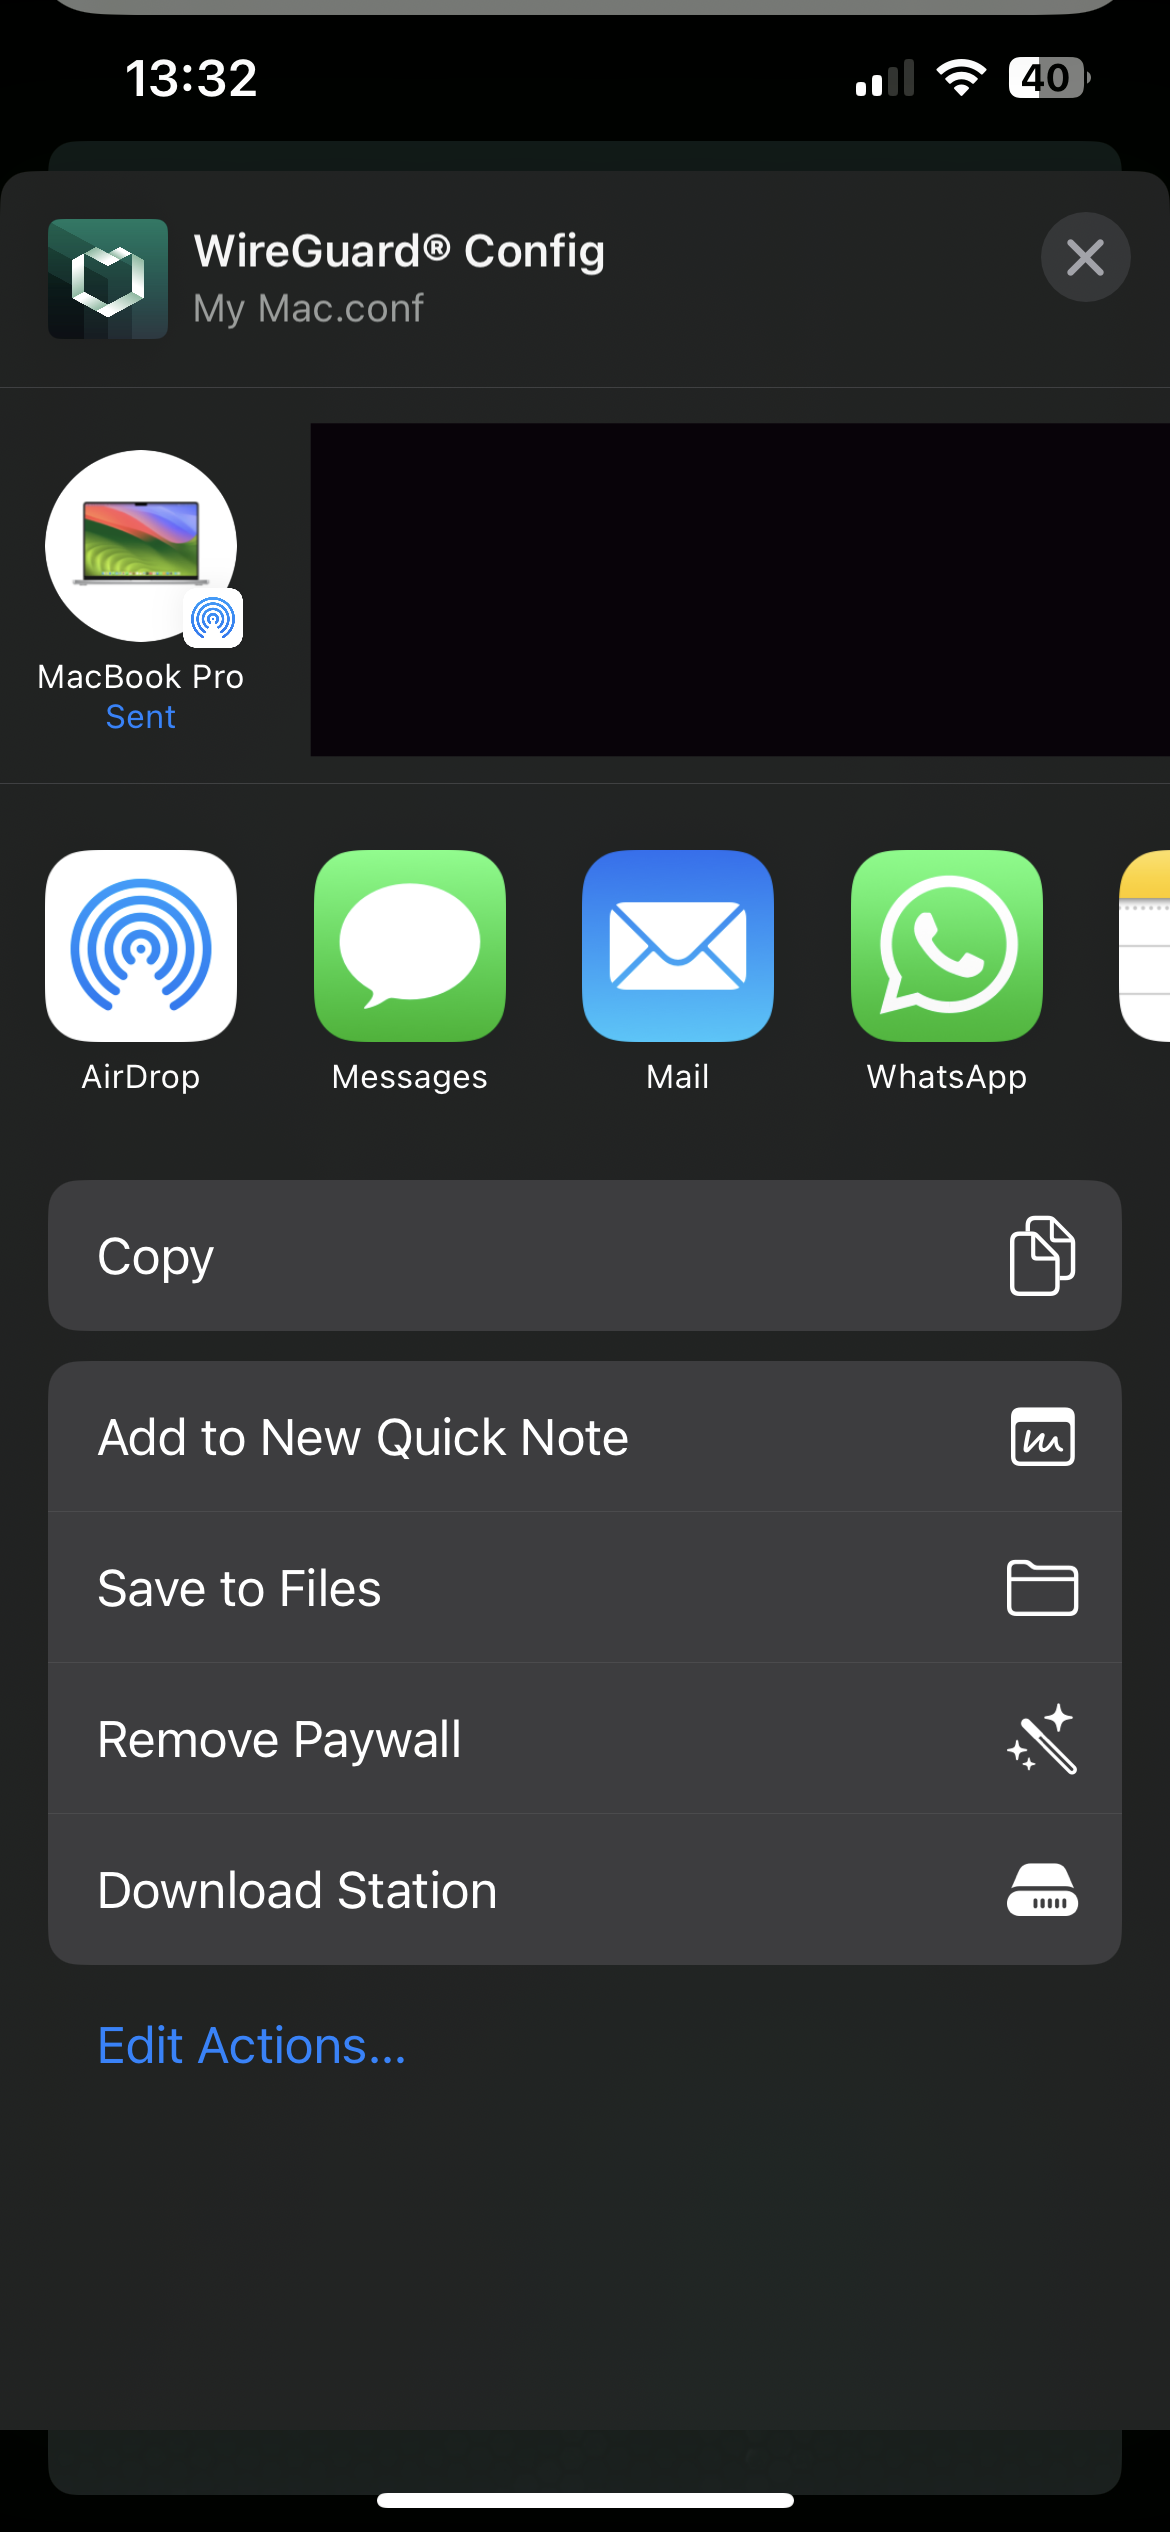
- Select ... next to the new share, then Share WireGuard config file.
- Send the file to the computer, for example with AirDrop or as an email attachment.
- In the WireGuard app on the computer, select Import Tunnel(s) from File and choose the file.
 |  |  |  |  |  |
|---|---|---|---|---|---|
| Select Create | Name the share and set its access | The new share in the list | Select Share WireGuard config file | Send the file to the computer | Import the file in the WireGuard app |
Manage Back To Home in RouterOS
You do not need to configure anything in RouterOS when you use the app. Without the app, for example to connect only a computer, enable Back To Home first:
/ip/cloud/set back-to-home-vpn=enabled
Wait until /ip/cloud/print shows vpn-status: running, which takes a few seconds. Until then, adding a user fails with back-to-home vpn not enabled. Then add a user and print its configuration:
/ip/cloud/back-to-home-user/add name=laptop allow-lan=yes
/ip/cloud/back-to-home-user/show-client-config [find name=laptop]
The last command prints the WireGuard configuration of the user and a QR code of it. Import it in the WireGuard app on the device:
 # Name = laptop
 # CloudDDNS = hf1234abcd5.sn.mynetname.net
 [Interface]
 PrivateKey = <private key of the user>
 Address = 192.168.216.3/32, fc00:0:0:216::3/128
 MTU = 1420
 [Peer]
 PublicKey = <vpn-public-key of the router>
 AllowedIPs = 0.0.0.0/0, ::/0
 Endpoint = hf1234abcd5.vpn.mynetname.net:24957
 PersistentKeepalive = 30
 [Peer]
 PublicKey = //////////////////////////////////////////8=
 AllowedIPs = 0.0.0.0/32
 Endpoint = hf1234abcd5.sn.mynetname.net:24957
 PersistentKeepalive = 15
The first peer is the router. The second one, with a placeholder key, carries no traffic.
Each user is a separate WireGuard client with its own keys and addresses:
allow-lan=no, the default, lets the user reach only the internet through the router. Withyes, the user can also reach your local network.client-allowed-addresslimits what the client sends through the tunnel, for exampleclient-allowed-address=192.168.88.0/24for access to the local network only. By default, the client sends all traffic through the tunnel.client-dnssets the DNS server in the client configuration.expirestakesnever, a date or a time interval such as7d. You cannot change it after you create the user: create the user again instead.
Turn off Back To Home
The app adds the tunnel to the phone's VPN settings. To remove the tunnel from a phone, delete it in the phone's VPN settings. This does not change the router.
To turn off Back To Home on the router:
/ip/cloud/set back-to-home-vpn=revoked-and-disabled
The router deletes all Back To Home users and revokes the keys. When you enable Back To Home again, the router creates new keys and a new port, so you set up every phone and computer again.
Technical details
What Back To Home adds to the router
When you enable Back To Home, in the app or with /ip/cloud/set back-to-home-vpn=enabled, RouterOS adds:
- A WireGuard interface named
back-to-home-vpn, which listens on the UDP port shown invpn-portin/ip/cloud. - The addresses 192.168.216.1/24 and fc00:0:0:216::1/64 on that interface. Each client gets the next free addresses from these networks.
- Dynamic firewall rules for IPv4 and IPv6: an input rule that accepts the WireGuard port, a masquerade rule for traffic from the tunnel, and a forward rule that drops traffic from restricted users to the
LANinterface list. - The DNS name
<serial number>.vpn.mynetname.net, which clients use as the endpoint. It resolves to the router's public address, or to the relay the router uses. Withddns-enabled=auto, the default, DDNS also turns on.
The IPv6 address fc00:0:0:216::1/64 is created with advertise=yes. Whether the router sends router advertisements for it on the tunnel interface depends on the /ipv6/nd settings.
The users who may only use the internet (allow-lan=no) are in the dynamic address list back-to-home-lan-restricted-peers. The restriction relies on the LAN interface list of the default configuration, so keep your local interfaces in that list.
Revoking removes the back-to-home-vpn interface with its peers, addresses and firewall rules, and all users, and asks the cloud server to delete the vpn.mynetname.net name.
Direct and relayed connections
vpn-relay-ipv4-status and vpn-relay-ipv6-status in /ip/cloud show how clients reach the router. With reachable directly, the vpn.mynetname.net name resolves to the router's public address, and clients connect to the router itself. With reachable via relay, the name resolves to the relay, and the relay forwards the encrypted traffic. File Share decides separately: it can use the relay while Back To Home connects directly, for example when www-ssl uses TCP port 443 (see File Share).
Tunnels that the Back To Home app creates are users in /ip/cloud/back-to-home-user. The app sets name to the model identifier of the phone, for example iPhone18,1, and the comment to the tunnel name shown in the app.
Client configuration
The lines that start with # are comments, because a WireGuard configuration has no field for a tunnel name. # Name carries the user's comment, or its name when it has no comment, and the Back To Home app uses it as the tunnel name when it imports the configuration. Other WireGuard clients ignore these lines, so the same configuration works in any WireGuard app.
The second peer in a client configuration has a placeholder key and AllowedIPs = 0.0.0.0/32, so it carries no traffic. A client connects without it, also through the relay.
/ip/cloud also has a built-in client configuration in vpn-wireguard-client-config and vpn-wireguard-client-config-qrcode. It works on one device at a time, because WireGuard identifies a client by its key. For more devices, add a user for each one.
Contact with the cloud server
Enabling Back To Home takes a few seconds while the router contacts the cloud server: vpn-status changes from checking rtt to running.
Revoking removes everything on the router right away, also when the cloud server does not answer (status in /ip/cloud shows failed to connect). The vpn.mynetname.net and sn.mynetname.net names then stay registered until the cloud server receives a delete request. To delete them, enable Back To Home and revoke it again while the router can reach the cloud server.
For all properties, see /ip/cloud and /ip/cloud/back-to-home-user in the CLI reference.