CHR: VirtualBox Installation
CHR VirtualBox Installation Video

-
Download VirtualBox
Install the latest version of VirtualBox from the official website. -
Download CHR disk image
Download and extract the latest Long-Term, Stable, or Testing version of the Cloud Hosted Router (CHR) VDI image from the MikroTik download page.
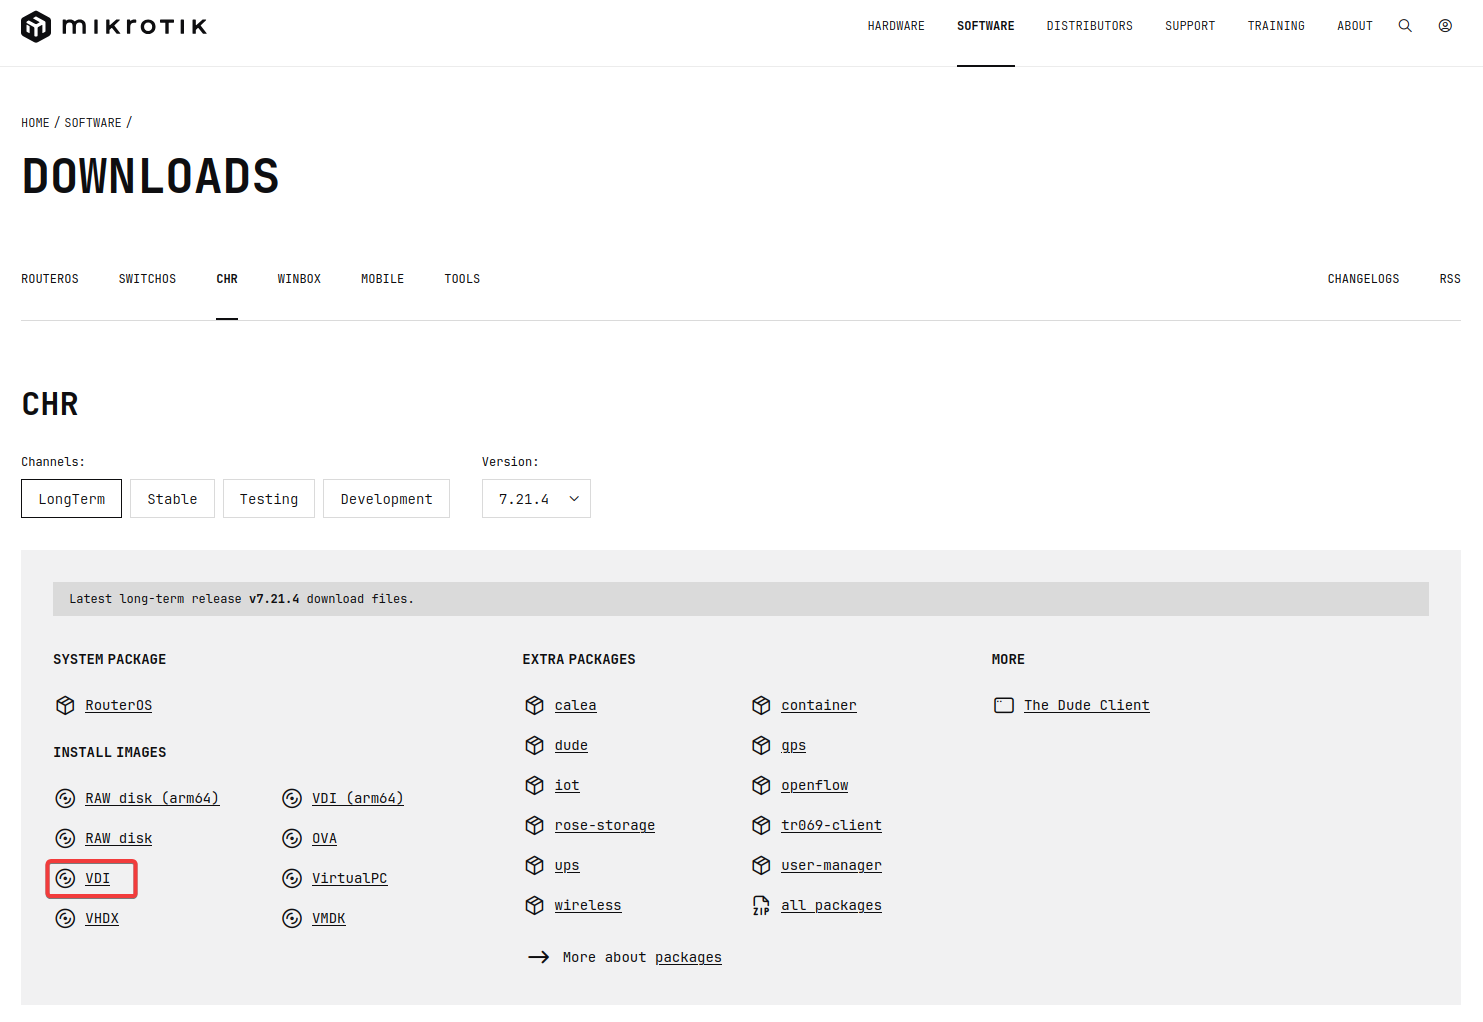
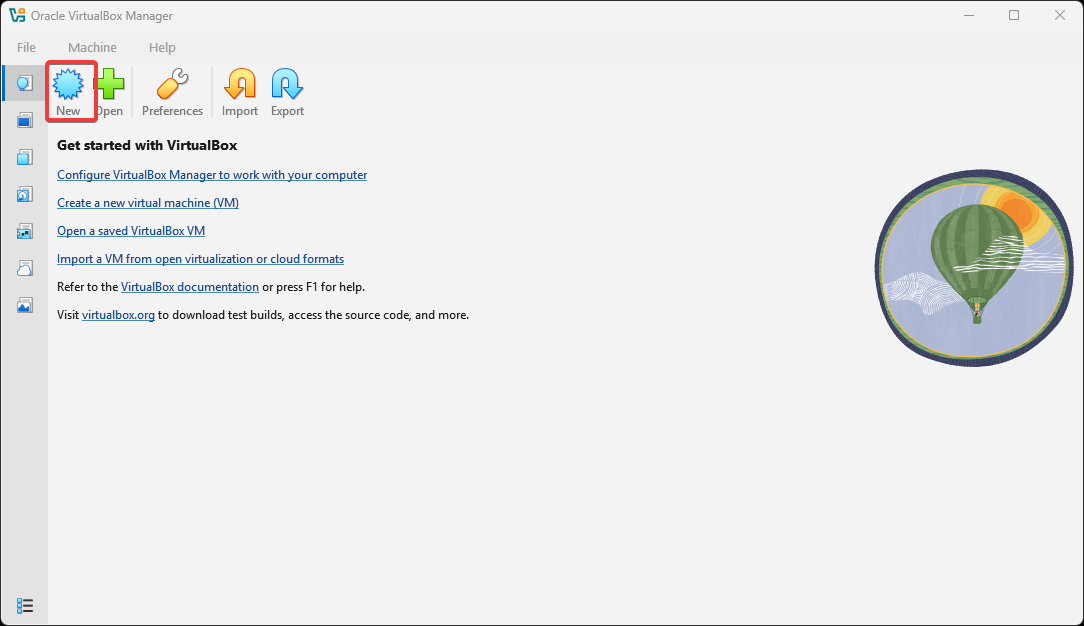
Step 1: Create a New Virtual Machine
- Launch VirtualBox.
- Click New to create a new virtual machine.
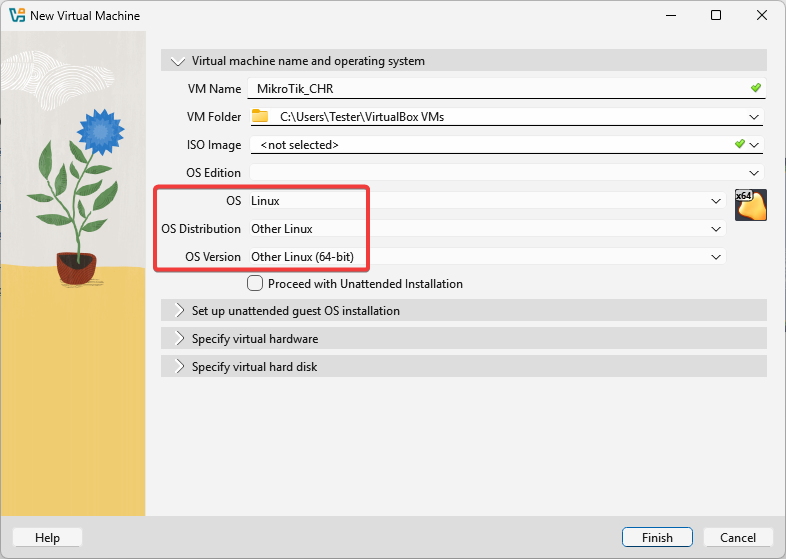
Name and Operating System
- Name: Enter a VM name (e.g., MikroTik_CHR)
- Type: Linux
- Version: Other Linux (64-bit)
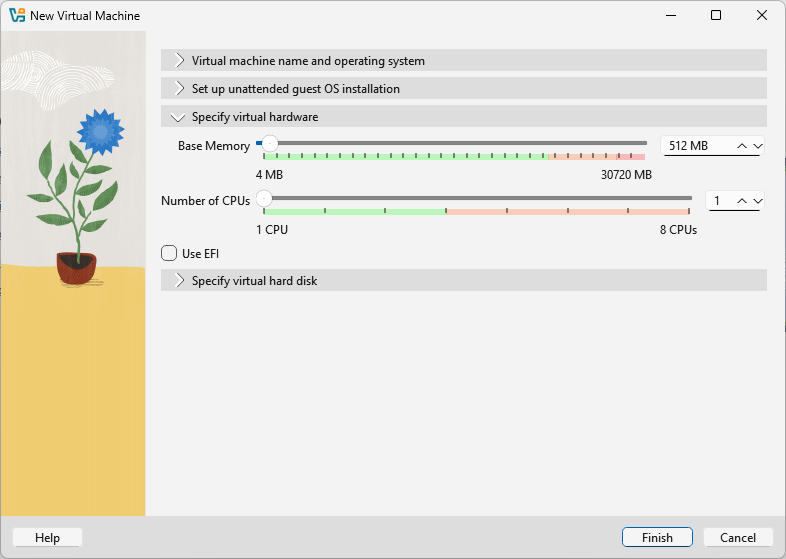
Step 2: Configure Memory Size
- Allocate at least 512 MB RAM (RouterOS 7 minimum requirement)
- Assign the desired number of CPUs
Step 3: Add a Virtual Hard Disk
- Select Use an Existing Virtual Hard Disk File
- Choose the downloaded
.vdiimage
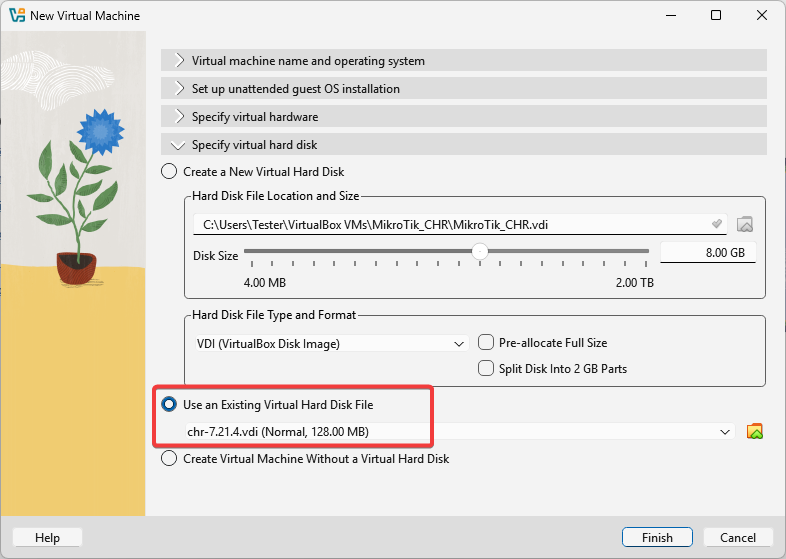
Click Finish to create the VM.
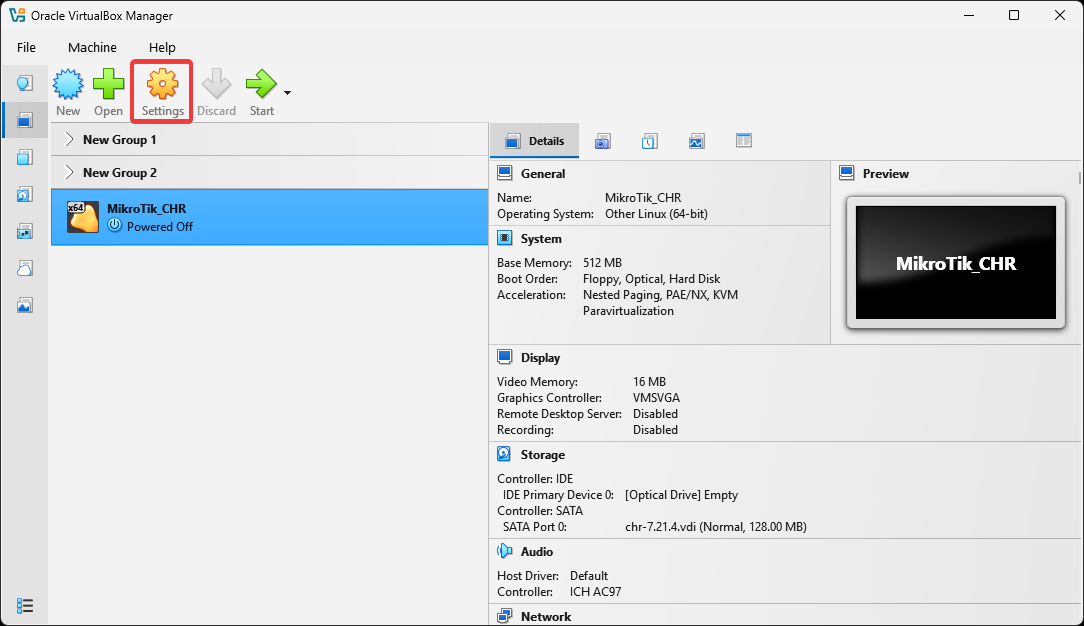
Step 4: Configure Virtual Machine Settings
Select the VM → click Settings
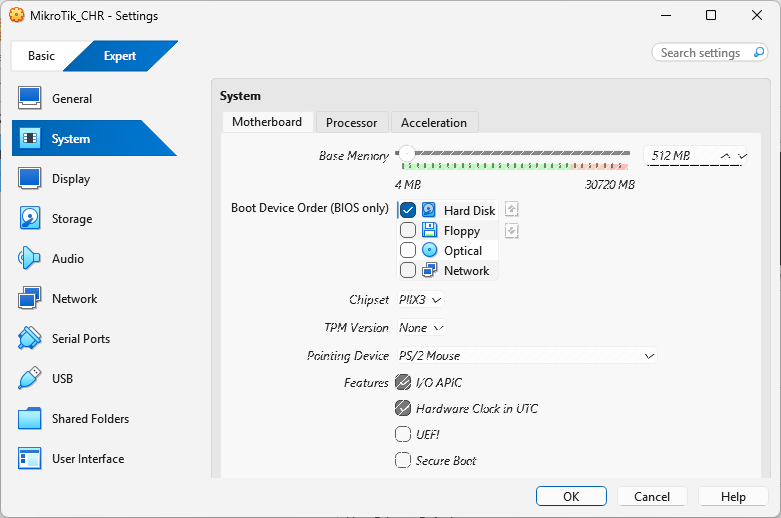
System
- Disable Floppy and Optical from boot order
Processor
- Set the desired number of CPUs
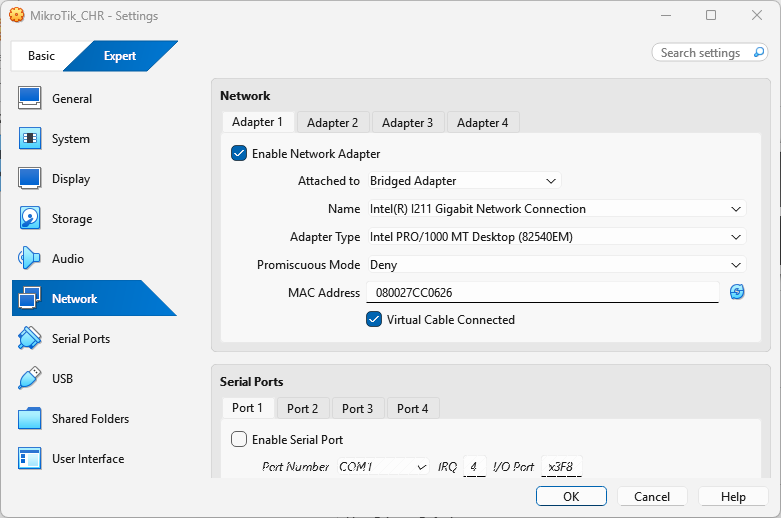
Network
- Adapter 1:
- Enable network adapter
- Attach to Bridged Adapter or NAT (depending on your setup)
Step 5: Start the Virtual Machine
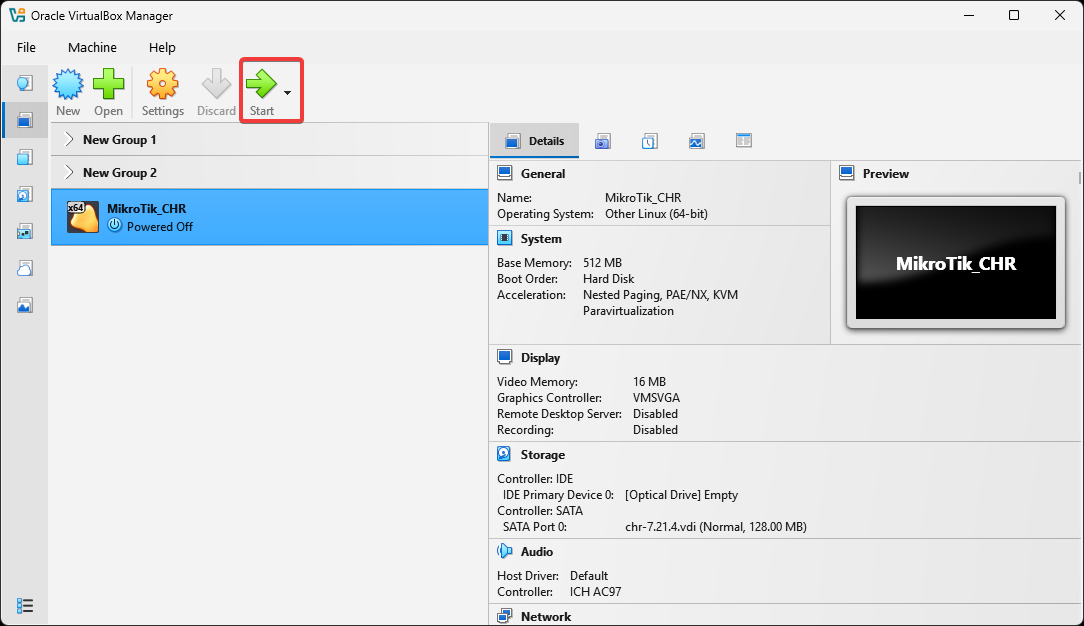
- Click Start to boot the VM
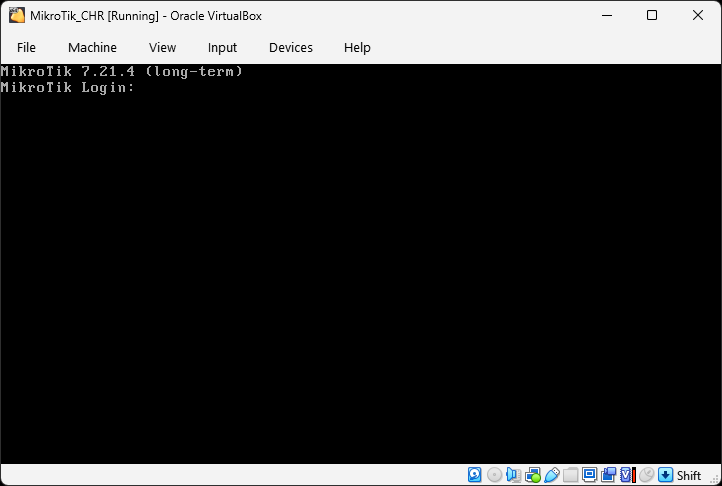
- Login credentials:
- Username:
admin - Password: (empty, set immediately after first login)
- Username:
Congratulations
You have successfully installed MikroTik CHR on VirtualBox.
You can now proceed with initial RouterOS configuration using the console, WinBox, or WebFig.
Supported Network and Disk Interfaces
Network Adapters
- E1000
- RTL8139
- Virtio (paravirtual)
Disk Controllers
- IDE
Warning: Avoid using the E1000 network adapter unless no better synthetic or paravirtualized option is available. Virtio provides better performance on VirtualBox.