WebFig
CLI reference:/ip/service/certificate
Introduction
WebFig is a web-based RouterOS management utility that allows you to configure, monitor, and troubleshoot a router. It serves as an alternative to WinBox, offering a similar layout and access to nearly all RouterOS features.
As a platform-independent utility, WebFig can be used to manage a router from any device with a web browser, eliminating the need to install platform-specific software.
WebFig supports three primary functions:
- Configuration - View and modify the current router configuration.
- Monitoring - Monitor router status, routing information, interface statistics, logs, and other operational data.
- Troubleshooting - Access and use built-in RouterOS diagnostic tools, such as Ping, Traceroute, Packet Sniffer, Traffic Generator, and others.
Connecting to a Router
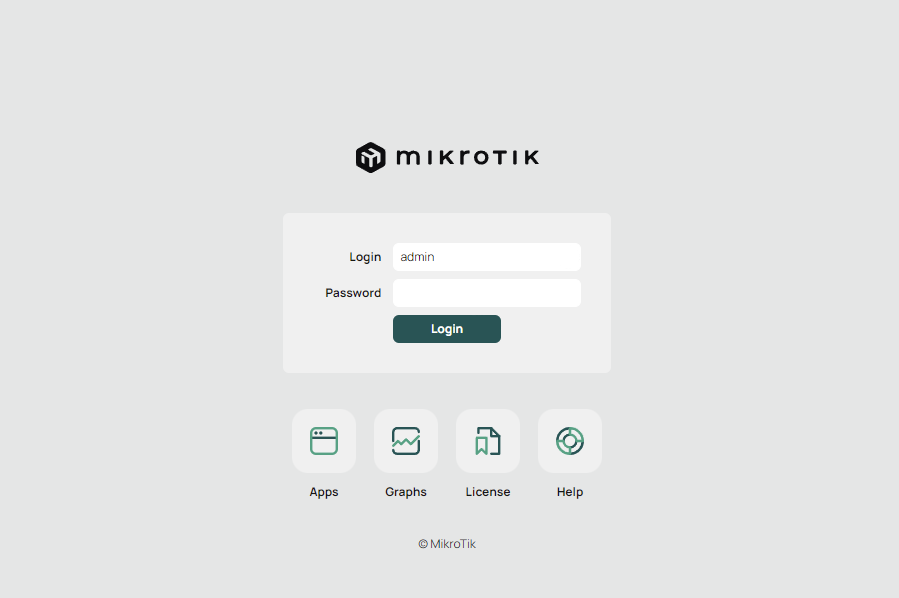
As described in the First Time Configuration section, the device is accessible by default using the username admin and either no password or a default password provided on the device label (depending on the model). Open a web browser and enter the device IP address in the address bar; by default this is 192.168.88.1. Ensure the management device is configured with an IP address in the same subnet (for example, 192.168.88.2), otherwise Layer 3 connectivity will not be available.
Simply open a Web browser and in the search bar type the device IP address which by default is 192.168.88.1. Be sure your device has an IP address from the same network, for example, 192.168.88.2 otherwise Layer3 communication will not work.
Enable HTTPS
WebFig is normally used only from the local network: by default the firewall blocks the router's web services on the WAN port, and you reach the router by its LAN address (for example, 192.168.88.1). Enabling HTTPS encrypts this management traffic so that credentials and configuration are not sent in clear text across the LAN.
Which kind of certificate to use depends on how you reach the router:
- By its LAN IP address or an internal hostname (the usual case) — use a self-signed certificate generated on the router. Public Certificate Authorities cannot issue certificates for private addresses such as
192.168.88.1, so this is the default approach. - By a real, public domain name — you can use a publicly trusted certificate from Let's Encrypt and avoid browser warnings without distributing a CA. This only helps if you actually open WebFig using that domain name, so it mainly applies to routers managed over a public name rather than a LAN IP (described below).
Use a self-signed certificate
A self-signed certificate encrypts the connection immediately. Browsers do not trust it on first use, but you can remove the warning by exporting the router's root CA and importing it into the trusted store of the computers you manage the router from.
WebFig supports wildcard certificates. You can generate one by specifying a wildcard in the common-name property, for example, common-name=*.mikrotik.com.
To generate your own certificates and enable HTTPS access, you must configure the following:
Create your own root CA on the router and sign it
[admin@MikroTik] > add name=local-cert common-name=local-cert key-usage=key-cert-sign,crl-sign
[admin@MikroTik] > /certificate/sign local-cert
progress: done
If you already have a Certificate Authority or are using an external service to sign certificates, create and sign the certificate externally and import it to the router afterwards. When importing a certificate, ensure it is marked as trusted.
Create a certificate for WebFig (end-entity certificate)
[admin@MikroTik] > add name=WebFig common-name=192.168.88.1
[admin@MikroTik] > sign WebFig
progress: done
Example certificate list:
[admin@MikroTik] > /certificate/print
Flags: K - private-key; A - authority; T - trusted
Columns:NAME        COMMON-NAME     FINGERPRINT
0  KAT  local-cert  local-cert      9b6363d033c4b2e6893c340675cfb8d1e330977526dba347a440fabffd983c5d
1  KAT  WebFig      192.168.88.1    9f84ac2979bea65dccd02652056e5559bcdf866f8da5f924139d99453402bd02
Enable the HTTPS service and assign the certificate
[admin@MikroTik] > service
set www-ssl certificate=WebFig disabled=no
You can now access WebFig at https://192.168.88.1.
Most web browsers do not trust self-signed certificates by default, so the first time you connect you will need to accept the warning or manually trust the certificate. Alternatively, export the root CA certificate and import it into your operating system or browser trust store. Note that browsers keep their own trust stores, which may differ from the operating system's — trusting the certificate at the OS level may not affect the browser.
Use a publicly trusted certificate (Let's Encrypt)
If you reach the router by a real, public domain name rather than its LAN IP, you can use a browser-trusted certificate from Let's Encrypt and skip distributing a root CA. RouterOS includes a built-in ACME client for this.
Before choosing this option, note how it interacts with a LAN-only setup:
- Public CAs do not issue certificates for private IP addresses, so this does not remove the warning when you open WebFig at
https://192.168.88.1. - The certificate is valid only for its domain name, so you must browse to WebFig by that name. For the name to resolve to the router inside the LAN, you generally need a local (split-horizon) DNS entry pointing it at the LAN address.
- The DNS-01 challenge — used for IP Cloud
<id>.sn.mynetname.netnames — needs no inbound WAN port, so it still works even though the firewall blocks WebFig from the WAN.
Request a certificate for the router's IP Cloud DDNS name:
/ip/cloud/set ddns-enabled=yes
/certificate/add-acme domain-names=[/ip/cloud/get -name]
Or for your own domain:
/certificate/add-acme domain-names=router.example.com
The issued certificate is named after the domain and is shown with the a (acme-manage) flag in /certificate/print. Assign it to the www-ssl service and then open WebFig by that domain name:
/ip/service/set www-ssl certificate=router.example.com disabled=no
The certificate is renewed automatically once 80% of its validity period has elapsed.
Terminal
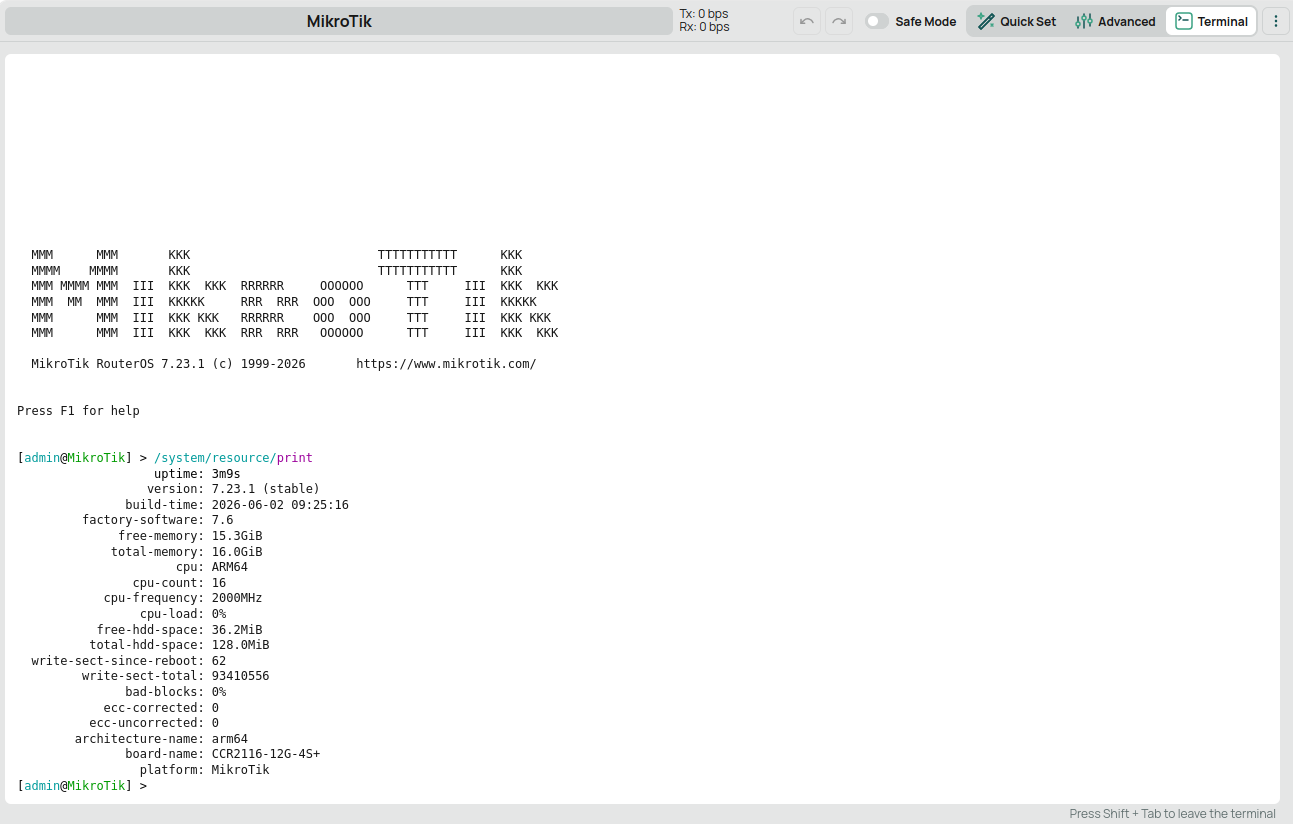
The Terminal (Command Line Interface, CLI) in WebFig is available in the top-right corner. It provides the same functionality as the New Terminal in the WinBox interface.
Skins
WebFig Design Skin is a tool used to customize the appearance of the interface for improved usability. It is not a security feature. Users with sufficient permissions can still access all available configuration options through other means, including direct CLI access.
Designing skins
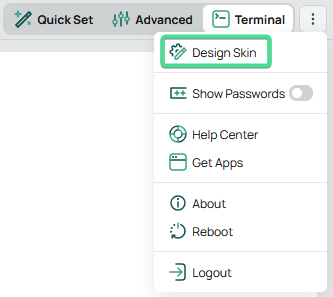
If the user has sufficient permissions (the user group has the policy and sensitive policies enabled), the Design Skin button becomes available. Enabling this option opens the interface customization tools.
To restrict access to the Design Skin menu, disable the policy and sensitive permissions in the user group configuration.
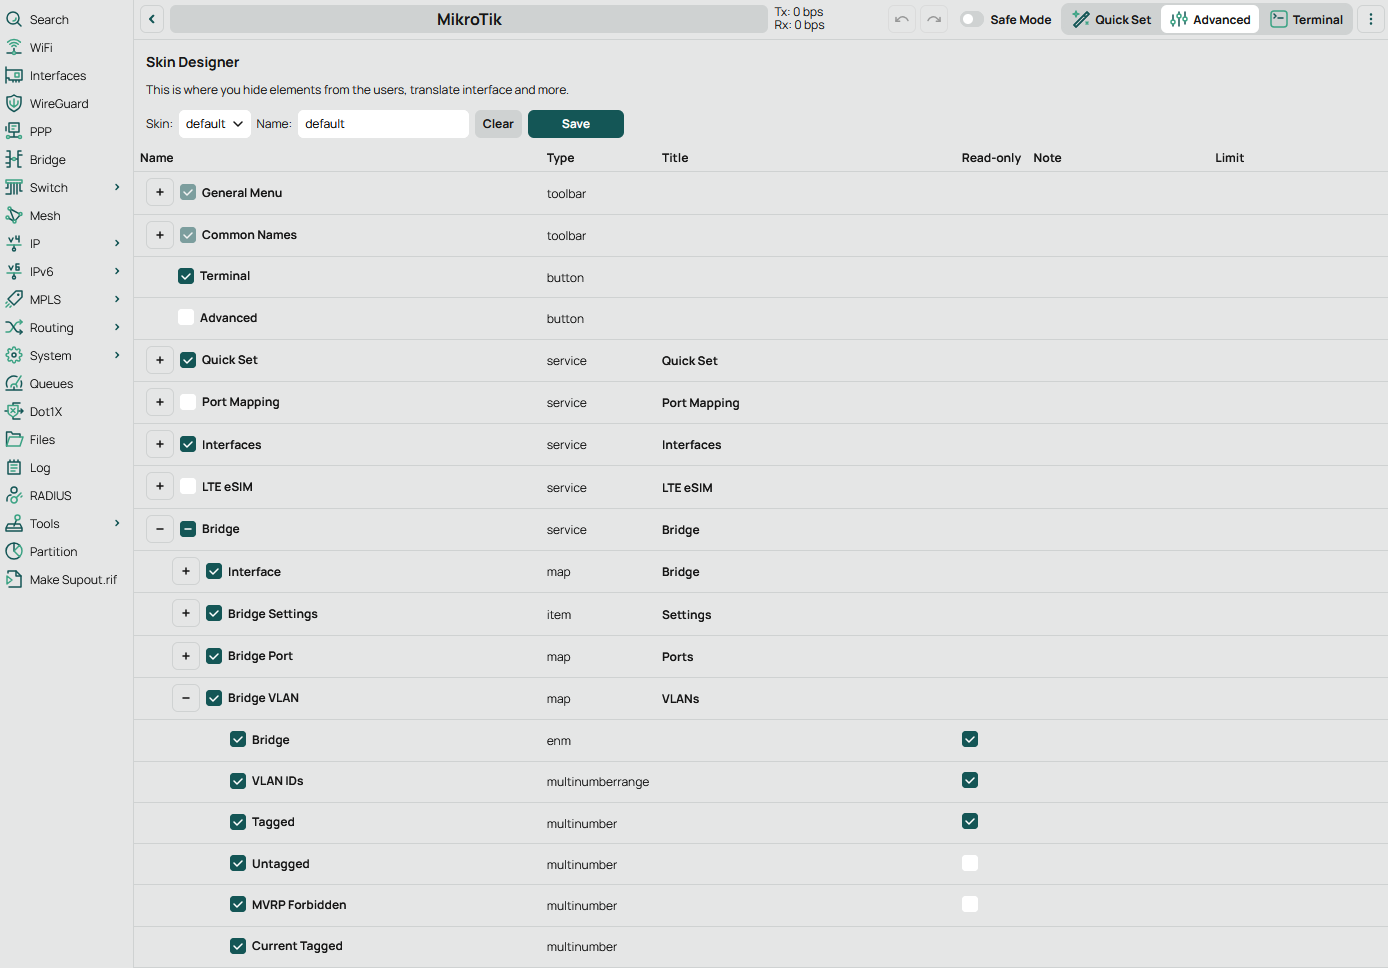
Available operations include:
- Hide menu - hides a menu and all of its submenus.
- Hide submenu - hides a specific submenu.
- Hide tabs - hides individual tabs in a multi-tab view.
- Rename menus and items - changes menu labels, for example for localization or clarity.
- Add a note to an item - adds comments in the detailed view.
- Make item read-only - prevents editing of selected fields for safety.
- Hide flags - hides flags in both list and detailed views.
-
Add field limits - restricts allowed values in the detailed view:
- Numeric intervals (..) - defines allowed ranges, for example
1..10for numeric fields such as MTU. - Field prefix limits - restricts allowed prefixes for text-based fields. A trailing
$enforces exact prefix matching. For example,station$limits values to station only.

- Numeric intervals (..) - defines allowed ranges, for example
-
Add tab - inserts a labeled section divider before a field.
-
Add separator - inserts a horizontal separator before a field.
Number intervals cannot extend beyond the limitations defined by RouterOS for a given field.
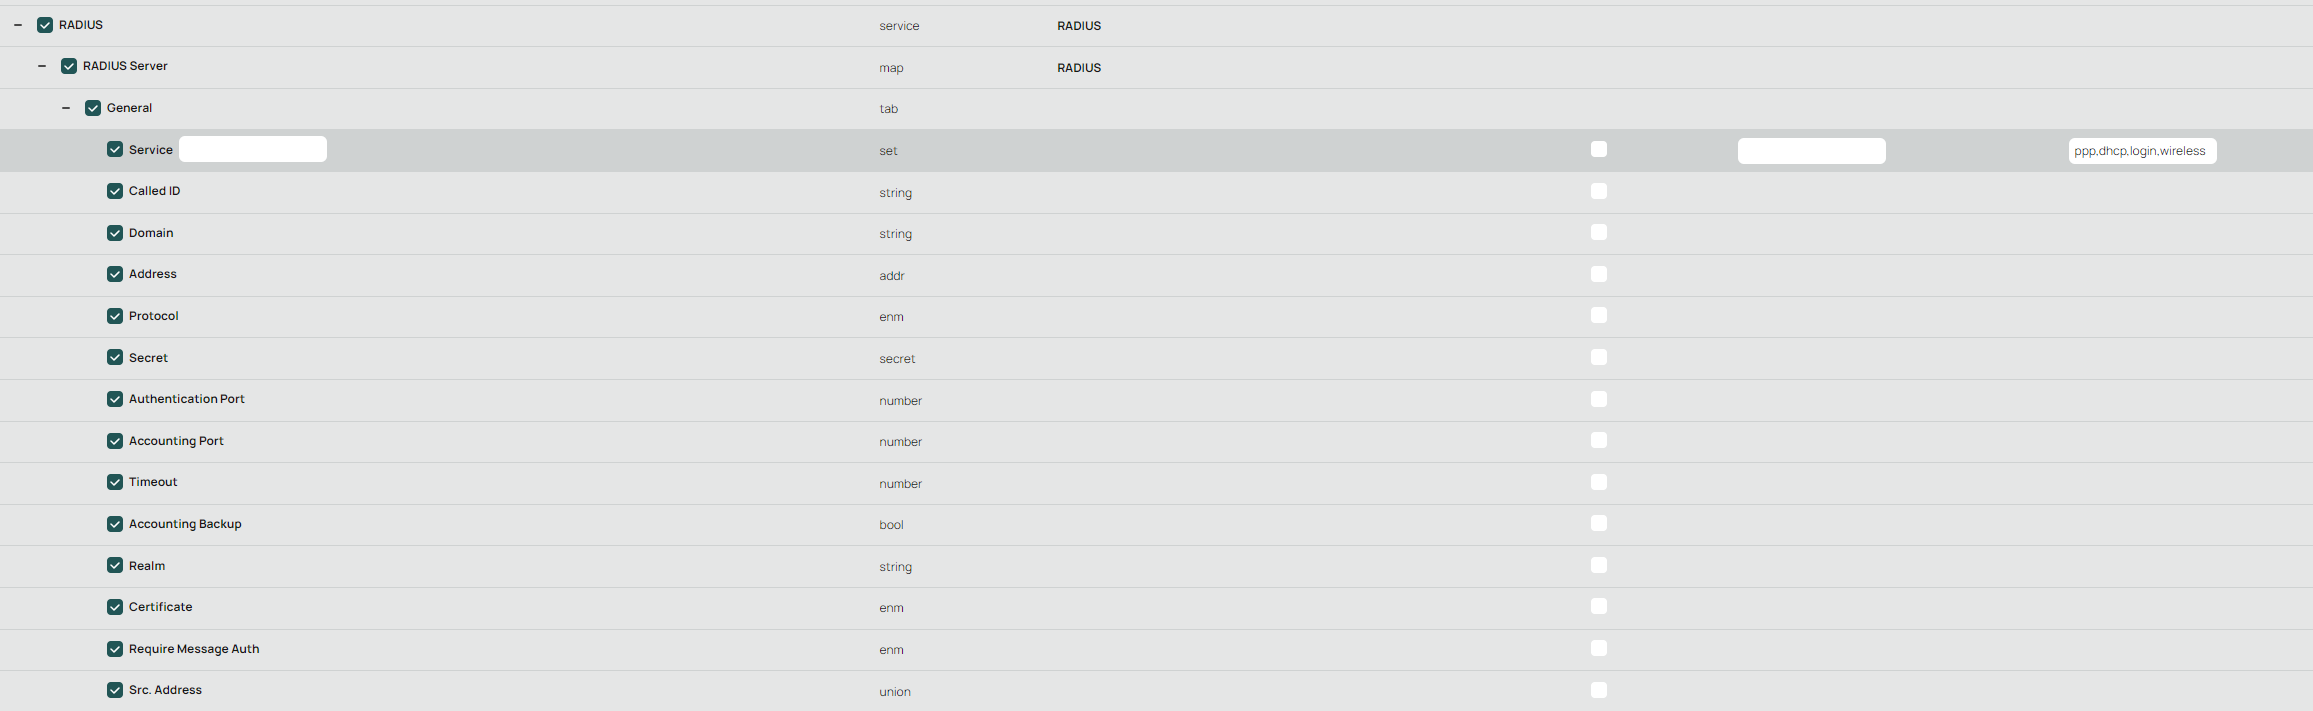
Set fields represent collections of selectable options (checkbox sets), for example user group policies or RADIUS service settings.
Restrictions applied to combo-box fields also limit the available dropdown options.
Skin Design Example
To restrict a user to specific services, add a limit to the RADIUS Service field.

The resulting configuration will allow only the services specified in the Limit field.

Customizing skins
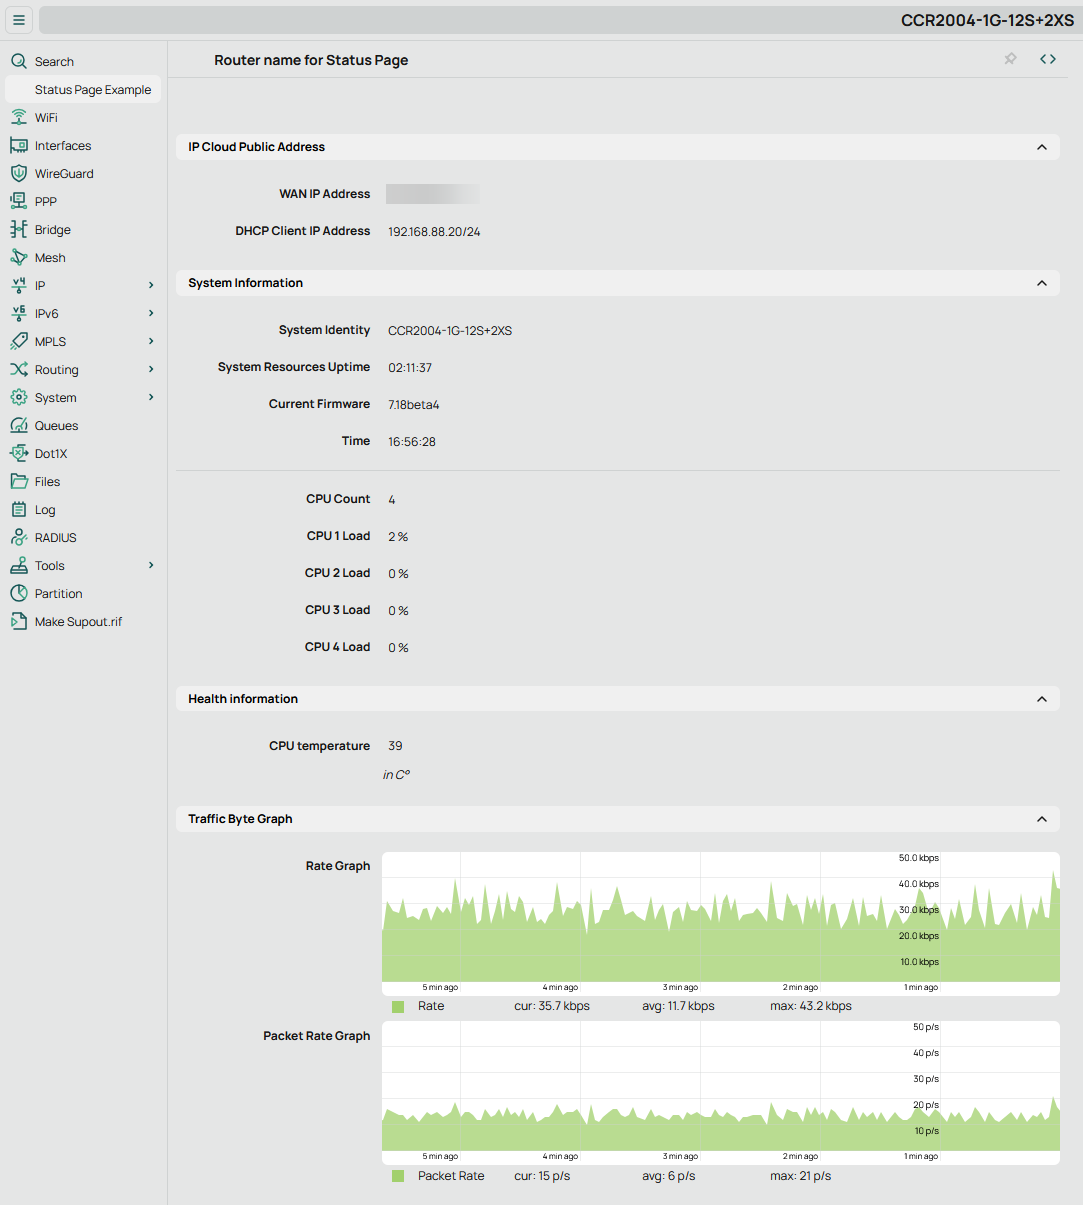
An example of a Status page structure that can be used in a skin *.json file is available here: status_main_example.json
The status content follows this structure:
{"Status": {"Status": {}}}
Status records are displayed in sequential order, for example:
"7": {
  "alias": (path to the record),
  "note": (optional; free form text that appears under the record),
  "name": (optional; alternative name for the record),
  "tab": (optional; name of the tab that this and following records belong to),
  "separator": 1 (optional; should a separating line be placed above his record)
},
Path (alias) structure
The alias path (for example: "IP:Firewall:Filter Rules:*17:Statistics:Packet Rate Graph" and the corresponding URL: "router_IP/WebFig/#IP:Firewall.Filter_Rules.17") consist of colon-separated components:
- Group (if any) →
IP: - Service or Name →
Firewall: - Container or Tab Name →
Filter Rules: - Asterisk (*) and Object ID → taken from the URL of the opened item (e.g.
17) - Tab name (if applicable) →
Statistics - Field name →
Packet Rate Graph
Using skins
To apply a skin, assign it to a user group. After assignment, all users in that group will automatically use the selected skin when logging in to WebFig or WinBox.
/user/group/set your_group_name skin=your_skin
To use a skin on another router, copy the skin files into the skins directory on the target device. After copying, assign the skin to a user group on that router to enable it.